
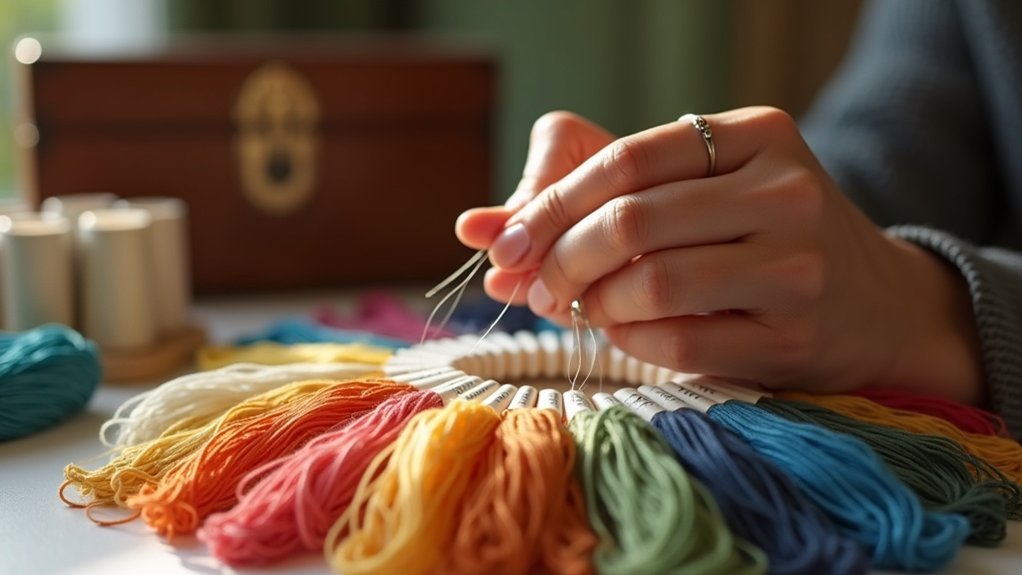
To wind embroidery floss on bobbins, start by securing the end of the floss onto the bobbin. Use even tension as you wind, so the flow remains consistent without thick spots. You can hand-wind for control or use a drill for quicker results. Label the top of your bobbins for easy identification. Store them in compartmentalized boxes to prevent tangling. For more tips on organizing and maintaining your floss collection, keep exploring!
Key Takeaways
- Secure one end of the embroidery floss onto the bobbin before starting to wind.
- Maintain even tension while winding to prevent thick spots in the floss.
- Consider breaking the winding process into shorter sessions to avoid hand cramps.
- Use a drill for mechanical winding to save time and make the process easier.
- Label the top of each bobbin clearly for quick and easy identification.
Getting Started With Bobbins
When you’re ready to get started with bobbins, the first step is to choose the right type for your needs. You can opt for plastic floss bobbins, which are durable but pricier, or eco-friendly cardboard bobbins that are budget-friendly.
To efficiently wind your floss, use a bobbin winder; start by securing the floss end manually before cranking it to wind. Organize your floss by color number, using a DMC color card for reference.
After winding, label each bobbin with color numbers, and store them in compartmentalized boxes to prevent tangling and guarantee easy access when you’re ready to create.
Choosing the Right Bobbin Material
Choosing the right bobbin material can greatly impact your embroidery experience, so it’s essential to weigh your options carefully.
Plastic bobbins offer durability and resistance to bending, making them ideal for frequent use, though they come at a higher cost.
On the other hand, cardboard bobbins are more affordable and eco-friendly, crafted from recycled materials, and are recyclable or compostable. However, they’re less durable and may bend or curl.
Consider your storage space too; plastic bobbins mightn’t fit in some boxes, while cardboard can be customized.
Ultimately, your choice should reflect your priorities regarding sustainability, durability, and budget.
Techniques for Winding Floss
When it comes to winding embroidery floss, you’ve got several techniques at your fingertips.
You can choose to hand-wind the floss for precise control or opt for mechanical winding options if you’re looking for speed.
No matter which method you select, a few efficiency tips can make the process smoother and more enjoyable.
Hand-Winding Techniques
To guarantee a smooth winding process, start by securing the end of your embroidery floss onto the bobbin. Wrap it a few times and tuck it into the slit to prevent slipping.
Maintain even tension while winding, ensuring the strands lie flat without overlapping to avoid thick spots. Wind the floss from one end to the other, keeping it consistent and tight, but not so tight that it warps the bobbin.
If you experience hand cramps, break the winding into shorter sessions or consider using a drill. Aim for 6 to 8 strands for manageable lengths that fit standard bobbins.
Mechanical Winding Options
Hand-winding can be time-consuming, especially if you’re preparing a large number of bobbins. Consider using a bobbin winder, which automates the process and saves you time.
Start by manually wrapping the floss around the bobbin to secure the end, then let the crank mechanism do the rest. Maintain even tension while winding embroidery floss to guarantee a smooth and tangle-free result.
If hand cramps are a concern, a drill can serve as a handy alternative for mechanical winding.
Don’t forget to explore various techniques, like the loop method, to find the best organizational strategy for your floss.
Tips for Efficiency
While winding embroidery floss might seem straightforward, applying a few efficient techniques can greatly enhance your experience.
Start by winding bobbins by hand with consistent tension to prevent thick spots. Break your winding into smaller sessions to avoid hand cramps. Use a thinner pen for labeling your bobbins, making it easier to organize your embroidery floss.
Winding with the skein over your wrist helps manage tangles and improves control. Finally, prioritize winding frequently used colors first; this streamlines the process and sets you up for success on your next project.
Enjoy the satisfaction of organized, easily accessible floss!
Labeling Your Bobbins Effectively
Labeling your bobbins effectively can make a significant difference in your embroidery projects. Use permanent markers designed for plastic to note the color number and thread type for durability.
Pre-printed stickers for DMC colors offer a convenient option, or you can simply use tape labels from the original floss skein for quick identification.
For a personal touch, consider a label maker to create custom labels that enhance your bobbin box’s aesthetic.
Always label the top of the bobbin for easy visibility, ensuring you can quickly access your desired color and keep your embroidery organized and efficient.
Storing and Organizing Your Threads
To keep your embroidery threads in top shape, you’ll want to store your wound bobbins in plastic boxes with compartments to prevent tangling.
Organizing them by color number or hue makes it easier to find what you need quickly, especially when you’re in the middle of a project.
Using a DMC color card can also help you group similar shades together for even better accessibility.
Bobbin Storage Solutions
Effective storage solutions for your wound bobbins can transform your embroidery experience. Storing them in plastic bobbin boxes keeps your bobbins organized and secure, with compartments tailored for easy access.
Consider organizing each bobbin with the color number or hue for quick identification during projects. A DMC color card can further assist in matching and storing colors systematically.
For project-specific needs, use metal binder rings to keep together the necessary bobbins, preventing tangling and ensuring you have everything on hand.
Proper storage not only preserves thread quality but also boosts your efficiency, saving time when searching for specific colors.
Color Organization Techniques
Once you’ve established a solid storage system for your wound bobbins, focusing on how to organize your embroidery threads becomes the next step.
Organize your embroidery floss around color numbers or hues for easy access. Use a DMC color card as a handy reference.
Store your bobbins in plastic boxes with compartments, ensuring a dedicated space for your bobbin winder. Keep project-specific bobbins together with metal binder rings to avoid tangles.
Label each bobbin with the color number and thread type for quick identification. Grouping similar shades not only looks appealing but also speeds up your selection process.
Tips for Maintaining Your Floss Collection
Maintaining your embroidery floss collection is essential for ensuring that your stitching projects run smoothly and efficiently. Keep lengths manageable, around your fingertips to elbow, to prevent tangling as you wind bobbins by hand. Regularly inspect your bobbins for wear, and use durable labeling methods to keep colors identifiable. Store your wound bobbins in protective plastic boxes to keep them organized. Periodically review your collection and reorganize by color or type for better accessibility.
| Tip | Description |
|---|---|
| Length Management | Keep lengths from fingertips to elbow |
| Bobbin Inspection | Regularly check for wear and tear |
| Organized Storage | Use plastic boxes or dedicated holders |






