
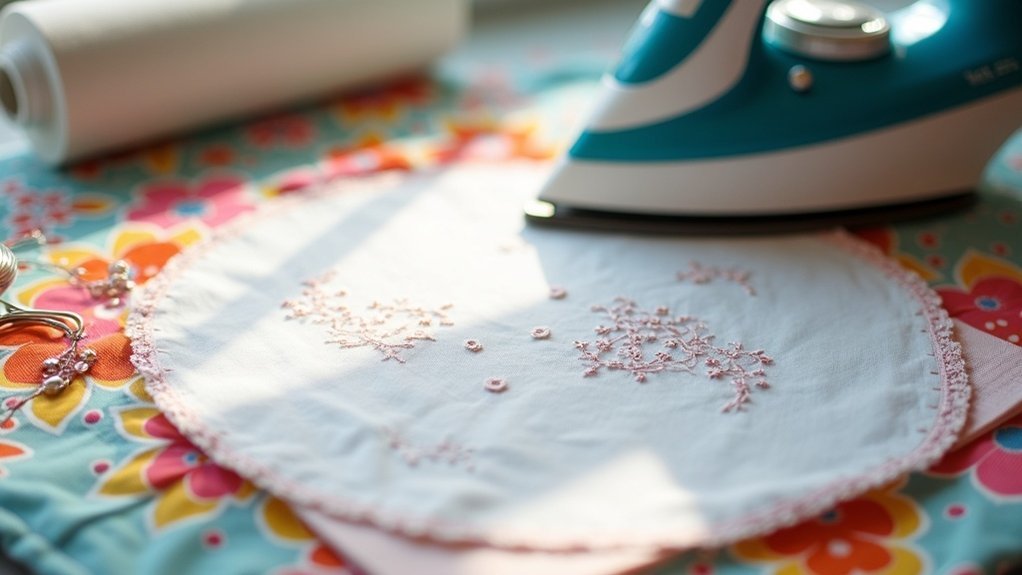
To use iron-on stabilizer for embroidery, first choose the right weight for your fabric. Pre-wash and iron your fabric smooth before cutting the stabilizer to size. Place the adhesive side against the wrong side, ensuring proper alignment. Preheat your iron according to the stabilizer’s instructions and use a pressing cloth to protect your fabric. Apply even pressure, and allow everything to cool before you start stitching. Curious about the best techniques and troubleshooting tips?
Key Takeaways
- Choose the appropriate weight of fusible stabilizer based on your fabric type to ensure optimal support during embroidery.
- Pre-wash and iron your fabric to remove wrinkles, ensuring a smooth surface for stabilizer application.
- Cut the stabilizer to the size of the fabric, placing the adhesive side against the wrong side of the fabric.
- Use a preheated iron with a pressing cloth, applying firm pressure according to the stabilizer’s instructions.
- Test the stabilizer on a scrap piece of fabric to confirm compatibility before starting your embroidery project.
Types of Iron-on Stabilizers
When you’re tackling an embroidery project, understanding the different types of iron-on stabilizers is crucial for achieving the best results.
Lightweight stabilizers are perfect for delicate fabrics, providing just enough support without adding bulk. For general use, medium-weight stabilizers offer a balanced option, suitable for a variety of materials.
Lightweight stabilizers provide essential support for delicate fabrics, while medium-weight options offer versatility for various materials.
If you’re working with thicker fabrics, heavy-weight stabilizers guarantee extra support, preventing distortion on the wrong side.
Always follow the manufacturer’s instructions for temperature and pressing time to secure a solid bond.
Using the right type of stabilizer enhances the quality of your embroidery, making your work truly shine.
Preparing Your Fabric and Stabilizer
To achieve the best results in your embroidery project, it’s essential to prepare both your fabric and stabilizer properly.
Start by selecting a mid-weight fusible stabilizer that suits your fabric type and design. Before applying the stabilizer, pre-wash and iron your fabric to eliminate wrinkles, ensuring a smooth surface.
Cut the stabilizer to match your fabric size to avoid excess interference. Place the adhesive side against the wrong side of the fabric, aligning it carefully, and press with a hot iron as per the manufacturer’s instructions.
Finally, let everything cool completely before hooping or stitching for ideal support.
Ironing Techniques for Stabilizer Application
With your fabric and stabilizer prepared, the next step is mastering the ironing techniques to secure a solid bond. It’s an important part of the process when you use a stabilizer, guaranteeing everything stays in place during embroidery.
Follow these techniques for best results:
- Confirm the fabric is clean and dry.
- Preheat your iron to the right temperature for your fabric.
- Align the smooth side of the stabilizer against the wrong side of the fabric.
- Use a pressing cloth to protect both layers.
- Apply firm, even pressure according to the stabilizer’s instructions.
Now, you’re ready to fuse!
Tips for Successful Embroidery
How can you guarantee your embroidery project turns out flawlessly? Start by testing the iron-on stabilizer on a scrap piece of fabric similar to your project. Preheat your iron according to the stabilizer’s instructions and press firmly with a pressing cloth to avoid scorching.
Ascertain the cut away stabilizer covers the entire embroidery area for consistent support, preventing puckering during machine embroidery. After stitching, carefully trim or gently tear away excess stabilizer, depending on its type.
These steps not only enhance your project’s quality but also help you serve others beautifully with your crafted creations. Happy stitching!
Troubleshooting Common Issues
When tackling embroidery, you might face a few common issues that can disrupt your project’s flow. To resolve them, make certain you follow these tips:
- Align the fusible stabilizer properly with the side of the fabric before applying heat.
- Use a pressing cloth to prevent scorching and guarantee even heat distribution.
- Check your iron’s temperature; it should match the stabilizer’s requirements.
- Test on a scrap piece for compatibility, especially with heat-sensitive fabrics.
- If bubbling occurs, re-apply the stabilizer with increased pressure or heat for better adhesion.
These steps can save you time and frustration, ensuring beautiful results!






