
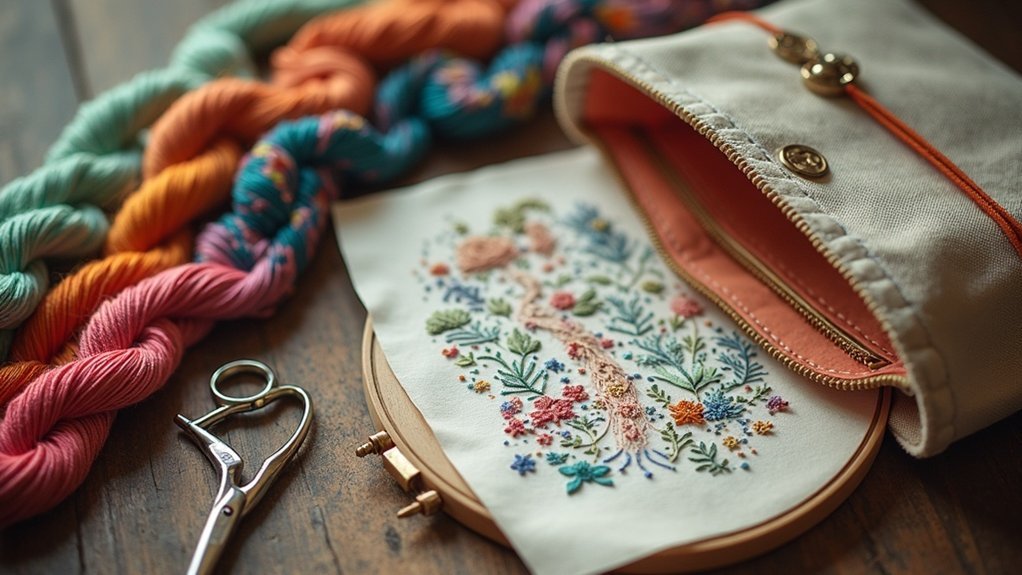
When you’re traveling with embroidery supplies, stay organized by choosing lightweight containers like zippered pouches or small tins. Pre-sort your threads by project or color in compartmentalized organizers. Don’t forget essential tools like small scissors and multiple needles for easy access. Always check travel regulations regarding sharp objects to avoid hassles at security. With a little preparation, you’ll guarantee a smooth creative journey. Stick around to discover more tips for your embroidery adventures!
Key Takeaways
- Choose lightweight and compartmentalized containers like tins or pouches to organize threads and supplies, ensuring easy access during travel.
- Include essential tools such as small scissors, multiple needles, and a needle threader to enhance your stitching experience.
- Always check TSA regulations regarding scissors and pack sharp tools in checked luggage to avoid security issues.
- Use a quilted project bag for durability, with secure closures and compartments to prevent tangling and keep supplies organized.
- Pre-cut fabric and transfer patterns before your trip to save time and streamline your embroidery projects while traveling.
Choosing the Right Container for Your Supplies
When you’re planning to travel with your embroidery supplies, choosing the right container can make all the difference in your experience.
Look for lightweight, durable options like small tins, zippered pouches, or cardboard boxes. Make sure your container has compartments to keep your supplies organized and tangle-free.
Personalizing your travel kit not only makes it functional but also enjoyable to carry. Remember not to overpack—leave room for essentials like toiletries.
With the right container, you’ll find easy access to your materials, allowing you to focus on creating beautiful pieces while serving others with your talents.
Happy stitching!
Essential Tools for Your Travel Kit
When you’re packing your travel kit for embroidery, you’ll want to include some essential tools that make stitching on the go a breeze.
Small embroidery hoops, sturdy scissors, and a handy needle threader are just a few must-haves that keep your projects manageable and organized.
With the right supplies, you can focus on your creativity, not on the logistics of travel.
Must-Have Embroidery Tools
Packing your travel kit with the right embroidery tools can make all the difference in your crafting experience on the go. Here are some must-haves:
| Tool | Purpose |
|---|---|
| Small embroidery scissors | Essential for cutting thread |
| Embroidery needles | Multiple for replacements |
| Golf pencils | Perfect for transferring designs |
| Needle threader | Quick threading in low light |
With small embroidery scissors and a variety of embroidery needles, you’ll be ready for any project. Don’t forget a needle threader, especially when lighting isn’t ideal. Happy stitching!
Compact Cutting Solutions
How can you guarantee your cutting tools are both effective and travel-friendly?
Opt for small, TSA-approved folding scissors, like those from Fiskars, designed specifically for portability and air travel. If you want an alternative, nail clippers can be a lightweight and compact solution, perfect for on-the-go needs.
Remember to pack multiple embroidery needles in a needlebook with felt pages for easy access and to prevent loss. Don’t forget a small needle threader to help with threading in cramped or low-light spaces.
Always verify your cutting tools comply with travel regulations to avoid any issues at security checkpoints.
Organizing Threads Efficiently
To guarantee your embroidery threads stay organized and accessible while traveling, consider using a binder ring paired with thread cards. This setup helps you easily identify thread colors and brands while keeping tangles at bay.
For added convenience, store your threads in ziplock bags or dedicated thread organizers to maintain a tidy workspace. Include a compact thread gloss in your kit to assure smoother stitching, enhancing your embroidery experience.
Don’t forget a needlebook with felt pages to hold both needles and small thread scraps, making everything compact and organized, perfect for your creative projects on the go.
Materials to Pack for Your Projects
When you’re gearing up for a trip, making certain you have the right embroidery supplies can transform your downtime into a creative escape. Your embroidery kit should include a selection of floss in your favorite colors, small travel-friendly scissors, and a variety of needles in different sizes. Pre-cut fabric into smaller pieces and organize them in ziplock bags for easy access. Don’t forget a magnetic needle minder to keep your needles secure and accessible throughout your journey.
| Item | Purpose | Tips |
|---|---|---|
| Embroidery Floss | Color versatility | Choose your favorite shades |
| Small Scissors | Travel-friendly cutting | Confirm TSA compliance |
| Embroidery Needles | Fabric compatibility | Pack various sizes |
| Pre-cut Fabric | Easy access | Use ziplock bags |
| Magnetic Needle Minder | Needle security | Prevent loss while traveling |
Navigating Travel Restrictions
Packing your embroidery supplies is just the beginning; understanding travel restrictions can make or break your crafting experience on the go.
When traveling, always check TSA regulations—scissors must be TSA-approved and should typically not exceed 4 inches in blade length. Consider alternatives like nail clippers for cutting threads.
Some airlines allow small tools, like needle threaders, in carry-on luggage, but verify each airline’s policies. Research local restrictions on embroidery tools before international trips, and pack sharp objects in your checked luggage to avoid security issues.
Using travel-friendly containers also helps streamline inspections and keeps your supplies organized.
Happy crafting!
Personalizing Your Embroidery Setup
Personalizing your embroidery setup can turn your travel experience into a creative adventure.
Start by choosing unique containers that reflect your style and fit your packing needs, then select tools that make stitching easier and more enjoyable.
Finally, customize your project themes to inspire your creativity on the go, ensuring every stitch feels special.
Choosing Unique Containers
Choosing the right container for your embroidery supplies can transform your travel experience, making it both organized and enjoyable.
Consider unique options like a small tin or a zippered pouch, which make accessing your embroidery essentials easy. Personalize your container with colors, patterns, or embellishments to reflect your individual style.
Ascertain it’s a practical size, balancing your supplies with space for personal items like a toothbrush. A sturdy, lightweight container will protect your supplies while being easy to carry.
Customizing Tool Selection
With your unique container in hand, it’s time to refine your embroidery toolkit for travel.
Start customizing tool selection by choosing small, travel-friendly scissors that meet TSA regulations. Pack a variety of needles in different sizes to tackle diverse fabrics and techniques. Include your favorite embroidery floss colors for versatility, and consider pre-cut fabric pieces to save space.
Enhance your hand embroidery experience by adding personal touches like golf pencils for design transfer and a needle threader for easy threading.
This thoughtful selection will make your stitching journey enjoyable and efficient wherever you go, allowing you to serve others with your craft!
Personalizing Project Themes
When you infuse your embroidery projects with themes that resonate with your interests, you not only enhance your creative experience but also make each piece more meaningful.
Start by personalizing your stitching project with themed kits that reflect your passions, like seasonal designs. Customize your storage container with labels or décor that showcases your style, making it easier to find supplies.
Incorporate various fabric types and colors to spark creativity. A transfer pen allows you to adapt designs on-the-go.
Finally, share your unique themes on social media, fostering community and inspiring fellow embroiderers on their creative journeys.
Tips for Staying Organized While Traveling
Staying organized while traveling with your embroidery supplies can make all the difference in ensuring a smooth and enjoyable stitching experience.
Start by packing all your supplies in a zip-top bag or a dedicated embroidery travel bag for easy access. Use a binder ring with thread cards to keep your project threads organized, making color selection a breeze.
Create a felt needle book or magnetic case to secure your needles. Pre-cut your fabric and transfer patterns before your trip to save time.
Finally, consider a quilted project bag with compartments to keep everything neat and prevent tangling.






