
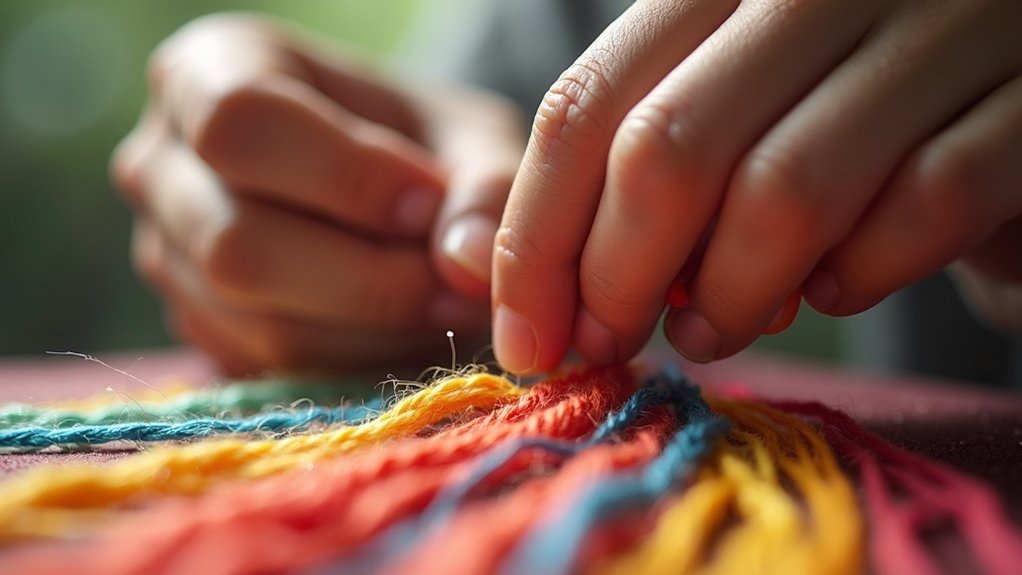
To thread embroidery floss without tangles, start with an 18-24 inch length to minimize knots. Gently pull the tail to release the thread and hang it straight to reduce waviness. When separating strands, grip at the neck and pull one strand out slowly. Lay them next to each other to stay organized. Let the thread dangle freely while stitching to prevent twisting. Master these techniques to enjoy smooth stitching, and discover further tips to enhance your experience.
Key Takeaways
- Use thread lengths between 18-24 inches to minimize tangling and improve handling ease.
- Gently pull the tail of the skein to release thread, avoiding yanking to prevent knots.
- Stroke the thread with fingers to straighten it before stitching, ensuring smoother flow.
- Allow the needle and thread to dangle freely to help untwist and reduce tangling.
- Regularly pause stitching to let the thread hang down, promoting natural unwinding.
Understanding the Importance of Thread Length
When you’re diving into embroidery, understanding the importance of thread length can greatly enhance your stitching experience.
A suitable thread length of 18-24 inches is recommended to keep your embroidery floss tangle free. Longer threads, especially those over 24 inches, are more susceptible to knots, which can disrupt your flow and lead to frustration.
By managing your thread length, you can effectively prevent tangling and make handling easier. If tangling does occur, try cutting the thread to about 10 cm shorter for improved manageability.
This adjustment allows you to separate the strands more easily and maintain a smoother stitching process.
Techniques for Smoothly Separating Strands
To smoothly separate strands of embroidery floss, you’ll want to handle the thread properly from the start.
Begin by cutting a length of thread and gripping it at the neck, gently pulling one strand out while avoiding any yanking that may cause tangles.
Proper Thread Handling Techniques
Although separating strands of embroidery floss might seem straightforward, using proper handling techniques can greatly enhance your stitching experience.
Start by cutting the desired length and gripping the thread at the neck, allowing a small portion to protrude for easy access. Gently pat the protruding thread to clearly separate the strands. Pull one strand straight out while keeping the others in place to minimize tangling.
Lay separated strands next to each other for easy access, and stroke them back to a straight position before pulling more. Let the needle and thread dangle freely to help untwist, ensuring a smooth stitching process.
Effective Separation Methods
Effective separation of embroidery floss strands is essential for achieving smooth and consistent stitching. Start by cutting the thread to your desired length and grip it at the neck, allowing a small head to protrude.
Gently pat this head to clearly separate the strands, then pull one individual strand straight out—avoid yanking to prevent tangles. Lay the separated strands next to each other to maintain organization, ensuring easy access.
Stroking the bunch back to a straight thread before pulling helps prevent the thread from twisting. Always pull threads from the same end of the skein for consistent color shading.
Avoiding Common Mistakes
When tackling the separation of embroidery floss strands, it’s crucial to avoid common pitfalls that can lead to frustration and tangling.
Always grip the thread at the neck of the skein, leaving a small head protruding. Gently stroke the bunch to prevent tangling issues before pulling out strands one at a time. Lay them next to each other for easy access, minimizing thread knots.
If you struggle with separating threads, consider pulling from the opposite end or using a slip knot to manage them better. Consistent practice and attention to the twisting direction can enhance your efficiency when you thread your needle.
Best Practices for Thread Preparation
To prepare your embroidery floss effectively, start by gently pulling the tail of the skein to release the thread without causing any deformation.
Once released, store the thread on bobbins or hang it straight to keep it organized and minimize waviness.
Before each stitching session, stroke the thread with your fingers to straighten it, reducing the chances of knots and tangles.
Proper Thread Release Techniques
While preparing your embroidery floss, using proper thread release techniques guarantees a smooth and frustration-free stitching experience.
Start by gently pulling the tail at the end of the DMC embroidery skein, ensuring you pull from the bottom to maintain the thread’s natural twist. This helps you avoid knots.
After releasing, stroke the thread with your fingers to straighten it. Consider storing the released thread on bobbins or hanging it freely, minimizing waviness and tangling.
Finally, allow the thread to hang freely between sessions to reduce twisting and enhance your overall stitching experience.
Enjoy a tangle-free embroidery journey!
Thread Maintenance Strategies
Maintaining your embroidery thread is just as important as the initial release techniques, ensuring your stitching remains smooth and enjoyable.
Follow these best practices for thread maintenance:
- Use the tail of the DMC floss skein to release thread gently, preventing deformation.
- Stroke the floss strands with your fingers to straighten them and let them hang freely to reduce twisting.
- Glide the needle along the thread to untwist it, ensuring the needle’s eye is wide enough.
- Store released thread on bobbins or hang it straight to keep it in prime condition, enhancing your overall stitching experience.
Strategies for Preventing Twisting During Stitching
When you want to prevent twisting during stitching, employing a few effective strategies can make a significant difference.
First, use shorter lengths of thread, ideally around 18-24 inches, to minimize tangling. Allow the thread to hang freely towards the floor; this “untangle dangle” technique helps it unwind naturally.
Using shorter thread lengths of 18-24 inches and letting it hang freely can prevent tangling while stitching.
Additionally, maintain a consistent twist direction during strand separation—whether S twist or Z twist—so the thread keeps its natural twist.
Regularly pause your stitching to let the thread hang from the embroidery hoop, making it much easier to prevent knots from forming.
These methods guarantee a smooth stitching experience.
Tips for Untangling Knots Effectively
Even with the best strategies in place to prevent twisting, knots can still occur during stitching. To effectively untangle those pesky knots, keep these tips in mind:
- Gently pull the needle upwards through the thread loops to release tangles.
- Swing the needle slightly to help loosen stubborn knots.
- Use tweezers for precision when gripping and pulling apart tangled threads.
- Exercise patience; take your time and avoid yanking on the thread, which can tighten the knot.
Community Insights on Thread Management
While you might think managing embroidery floss is simple, community insights reveal several effective strategies that can greatly enhance your stitching experience. Using shorter segments, around 18 inches, makes your thread less likely to tangle. Separating strands before use improves coverage and reduces knots. Regularly stroking the thread between your fingers helps identify the smoother side. Organizing thread on bobbins or in boxes keeps colors distinct. Finally, letting your needle and thread hang freely allows for natural untwisting.
| Strategy | Benefits | Tips |
|---|---|---|
| Shorter Segments | Less tangling | Cut to 18 inches |
| Separate Strands | Better stitch coverage | Use individual strands |
| Organize Thread | Keeps colors distinct | Utilize bobbins or boxes |
| Let Hang | Natural untwisting | Avoid pulling tightly |
Additional Resources for Embroidery Enthusiasts
As you explore deeper into the world of embroidery, you’ll find a wealth of resources to help you refine your skills and expand your creativity.
Consider these valuable options:
- Online forums: Join embroidery groups on social media to exchange tips and experiences.
- Video tutorials: Check out YouTube for visual guides on thread handling and techniques.
- Workshops: Attend local classes at craft stores or community centers for hands-on learning.
- Blogs and newsletters: Subscribe to embroidery blogs and newsletters for fresh tips and product recommendations.
These resources can greatly enhance your embroidery journey and serve your creative passions.






