
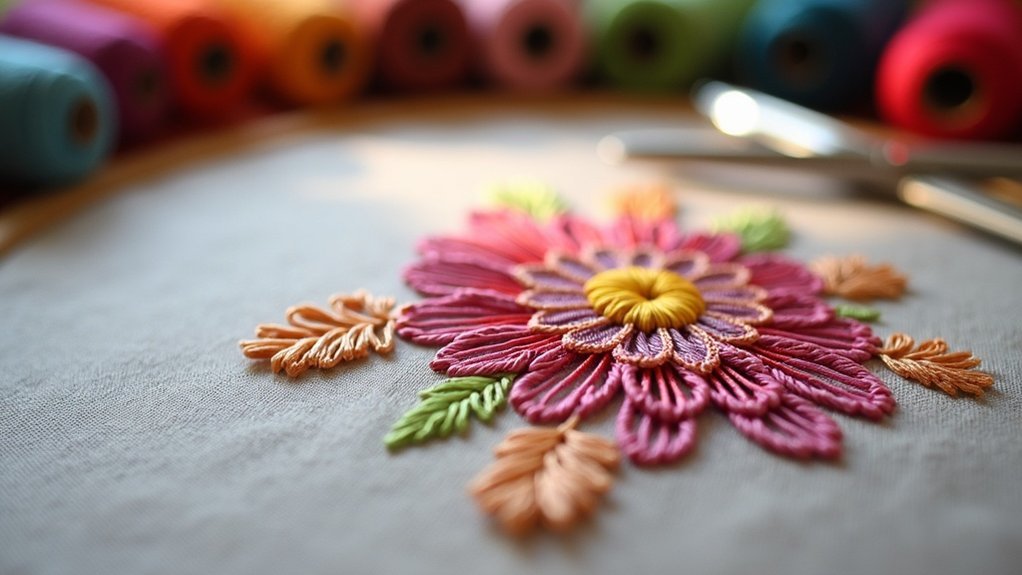
To satin stitch embroidery smoothly, start with a split stitch outline to define your shapes. Use consistent stitch lengths and directions, keeping your thread tension even. If you’re filling larger areas, break them into smaller sections and maintain a margin from the edges to prevent puckering. Use non-divisible threads and taut fabric for the best results. Experiment with stitch techniques for curves, and you’ll see your skills develop further as you explore more advanced techniques.
Key Takeaways
- Start with a split stitch outline to create clean edges and defined shapes before filling with satin stitch.
- Maintain consistent stitch length and direction, and keep even thread tension to achieve smooth satin stitches.
- Use a hoop to keep the fabric taut, preventing puckering while stitching.
- Break larger shapes into smaller sections for better control and stitch placement accuracy.
- Practice on predetermined shapes and track progress to improve consistency and technique over time.
Understanding Satin Stitch Basics
Satin stitch is a versatile embroidery technique that creates a sleek, polished finish by aligning long, straight stitches side by side. As a filling stitch, it’s ideal for larger shapes like leaves and petals.
Start by outlining your shape with a split stitch, ensuring a defined boundary. Fill in the center using consistent stitch length and direction for a seamless look.
Experiment with 3 strands of embroidery floss for a chunkier appearance or fewer strands for a more blended effect.
Importance of Outlining and Stitching Technique
Outlining shapes with a split stitch sets a clean edge, serving as a precise boundary for your satin stitch.
By aligning your stitch direction and maintaining consistent lengths, you enhance the overall appearance and avoid distortion.
Incorporating guiding stitches not only simplifies filling but also guarantees that your finished work looks sharp and polished.
Clean Edge Outlining
Achieving clean edges in embroidery is crucial for a polished finish, and effective outlining techniques play an essential role in this process.
Start by using a split stitch to outline shapes, defining the area for satin stitching and preventing any spillover. Alternatively, a back stitch positioned just inside the outline serves as a guide, ensuring consistent coverage without gaps.
When applying satin stitch, begin in the middle and work outwards to maintain outline integrity. Consistent stitch direction during satin stitching enhances the smoothness of your finish, particularly on curves, ensuring your design appears neat and professional.
Stitch Direction Alignment
When you take the time to carefully align your stitch direction, the overall quality of your embroidery considerably improves.
Outline first with a split stitch to define shapes, ensuring the satin stitch covers the outline entirely. Starting your satin stitch in the middle allows for easier filling and better alignment.
Pay attention to the stitch direction based on the shape’s orientation, especially for petals and leaves, enhancing flow. Use guidelines for accuracy, maintaining consistent stitch length and direction throughout the process.
This diligence prevents puckering and achieves a smooth appearance, elevating your embroidery to a professional standard.
Importance of Guiding Stitches
While you might be enthusiastic to plunge into satin stitching, the significance of guiding stitches can’t be overstated.
Use split stitches to outline shapes, ensuring clean edges and full coverage when you satin stitch. Starting in the middle helps maintain an even stitch distribution.
Pay attention to stitch direction; slanting stitches enhance flow, particularly on curves. Aligning guiding stitches accurately is essential for preventing distortion and puckering.
Careful planning of your stitch direction relative to the outline shapes greatly influences the satin stitch looks, giving your embroidery a polished and professional finish.
Every detail matters in achieving stunning results.
Selecting the Right Thread and Fabric
To create smooth satin stitches, it’s essential to select the right thread and fabric. Consider these important factors:
- Thread Options: Use non-divisible threads like floche or coton a broder for a finer finish; avoid multiple strands to prevent a bulkier appearance.
- Fabric Selection: Choose high count, firm weave fabrics to guarantee smooth execution; open weaves complicate stitching.
- Consistent Tension: Break larger areas into smaller sections to maintain even tension.
- Use a Hoop: Keeping fabric taut in a hoop is critical for achieving smooth satin stitches without puckering.
Techniques for Stitching Shapes and Curves
When you stitch circular shapes, use fan stitches around the curve to create a smoother appearance while ensuring consistent stitch placement.
To manage curved edges effectively, keep a margin from the edge to prevent puckering and maintain the design’s flow.
Breaking larger shapes into smaller sections allows for better control over stitch direction and tension, leading to a polished satin stitch finish.
Stitching Circular Shapes
Successfully stitching circular shapes in satin embroidery requires careful attention to detail and technique, as maintaining a margin from the edge is essential to prevent distortion and puckering.
Follow these steps to achieve smooth curves:
- Use guidelines for aligning your stitches accurately.
- Fan stitches around the curved shape, adjusting insertion points closer together on one side.
- For larger areas, break the design into smaller sections to maintain even tension.
- Keep your stitches close together to prevent fabric show-through, enhancing the overall finish of your satin stitch around curves.
Managing Curved Edges
Managing curved edges in satin stitching requires careful planning and execution to achieve a seamless finish.
Maintain a margin between the curve’s edge and your stitching to prevent puckering. Adjust your insertion points closer together on one side of the curve for gradual stitch shifts, avoiding distortion.
Utilize fanning techniques by angling stitches around curves to maintain even tension and a consistent appearance. Keep stitches parallel to the curve while using the same holes on the inside for smoother shifts.
Breaking larger curved shapes into smaller sections enhances control over stitch direction, ensuring a polished satin stitch appearance.
Tips for Consistency
Achieving consistency in satin stitch embroidery is essential for a polished finish, especially when stitching shapes and curves. Follow these tips for ideal results:
- Stitch parallel to guiding lines for uniform stitch direction.
- Adjust insertion points closer together on curves to guarantee smooth changes.
- Break larger shapes into sections to maintain even tension and precise stitch placement.
- Use a back stitch to outline shapes, preventing gaps between satin stitches.
Filling Larger Areas Effectively
When you tackle satin stitching larger areas, breaking the shape into smaller sections can greatly enhance your results. Align your satin stitches to follow the curves, guaranteeing consistent tension to avoid puckering. Here’s a simple guide:
| Technique | Purpose |
|---|---|
| Satin Stitched | Provides a smooth finish for larger shapes |
| Fill Stitches | Helps minimize fabric distortion |
| Padded Satin Stitch | Adds dimension and smoothness |
Maintain even stitch length and direction throughout. This attention to detail guarantees a uniform appearance, making your embroidery truly stand out.
Common Challenges and Tips for Improvement
While satin stitching can produce stunning results, it’s not without its challenges. Here are some tips to improve your technique:
- Practice on predetermined shapes to achieve straight edges, developing consistency in stitch direction and length.
- Maintain even thread tension throughout your work to prevent puckering and guarantee a smooth finish.
- Break large shapes into smaller sections for better control and even stitches.
- Use a hoop to keep fabric taut, minimizing pinching and enhancing spacing and alignment.
Exploring Advanced Techniques and Personal Growth
As you explore deeper into satin stitching, investigating advanced techniques can significantly elevate your embroidery projects.
Padded satin stitch adds dimension and visual interest, while experimenting with materials like felt and poly-fil enhances texture.
To improve your designs, combine satin stitch with techniques like long and short stitches for increased complexity.
Regular practice on varied shapes boosts your consistency and confidence.
Engaging with online communities provides valuable feedback and inspiration, fostering personal growth in your embroidery journey.
Embrace these advanced techniques, and watch your skills flourish as you create intricate, meaningful pieces that serve others beautifully.






