
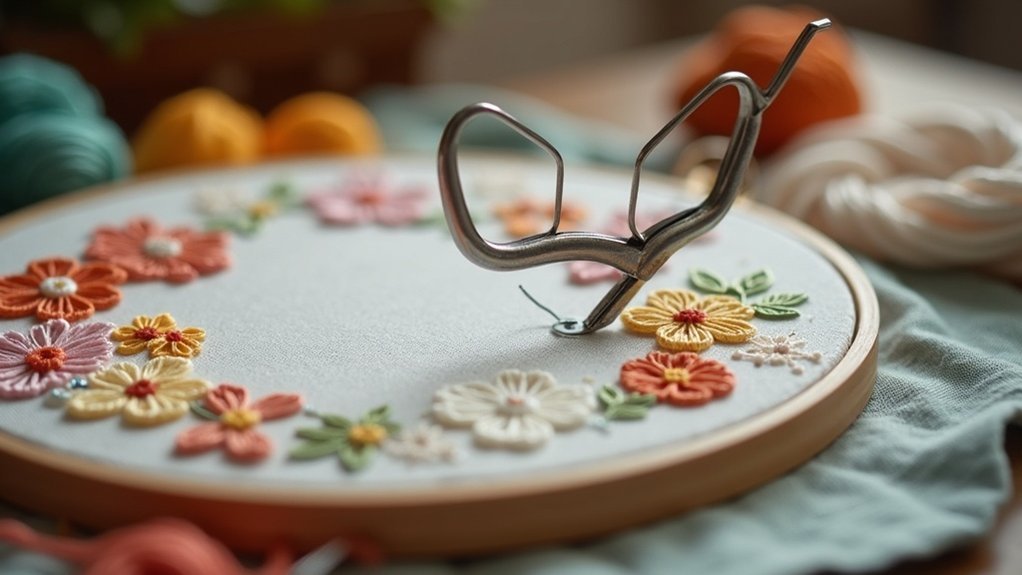
To remove wrong stitches in embroidery cleanly, gather essential tools like a seam ripper, fine-tipped scissors, and tweezers. Set up your workspace in a well-lit area with a comfortable chair. Use your seam ripper gently, flipping the fabric frequently to guarantee you don’t miss any threads. If you encounter resistance, stop and reassess. After removal, clean up stray threads with a lint roller or soft brush. There’s more to learn about maintaining your tools and workspace effectively.
Key Takeaways
- Use a seam ripper to carefully cut stitches, ensuring a steady hand to avoid damaging the fabric.
- Gently flip the piece frequently to check progress and avoid missing any threads.
- Employ a cross stitch needle to help realign the weave after stitch removal for a neater finish.
- Apply steam from an iron to reset the fabric weave and minimize the appearance of holes.
- Clean your workspace and tools after removing stitches to prepare for future embroidery projects.
Essential Tools for Stitch Removal
When it comes to removing unwanted stitches in embroidery, having the right tools makes all the difference. A seam ripper is essential for cleanly cutting stitches without damaging the fabric beneath.
For intricate designs, use embroidery scissors with fine-tipped blades for precise thread cutting. Tweezers are invaluable for extracting small bits of thread and loosening remaining floss after cutting.
A cross stitch needle can also assist by slipping between fabric threads to unpick stitches gently. Finally, a magnifying glass helps identify specific stitches needing removal, ensuring accuracy in your stitch removal process.
Equip yourself with these tools for effective results.
Setting Up Your Workspace
Now that you’ve gathered your tools for stitch removal, it’s time to set up your workspace effectively. Make certain your workspace is well-lit to help you see stitches clearly and avoid damaging your fabric.
Choose a comfortable chair and table setup, allowing you to work for extended periods without discomfort. Use a spacious surface to keep your embroidery piece and tools on hand, promoting organization.
Create a calming atmosphere with soothing music or a cup of tea nearby, reducing frustration. Approach the task with a positive mindset, knowing that mistakes are learning opportunities that can enhance your embroidery skills.
Techniques for Safe Stitch Removal
Removing stitches safely is essential for preserving your fabric’s integrity.
When you’re removing stitches, use a seam ripper with a steady hand, working slowly and gently to avoid damaging the fabric. Flip your embroidery piece frequently to check your progress, ensuring you don’t miss any threads.
If you encounter resistance, stop and reassess instead of forcing it. Take frequent breaks to maintain focus and prevent strain during this delicate process.
After removing stitches, utilize a cross stitch needle to realign the weave, restoring your fabric’s original structure and ensuring a clean finish for future work.
Minimizing Damage to Fabric
To minimize damage to your fabric after stitch removal, use a cross stitch needle to realign the weave, effectively reducing the appearance of holes.
Apply steam from an iron to reset the fabric weave, helping to close any small gaps.
Finally, wash the fabric by hand and lay it flat to dry, ensuring it retains its shape and further damage is prevented.
Cross Stitch Needle Benefits
A cross stitch needle offers distinct advantages when it comes to minimizing damage to your fabric during stitch removal. Its slightly rounded tip separates fabric fibers without puncturing, reducing visible holes.
The larger eye facilitates threading thicker embroidery threads, essential for unpicking stitches. Additionally, using a cross stitch needle can help realign the fabric weave, further decreasing the appearance of any remaining holes.
The needle’s length provides better leverage and control, allowing for precise removal without straining your fabric type. For practical tips, always choose the appropriate cross stitch needle based on your specific fabric and thread requirements.
Steam Reset Techniques
After utilizing a cross stitch needle for careful stitch removal, you may find that the fabric weave needs restoration.
To minimize damage, use a low heat setting on your iron, holding it at a distance while applying steam. Slightly dampen the fabric beforehand to enhance the effectiveness of the weave realignment. The steam helps the fibers realign, reducing visible imperfections from removed stitches.
Once you’ve steamed, lay the fabric flat to dry, preserving its shape. After drying, inspect for any remaining holes and repeat the steaming process if necessary for ideal results.
Washing and Drying Methods
While removing incorrect stitches can leave your fabric in need of care, washing and drying it properly is essential to minimize damage.
Hand wash your fabric using a mild detergent, as this gentle method prevents harsh agitation that could worsen wear.
After washing, lay the fabric flat to dry; hanging can distort its shape and stress the fibers.
If needed, apply steam from a safe distance with an iron to reset the weave and close small holes.
Once dry, gently iron on a low setting with a pressing cloth to protect delicate fibers and reduce wrinkles without risking holes.
Cleaning Up After Stitch Removal
To guarantee a successful shift to your next embroidery project, it’s essential to thoroughly clean up after removing stitches. Use a lint roller to pick up thread dust and inspect for any stuck threads. Utilize seam rippers and fine-tipped tweezers to extract stubborn bits.
| Step | Tool | Purpose |
|---|---|---|
| Lint Rolling | Lint Roller | Remove dust and debris |
| Thread Extraction | Seam Rippers/Tweezers | Remove stuck threads |
| Workspace Cleaning | Soft Brush | Catch remaining fibers |
| Organization | Various Tools | Prepare for future projects |
Clean your workspace to guarantee a smooth process.
User Testimonials on Stitch Removers
User testimonials reveal that specialized stitch removers, like Peggy’s stitch eraser, considerably cut down the time needed for stitch removal while ensuring a clean finish.
Users also report impressive longevity and effectiveness, with tools lasting through multiple projects.
Rechargeable options enhance convenience, making them ideal for long embroidery sessions.
Recommended Tools Overview
When it comes to removing wrong stitches in embroidery, selecting the right tools can make all the difference. Users often recommend Peggy’s Stitch Eraser for its efficiency and longevity, greatly reducing time spent on stitch removal.
Electric stitch removers are praised for their rechargeable feature, eliminating battery hassles. For detailed areas, manual tools like seam rippers and embroidery scissors provide the necessary precision.
Having a variety of tools, including tweezers and stitch erasers, is essential for tackling different stitches and fabrics effectively. Always practice on scrap fabric before using these tools on your actual projects to minimize damage and guarantee proficiency.
Time-Saving Benefits
Although many embroiderers initially rely on traditional seam rippers for stitch removal, switching to electric stitch removers can drastically cut down the time spent on corrections.
Users report significant time savings with tools like Peggy’s stitch eraser, enhancing productivity and reducing frustration.
Here are some key benefits:
- Precision for clean removal without fabric damage
- Efficient handling of dense stitching
- Rechargeable options for uninterrupted use
- Increased productivity on embroidery projects
- Improved overall quality of finished work
Longevity and Effectiveness
Many embroiderers have found that investing in electric stitch removers, like Peggy’s Stitch Eraser, greatly enhances both longevity and effectiveness.
Users appreciate the rechargeable feature, allowing for extended use without constant battery changes. Testimonials frequently highlight the improved precision and ease of use when employing specialized stitch removers, reducing the risk of fabric damage.
Regular maintenance, such as cleaning and replacing blades, further boosts performance and lifespan.
Troubleshooting Common Stitch Removal Issues
As you tackle the removal of unwanted stitches in embroidery, it’s crucial to address common issues that may arise during the process.
Here are some tips for troubleshooting:
- Start from the back of the embroidery and target bobbin thread first.
- If you encounter resistance, stop and reassess to avoid fabric damage.
- For dense satin stitches, cut every third or fourth bobbin stitch.
- Use fabric softener or rubbing alcohol on stubborn threads to soften them.
- Make sure your workspace is well-lit and consider a magnifying lens for precision.
These strategies will help you remove stitches gently and effectively, preserving your fabric.
Long-Term Tool Maintenance and Care
To guarantee your stitch removal tools remain effective and reliable, regular maintenance is essential. Clean your seam ripper and other stitch removal tools frequently to prevent thread buildup. Replace blades in electric stitch erasers as needed, guaranteeing peak performance. Store tools in protective packaging to prevent damage and dulling. Lubricate blades monthly with manufacturer-recommended products to extend their lifespan. Check for wear signs, like difficulty cutting threads, indicating it’s time to replace your tools.
| Maintenance Task | Frequency | Purpose |
|---|---|---|
| Clean Tools | After each use | Prevent thread buildup |
| Replace Blades | As needed | Guarantee cutting efficiency |
| Lubricate Blades | Monthly | Extend tool lifespan |






