
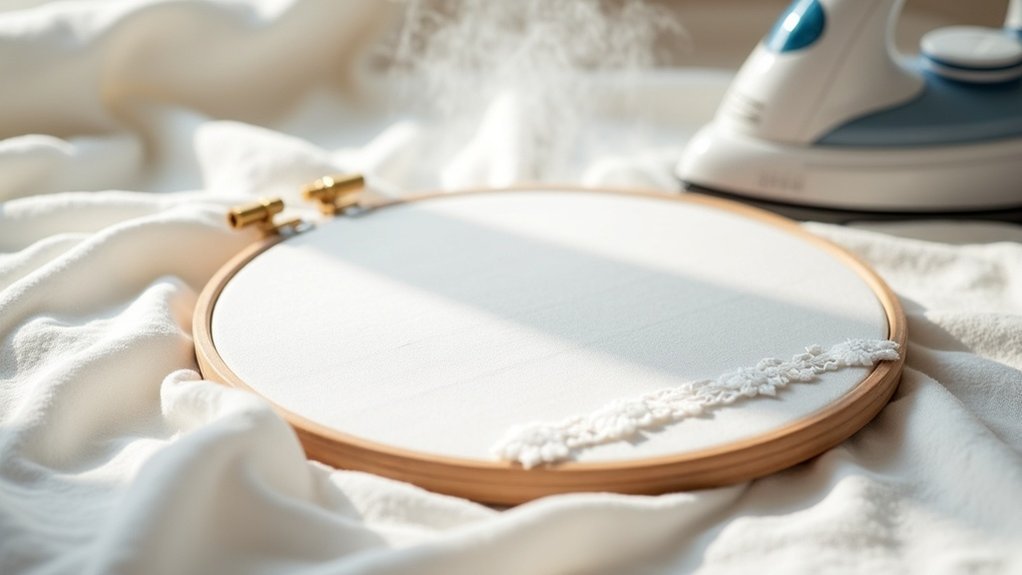
To remove embroidery hoop creases, start by using a steam iron on low to gently relax the fabric without pressing hard. Hold the iron above the surface to avoid direct heat. After steaming, use a lint roller to lift any remaining creases and stray threads, being careful not to tug on stitches. To prevent future marks, take breaks during stitching and consider using a protective cloth between the fabric and hoop. Discover more tips for maintaining your projects!
Key Takeaways
- Use a steam iron on low or medium heat, holding it above the fabric to gently relax creases without pressing hard.
- Test steam on a small area first to ensure colorfastness before applying it to the entire fabric.
- Gently roll a lint roller over the fabric to lift residual hoop marks and stray threads without damaging stitches.
- Remove the fabric from the hoop during long stitching sessions to prevent deep creases from forming.
- Consider placing a soft cloth or handkerchief between the fabric and hoop to minimize creasing while stitching.
Causes of Embroidery Hoop Creases
When you leave your fabric under tension in an embroidery hoop for too long, you might notice creases forming that can be difficult to remove. Prolonged tension compresses fibers, creating permanent hoop marks and deep creases.
Lighter or looser weaves are particularly susceptible, as they can’t withstand extended pressure without damage. Dust and dirt accumulations around the hoop edge also contribute to additional creasing, as the fabric remains tightly bound.
Regularly adjusting tension and taking breaks is essential to maintain your fabric’s natural texture and appearance, preventing those unwanted marks and creases that can mar your beautiful embroidery work.
Effective Steam Iron Techniques
Although creases can be frustrating, effective steam iron techniques can help restore your fabric to its original beauty.
Start by using a steam iron set to low or medium heat. Hold it a few inches above the fabric, allowing steam to penetrate for a couple of minutes. This gentle approach helps relax the threads and remove excess creases without damaging your work.
Remember, don’t press hard; let the steam do its job. Always test on an inconspicuous area first to verify colorfastness.
If needed, finish with a lint roller to lift any remaining creases without pulling on the fabric.
Using a Lint Roller for Touch-Ups
After you’ve effectively steam ironed your fabric, a lint roller comes in handy for those final touch-ups. Gently roll it across the surface to lift any stray threads or lint, ensuring you avoid pulling on the stitches. If the roller feels too sticky, try rolling it on clothing first to reduce its adhesiveness. This tool not only cleans but also helps remove residual hoop marks without heavy pressure. Regular use keeps your finished pieces looking pristine.
| Lint Roller Use | Tips |
|---|---|
| Remove loose threads | Roll lightly |
| Lift lint | Avoid oversticking |
| Clean residual marks | Use on finished pieces |
| Maintain fabric appearance | Roll on clothing first |
| Protect stitches | Keep it gentle |
Preventing Future Creases
To keep your embroidery projects looking their best, it’s crucial to take proactive steps in preventing future creases.
During long stitching sessions, regularly remove the fabric from the hoop to let it relax, avoiding prolonged tension.
Make certain you use a protective layer, like a soft cloth, between the fabric and the hoop to minimize hoop marks.
When securing your fabric, verify it’s taut but not overly tight, as excessive tension can create deep creases.
Finally, cover your finished piece with a clean cloth when not in use, and consider square stretchers for better support without creasing.
Community Tips and Experiences
When tackling embroidery hoop creases, many in the crafting community have shared invaluable tips and experiences that can help you achieve smoother results.
If you’ve recently started your embroidery journey, consider using a steam iron to gently relax your fabric and thread without pressing hard—lots of steam works wonders.
Even though it might seem simple, a lint roller can reposition crushed stitches while removing any residual lint.
Remember to remove the hoop regularly during stitching to prevent long-term creases.
Some crafters suggest placing a handkerchief between the hoop and fabric, and square stretchers can be a great alternative to avoid creases altogether.






