
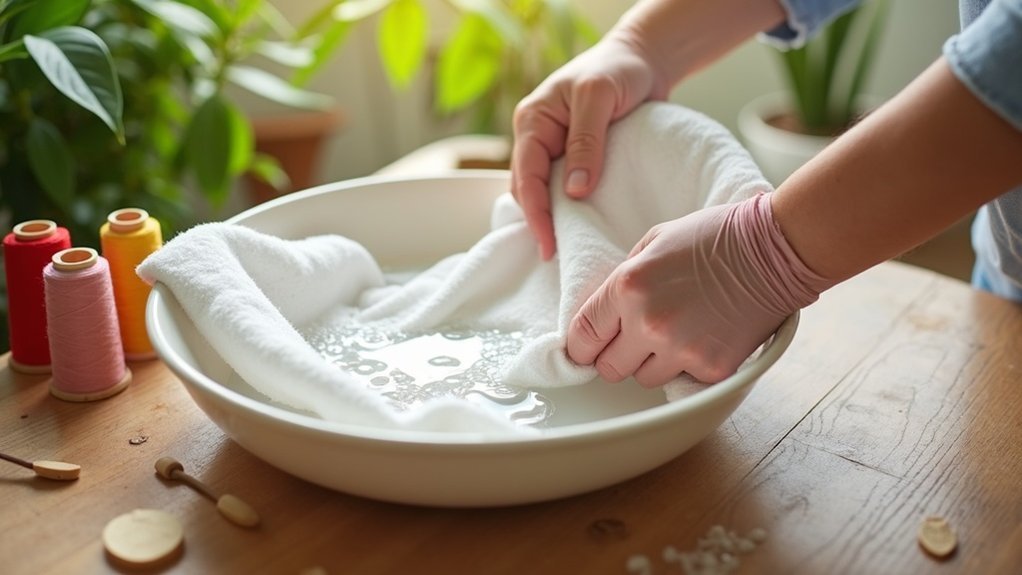
To prewash embroidery fabric and prevent bleeding, wash it in cold water on a gentle cycle using a mild detergent. Add a color catcher sheet to absorb excess dye. Soak known bleeders in cool water with fabric softener before washing. Air dry or use a low heat setting to minimize shrinkage. Always test for colorfastness with a wet paper towel before starting your project for best results. There’s more to learn to guarantee your fabric stays vibrant.
Key Takeaways
- Wash fabric in cold water on a gentle cycle using a mild detergent to minimize agitation and protect its integrity.
- Use a color catcher sheet to absorb excess dye during the washing process.
- Soak fabric in cool water with fabric softener for known bleeders before washing to help release excess dye.
- Test the colorfastness of threads and fabrics with a wet paper towel before beginning your embroidery project.
- Gently press and air dry the prewashed fabric to avoid setting any residual dye with high heat.
Importance of Prewashing Embroidery Fabric
When you commence on an embroidery project, prewashing your fabric isn’t just a suggestion—it’s a necessity. Prewashing removes excess dyes and chemicals that may cause bleeding, ensuring the integrity of your finished work.
Natural fibers, such as cotton and linen, can shrink 5% to 10%, so prewashing is essential for maintaining accurate measurements. It prevents color transfer, especially with vibrant colors prone to bleeding.
Steps for Effective Prewashing
With the importance of prewashing established, you can now follow specific steps to guarantee your embroidery fabric is properly prepared.
Understanding the significance of prewashing is essential for ensuring your embroidery fabric is ready for use.
- Wash your fabric in cold water on a gentle cycle to reduce agitation and remove excess dye.
- Use a mild detergent, or just a quarter of your usual amount, to preserve fabric integrity.
- Be sure to use a color catcher sheet to absorb any excess dye during the wash.
After washing, air dry the fabric or use a low heat setting in the dryer to prevent shrinkage.
For known bleeders, soak in cool water with fabric softener before washing.
Best Practices for Preventing Color Bleeding
To effectively prevent color bleeding in your embroidery projects, start by mastering prewash techniques that target dye removal.
Choose high-quality threads that complement your fabric’s colorfastness, ensuring they won’t contribute to bleeding.
Additionally, test colorfastness with a wet paper towel to identify any potential issues before you begin stitching.
Prewash Techniques Overview
Before diving into your embroidery project, it’s essential to prewash your fabric to prevent unwanted color bleeding.
Here’s a prewash techniques overview:
- Use cold water on a gentle cycle for natural fibers like cotton and linen to minimize shrinkage and dye release.
- Soak the fabric for 30 minutes to an hour to help release any excess dye.
- Always test a small swatch for colorfastness to identify potential bleeding issues before fully prewashing.
Quality Thread Selection
Selecting the right thread plays a significant role in preventing color bleeding during your embroidery projects.
Prioritize quality thread selection by choosing high-quality polyester threads, which are less likely to bleed than rayon, especially in vibrant colors like red and blue.
Reputable brands, such as DMC, offer better colorfastness, but always test colors for bleeding. Prewash threads by soaking a small sample in water and checking for dye transfer.
Avoid threads labeled as “boilfast” without testing their reliability. Keep records of thread performance to enhance your future projects, ensuring a better crafting experience for you and those you serve.
Colorfastness Testing Methods
How can you guarantee your embroidery project remains vibrant and free from color bleeding? Start with effective colorfastness testing methods:
- Soak small samples of fabric and thread in water, checking for color transfer onto a wet paper towel.
- Use Retayne on threads that may bleed, making certain they stay vibrant through washes.
- Prewash all materials with a gentle detergent to release excess dye.
Keeping records of your test results will empower you to make informed choices for future projects, particularly with materials known for bleeding.
This proactive approach guarantees your embroidery remains beautiful and intact over time.
Testing for Colorfastness
To guarantee your embroidery project maintains its integrity, start by soaking thread samples to test for colorfastness.
If you notice any bleeding, applying Retayne can effectively set the dye and prevent future issues.
Additionally, conducting mock-up tests with small fabric pieces helps identify compatibility problems between threads and fabrics early on.
Soaking Thread Samples
Before diving into your embroidery project, it’s essential to test the colorfastness of your thread samples by soaking them in water. This process helps you spot any potential bleeding before you begin.
Follow these steps for accurate results:
- Use a wet paper towel to place the soaking thread samples, allowing you to check for dye transfer.
- Soak the samples in water similar to what you’ll use for your final project.
- If you notice color bleeding, consider treating the thread with Retayne for improved colorfastness.
Conducting these tests prevents disappointment and protects your completed work from damage.
Using Retayne Effectively
After testing the colorfastness of your thread samples, using Retayne can further enhance your project’s success by preventing dye bleeding.
To use it effectively, dissolve Retayne in warm water as per the package instructions. Submerge the fabric or thread for the recommended duration, allowing the fixative to set excess dye.
Always test colorfastness first by soaking a small fabric sample; if color bleeds onto a white towel, proceed with caution.
After applying Retayne, rinse the treated fabric until the water runs clear to eliminate any residual fixative, ensuring the quality of your materials remains intact.
Mock-Up Testing Importance
Although many crafters are enthusiastic to plunge into their embroidery projects, conducting mock-up tests is crucial for ensuring the colorfastness of your materials. By testing samples, you can avoid serious issues down the line.
Here are key steps:
- Soak fabric and thread samples together to identify potential bleeding.
- Use a wet paper towel to check if any thread color transfers, indicating a risk.
- Pre-wash threads with a color catcher to determine their compatibility.
Engaging in mock-up testing allows you to make informed decisions about materials, ultimately preserving the quality of your completed embroidery work.
Handling and Drying Prewashed Fabric
Once you’ve prewashed your embroidery fabric, it’s crucial to handle it carefully to preserve its quality.
Gently press the fabric with an iron on a low setting to smooth out wrinkles, avoiding heat that could set residual dye. If you’ve serged or zigzagged the edges, this will help prevent fraying during drying.
For drying, lay the fabric flat or hang it to air dry, steering clear of direct sunlight to prevent fading. If you opt to tumble dry, select a low heat setting to minimize shrinkage and protect the fibers.
Always check the care label for specific instructions.
Common Mistakes to Avoid When Prewashing
When prewashing embroidery fabric, it’s essential to avoid common mistakes that can compromise your project. Here are key pitfalls to steer clear of:
- Using hot water: It can cause vibrant dyes, like red and blue, to bleed.
- Skipping gentle cycles: Harsh settings damage fibers and lead to uneven shrinkage.
- Overusing detergent: Stick to a quarter of the usual amount to prevent residue affecting texture and color.
Always test fabric colorfastness before prewashing, and never wash fabrics with differing colorfastness levels together to avoid dye transfer.
Following these guidelines guarantees your fabric remains vibrant and ready for beautiful embroidery.






