
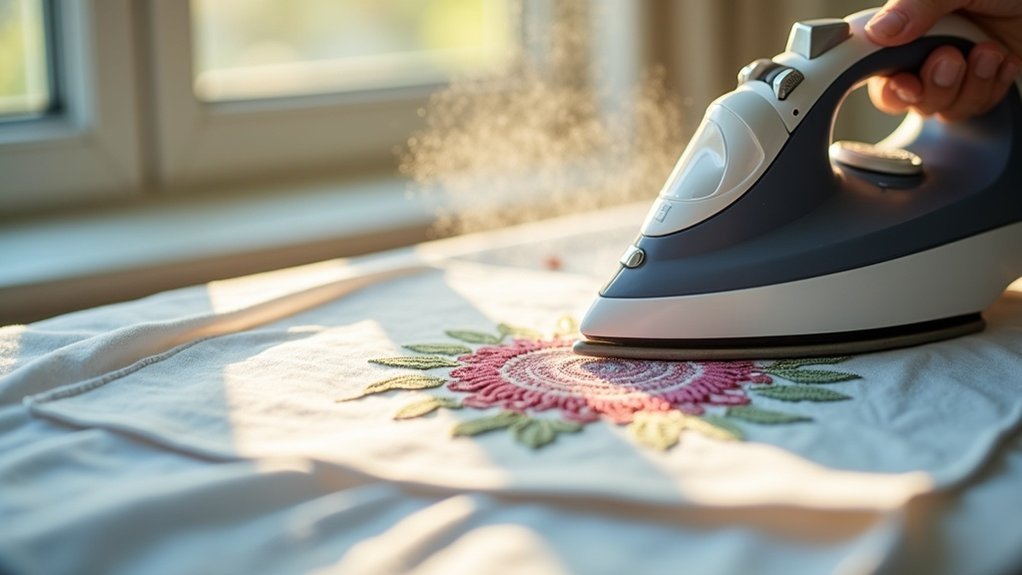
To safely press finished embroidery, start by laying a clean towel on a flat surface and position your piece face down. Use a pressing cloth made from cotton or linen to cover the embroidery. Adjust your iron to the appropriate heat setting based on the fabric—lower for delicate threads. Employ a pressing and lifting technique, applying steam sparingly. For stubborn wrinkles, iron around the embroidery and stretch puckered areas gently. Keep going to discover more tips and techniques!
Key Takeaways
- Lay the embroidery face down on a soft towel and cover it with a clean cotton or linen cloth before pressing.
- Adjust the iron settings based on the fabric type, using lower heat for delicate threads like silk.
- Use a pressing and lifting technique instead of sliding the iron to prevent damaging stitches.
- Apply steam or mist with distilled water to relax fibers, but avoid intense steam on delicate threads.
- Iron around stubborn wrinkles and gently stretch puckered areas, leaving the fabric in position overnight if necessary.
Preparing for Ironing Hand Embroidery
Before you start ironing your hand embroidery, it’s essential to set up a proper workspace to secure the best results.
Begin by laying a clean towel on a flat surface; this will act as a cushioning base. Next, position your embroidery piece face down on the towel.
Lay a clean towel on a flat surface to create a cushioning base, then place your embroidery piece face down on it.
Carefully cover it with a clean cotton or linen fabric to protect the stitches from direct heat. Confirm you have your iron ready, along with the fabric covering and towel.
This preparation preserves the integrity of your work, especially if you have raised stitches that need extra cushioning during the ironing process.
Iron Settings and Techniques
To achieve the best results when ironing your finished embroidery, you’ll need to adjust your iron settings based on the fabric type. Use cotton or linen settings for those fabrics, while opting for lower heat on silk to prevent damage.
Always press and lift the iron instead of sliding it; this technique prevents distortion of your stitches. Enhance wrinkle removal by employing steam and misting with distilled water, allowing fibers to relax.
After pressing, pause before lifting the iron to maintain heat effectiveness. Finally, protect your embroidery by placing a thin fabric cover over it to shield the stitches from direct heat.
Best Practices for Pressing
To achieve the best results when pressing your finished embroidery, start by preparing a proper ironing surface.
Make certain you adjust the iron’s settings based on the specific fabric and thread types, and employ a careful pressing technique to protect raised stitches.
These steps will help maintain the quality of your work while effectively removing wrinkles.
Ironing Surface Preparation
An effective ironing surface is essential for successfully pressing finished embroidery. Start by laying a soft, fluffy towel, preferably flannel, to cushion your embroidered piece.
Place the item face down on the towel to protect the raised stitches and threads. Cover the embroidery with a clean cotton or linen fabric to shield it from direct heat.
Gather all necessary materials, including the iron set to the appropriate temperature, to avoid interruptions.
Appropriate Iron Settings
While pressing finished embroidery, selecting the appropriate iron settings is essential to prevent damage to your work. Adjust the heat according to the fabric; use cotton or linen settings for those materials, and lower heat for silk threads.
Always place a thin fabric over your embroidery to shield it from the hot iron, protecting delicate stitches. Employ a pressing motion, lifting the iron after each press to maintain integrity.
Additionally, mist the embroidery with distilled water to relax stubborn wrinkles without excess heat. Avoid pressing water-dyed threads or fabrics, as heat can cause the dye to bleed, ruining your piece.
Pressing Techniques and Tips
When pressing finished embroidery, employing effective techniques can greatly enhance the appearance of your work.
Start by preparing a sandwich: lay a soft towel underneath, place the embroidery face down, and cover it with a clean fabric to protect raised stitches.
Adjust your iron settings according to the fabric type, using lower heat for delicate threads. Instead of sliding the iron, press down and lift straight up.
Misting the fabric with distilled water helps remove stubborn wrinkles. For tough areas, iron around the embroidery first and use a thin covering directly over it to safeguard while applying heat.
Special Considerations for Delicate Threads
When working with delicate threads like silk or metallic, you need to be cautious about heat exposure.
Set your iron to a lower temperature, using the silk or synthetic setting, and always incorporate a pressing cloth to protect the threads.
Thread Type Sensitivity
To guarantee the best results when pressing embroidery made with delicate threads, you need to be particularly mindful of the heat and pressure applied.
Set your iron to a low temperature, as delicate threads like silk or metallic can melt or sustain damage. Always place a thin cotton cloth between the iron and your hand embroidery to prevent direct contact.
Use a gentle pressing motion instead of sliding the iron, preserving stitch integrity. While steam can help, avoid intense or direct application.
Finally, refrain from washing or ironing hand-dyed threads to prevent color bleeding or fading.
Heat Exposure Risks
Pressing embroidery requires a keen awareness of heat exposure risks, particularly for delicate threads. High heat can melt or discolor silk and metallic threads, so you must adjust your iron settings accordingly.
For hand-dyed threads, avoid ironing altogether to prevent dye bleeding. Ascertain all markings are washed out before pressing, as blue ink from water-soluble markers can become permanent when heated.
Always use a thin, clean fabric as a barrier between the iron and embroidery to protect delicate threads. Employ steam or misting with distilled water to relax fibers, allowing you to gently press without compromising their integrity.
Tackling Stubborn Wrinkles
How can you effectively tackle stubborn wrinkles in your finished embroidery? Start by ironing around the embroidered area to help the fabric relax. Use a thin fabric covering during pressing to protect the embroidery from heat damage. Gently stretch any puckered areas and consider using photo frames or clips to hold the fabric in position. Leaving the stretched fabric overnight can help maintain its new shape.
| Step | Action | Purpose |
|---|---|---|
| 1. Ironing | Iron around the embroidery | Relax the fabric |
| 2. Protecting | Use a thin fabric covering | Prevent heat damage |
| 3. Stretching | Stretch puckered areas gently | Remove stubborn wrinkles |
Final Touches and Care
While you may be keen to display your finished embroidery, taking a few final steps can considerably enhance its appearance and longevity.
Always place your piece face down on a soft towel, covering it with a thin fabric before pressing. Adjust the iron temperature based on the fabric type, using lower heat for delicate threads.
Place your embroidery face down on a soft towel, using a thin fabric cover and adjusting the iron temperature as needed.
Employ a pressing motion, allowing the iron to rest briefly to effectively remove wrinkles. Mist your embroidery lightly with distilled water beforehand to improve steam efficiency and protect threads.
Iron around the embroidered area first to prevent puckering, then address the needlework directly.
Community Tips and Techniques
After taking the necessary steps to care for your finished embroidery, you can benefit from insights shared by the community.
Always place your embroidery face down on a soft surface like a towel to protect the raised stitches during pressing. Use a clean piece of fabric to cover the embroidery while you iron, shielding it from direct heat.
Adjust your iron settings based on the fabric type—lower heat for delicate materials and higher for cotton or linen. Lightly mist the fabric with distilled water before pressing to release stubborn wrinkles, and gently press down, lifting the iron after each movement.






