
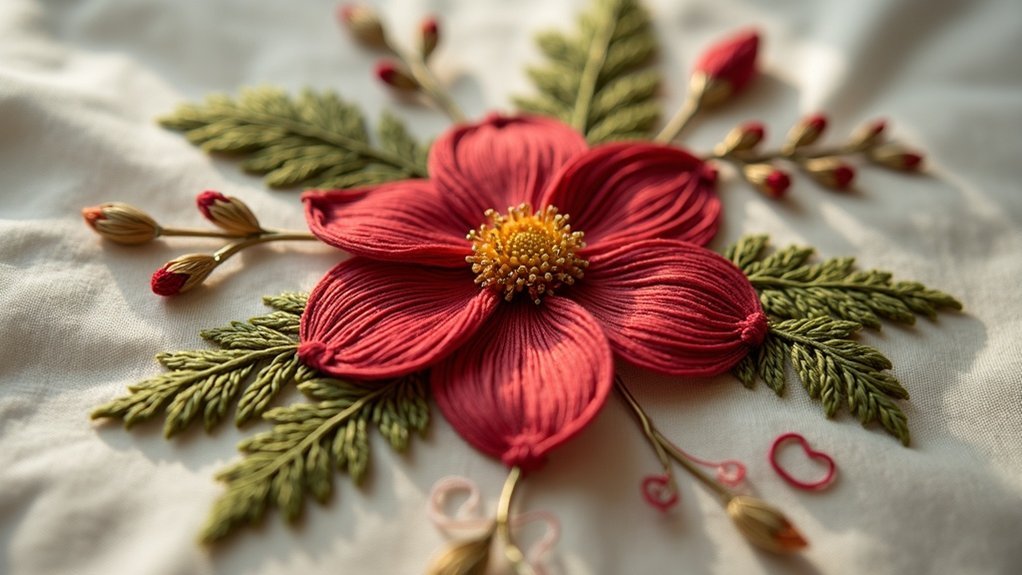
To plan focal points in your embroidery compositions, start by identifying the main subject that resonates with your theme. Use contrasting colors and unique textures to draw attention. Arrange elements to guide the viewer’s eye, utilizing diagonal lines and size variations. Create balance by mixing shapes, ensuring larger elements capture immediate focus while smaller ones add interest. Finally, test your design on scrap fabric for adjustments. There’s more to discover about enhancing your pieces creatively.
Key Takeaways
- Identify a primary focal point, supported by two secondary points, to create a clear hierarchy in your composition.
- Use contrasting colors and textures to draw attention to the focal areas effectively.
- Arrange elements with diagonal lines or curves to guide the viewer’s eye towards the main focal point.
- Experiment with varying sizes of motifs to enhance interest and create a dynamic visual balance.
- Test designs on scrap fabric to make real-time adjustments and ensure effective placement of focal points.
Identifying the Main Subject for Your Composition
When commencing your embroidery project, the heart of your design lies in the main subject. To identify your central motif, start by determining the theme that resonates with your intent.
Consider the garment type and its purpose—this will guide your focal points for visibility and appeal. Evaluate the size and scale of your design; make sure your main subject is proportionate and distinct without overwhelming the fabric.
Use contrasting colors or unique textures to draw the viewer’s eye. Finally, sketch preliminary layouts to refine your embroidery placement, making certain the main subject harmonizes with surrounding elements before finalizing your design.
Utilizing Color and Texture for Emphasis
To make your focal points truly stand out in embroidery, you’ll want to harness the power of color contrast and texture.
Bright, vivid hues can pull the eye, while varied textures add a tactile dimension that engages viewers on multiple levels.
Color Contrast Techniques
Color contrast techniques play an essential role in elevating your embroidery designs by drawing attention to focal points through the strategic use of complementary and contrasting colors.
By pairing dark and light shades, or employing vibrant opposites, you can enhance the visual appeal of specific motifs, effectively guiding the viewers’ eyes. Incorporating smooth and textured stitches adds a tactile dimension, further emphasizing those focal points.
Experiment with gradients and color shifts to create depth; lighter colors advance while darker tones recede. This thoughtful placement of color and texture guarantees that your focal points resonate harmoniously within the overall composition, enchanting your audience.
Textural Layering Effects
Textural layering in embroidery transforms flat designs into dynamic works of art, enchanting viewers through varied surface textures.
By combining stitch types like satin and French knots, you can create depth that draws attention to your visual anchor. Start with broader, low-density stitches to establish a foundation, then refine with detailed, high-density stitches on top.
Experimenting with thread thickness replicates natural textures, enhancing specific areas. Remember, using contrasting colors can emphasize focal points, while managing stitch density and tension guarantees your layered designs maintain their integrity.
This results in well-defined and appealing embroidery designs that captivate your audience.
Strategic Color Placement
Five key strategies can elevate your embroidery projects by harnessing the power of strategic color placement.
Start by using contrasting colors to guide the viewer’s eye toward your focal points, enhancing intricate designs.
Employ a cohesive color palette with gradients to create depth, drawing attention while ensuring harmony.
Experiment with light and shadow effects to add dimension, making elements advance or recede in your composition.
Layer textures with complementary colors to amplify emphasis on focal areas.
Finally, vary stitch types and densities alongside color choices, enriching tactile appeal and making your focal points truly pronounced.
Arranging Elements to Guide the Viewer’s Eye
When you arrange elements in your embroidery, think about how each piece can lead the viewer’s eye through the design.
Utilize a strategic approach for your focal points to create a cohesive flow:
- Establish a primary focal point with two secondary ones.
- Incorporate diagonal lines or curves for dynamic movement.
- Group related elements for visual contrast and clarity.
- Experiment with varying sizes of motifs to enhance interest.
- Use subtle arrows or cues to direct the viewer’s gaze.
This thoughtful arrangement not only enhances your overall composition but also guarantees a fascinating journey for the viewer’s eye throughout your work.
Creating Balance With Shapes and Sizes
While crafting your embroidery, achieving balance through a thoughtful mix of shapes and sizes is essential for a harmonious composition.
Larger shapes act as focal points, drawing the eye immediately, while smaller shapes should be placed strategically to guide movement throughout the piece. This hierarchy enhances visual interest, allowing the viewer to appreciate the intricate details.
Don’t forget to incorporate varied textures and colors; they deepen the composition’s complexity. Additionally, consider negative space—it highlights your focal points and prevents overcrowding.
Incorporating Lines and Patterns for Cohesion
To create a cohesive embroidery piece, you’ll want to incorporate lines and patterns that not only connect your focal points but also enhance the overall design.
Consider these key elements:
- Use directional lines to guide the viewer’s eye.
- Experiment with varied patterns for thematic reinforcement.
- Maintain consistent line weight for harmony.
- Layer patterns with different densities to add depth.
- Choose curves or diagonals to evoke movement.
Testing and Adjusting for Visual Appeal
Before you finalize your embroidery design, testing and adjusting are essential steps that can elevate its visual appeal.
Start by experimenting on scrap fabric—this allows for real-time adjustments while ensuring your focal points align with your vision. Vary the size and scale during testing to discover which placements create the most engaging compositions.
Don’t forget to use different thread colors and textures; they’ll reveal how these elements interact. Document your results for future reference, helping enhance design consistency.
Thoughtful adjustments, like shifting a focal point or altering its scale, can greatly improve the viewer’s experience and balance.






