
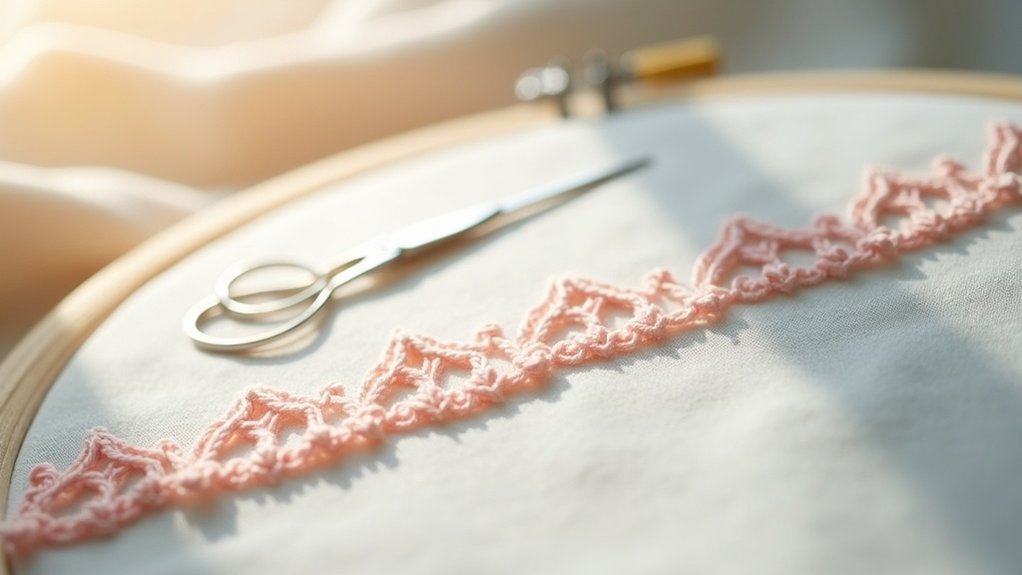
To create a picot stitch in embroidery, start by securing a pin at the desired picot’s top. Bring your thread up through the fabric, wrap it around the pin, and stitch back down three times. Weave the thread around the foundation threads by alternating under and over. Finally, secure your stitch by bringing the needle down through the fabric and removing the pin. For more tips and variations to enhance your embroidery, you might want to explore further techniques!
Key Takeaways
- Secure a pin at the top of your desired picot before starting the stitching process.
- Bring the embroidery thread up through the fabric and wrap it around the pin, then stitch back down three times.
- Weave the thread around the foundation threads, alternating between under and over movements for texture and stability.
- Once finished, secure the stitch by bringing the needle down through the fabric and remove the pin.
- Experiment with different thread types and variations in prong lengths to create unique picot designs.
Required Materials for Picot Stitch
To successfully create a woven picot stitch, you’ll need a few essential materials that guarantee your embroidery project is both sturdy and visually appealing.
Start with hooped cotton fabric like unbleached muslin or calico for a strong base. Use DMC six strand embroidery thread for its quality, or opt for #8 perle cotton for sharper definition.
An embroidery needle size 8 or larger will help accommodate the thread’s thickness. Don’t forget a sewing pin to secure your stitch during weaving, ensuring stability.
Finally, keep scissors handy for cutting thread and adding those finishing touches to your beautiful design.
Step-by-Step Guide to Creating Picot Stitch
With your materials gathered and ready, you’re all set to start stitching the picot. Follow these steps to create a beautiful woven picot stitch:
Gather your materials and get ready to create a stunning woven picot stitch with these simple steps!
- Position a pin at the top of your desired picot.
- Bring your floss up through the fabric, wrap it around the pin, and stitch back down, forming three stitches.
- Weave the thread around these foundation threads, alternating under and over, until you reach the base.
Finally, secure the stitch by bringing the needle down through the fabric. Remove the pin, and admire your neat, dimensional picot stitch—a lovely addition to your hand embroidery!
Weaving Techniques and Tips
When weaving your picot stitch, mastering a few key techniques can greatly enhance your results. Start by using a pin to secure your foundation threads, creating a stable base.
Alternate between under and over movements across the prongs, experimenting with directions for varied texture and tension. For the best definition, choose fine threads like #8 perle cotton or buttonhole silk, avoiding standard embroidery floss.
Keep your prongs at a maximum length of 1.5cm to prevent sagging. You can also experiment with three or five prongs to add unique shapes and visual interest to your embroidery stitches.
Happy weaving!
Variations and Applications of Picot Stitch
Picot stitch variations offer a wealth of creative opportunities in embroidery, allowing you to enhance your designs with unique elements.
Here are three inspiring applications for your picot stitch:
- Detached Woven Picots: Manipulate prongs for dynamic shapes, adding visual intrigue.
- Woven Picot for Floral Designs: Craft three-dimensional petals and leaves, bringing your flowers to life.
- Thread Choices: Experiment with perle cotton or stranded silk to personalize the appearance of your picot stitch.
Incorporate these variations into stumpwork or surface embroidery, and watch your textile art flourish as you thread around each delightful detail!
Additional Resources for Embroidery Enthusiasts
As you dive deeper into the world of embroidery, finding quality resources can greatly elevate your skills and creativity. Here are some fantastic options to take into account:
| Resource | Description | Access |
|---|---|---|
| Needle n Thread | Extensive videos for various techniques, including woven picot stitch. | [Visit Site](https://www.needlenthread.com) |
| Amazon Recommendations | Curated supplies and books to enhance your skills. | [Explore on Amazon](https://www.amazon.com) |
| Mary Corbet’s Site | A wealth of tutorials and tips for all skill levels. | [Check it Out](https://www.needlenthread.com) |
Take the thread, support platforms like Needle n Thread via Patreon, and share your projects using your email address!






