
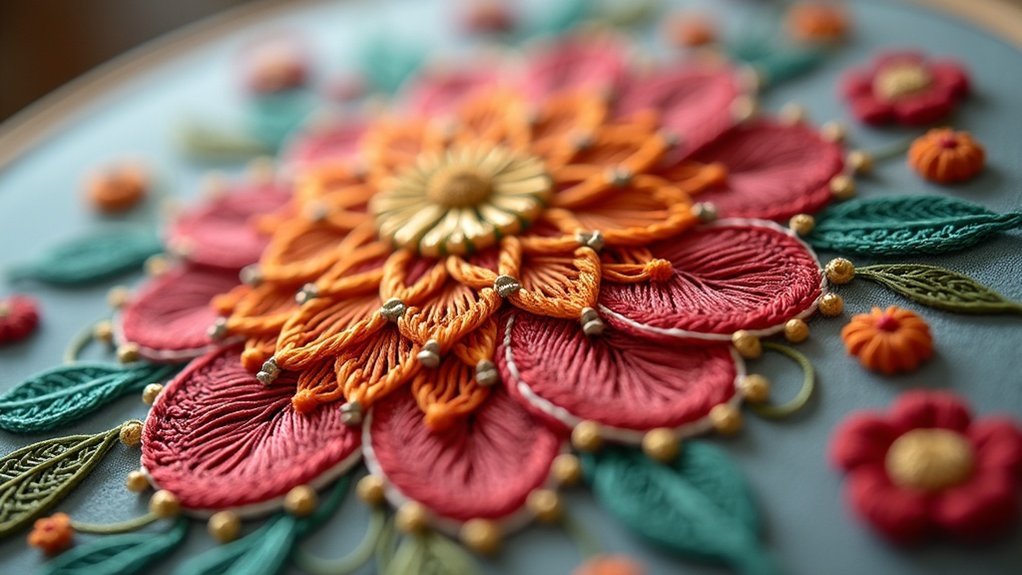
To photograph embroidery for your portfolio, use a DSLR or a high-quality smartphone. Set your aperture between f/8 and f/16 for detailed focus, keep ISO at 100-200, and use a shutter speed of at least 1/60 seconds. Utilize natural light or a light box for soft illumination, and mount your piece flat or on a wall. Edit your images for brightness, contrast, and color corrections to enhance appeal. Keep going to discover more tips for showcasing your work effectively!
Key Takeaways
- Use a DSLR or high-quality smartphone, adjusting settings like aperture (f/8-f/16) and ISO (100-200) for optimal image clarity.
- Utilize natural light or a light box to achieve soft, even illumination without harsh shadows or glare.
- Position your embroidery flat or mounted to avoid distortion, and use a clean, simple backdrop for focus.
- Experiment with angles and distances to highlight texture and detail, capturing the craftsmanship effectively.
- Edit photos for brightness, contrast, and color accuracy, ensuring a professional appearance in your portfolio.
Importance of High-Quality Embroidery Photography
When you capture high-quality images of your embroidery, you not only showcase your craftsmanship but also elevate the overall appeal of your projects.
These professional-grade photos enhance presentation, drawing potential clients and audiences in. High-quality embroidery photography signals superior craftsmanship and meticulous attention to detail.
Professional-grade embroidery photos captivate audiences, showcasing exceptional craftsmanship and attention to detail.
Clear, well-lit images create a visual record of your completed works, making it easier to highlight your skills in an online portfolio. Additionally, quality photos boost your online presence, increasing viewer engagement on social media and e-commerce sites.
High-resolution images are essential for printing and promotional materials, accurately representing your embroidery’s textures and colors.
Essential Camera Settings for Capturing Embroidery
To capture stunning images of your embroidery, you need to master essential camera settings that enhance your work’s detail and vibrancy.
Use a DSLR or a high-quality smartphone with manual controls. Set your aperture between f/8 and f/16 for a deeper field, ensuring everything’s in focus.
Keep your ISO at 100-200 to reduce noise, particularly in bright light. Choose a shutter speed of at least 1/60 seconds to avoid motion blur, or faster with a tripod.
Finally, enable grid lines on your screen for precise composition, centering your embroidery beautifully in the frame.
Happy photographing!
Effective Lighting Techniques for Embroidery Photography
Mastering camera settings lays the foundation for effective embroidery photography, but lighting can make or break your images.
Utilize natural light by positioning your work near windows or outdoors during early morning or late afternoon for soft, even illumination. If you need controlled conditions, a light box can diffuse light, minimizing glare and ensuring balanced exposure.
Incorporate reflectors to bounce light onto your embroidery, reducing harsh shadows. Stabilize your camera with a tripod to avoid shake, especially in low light.
Finally, experiment with backgrounds to enhance your piece’s visual appeal while maintaining even lighting throughout your setup.
Arranging and Positioning Your Embroidery
Arranging and positioning your embroidery correctly is essential for capturing its intricate details and vibrant colors.
Mount your piece on a wall or lay it flat on a table to avoid distortion while taking photos. Use diagonal threads to find the center, ensuring your focal point shines.
For ideal lighting, choose a well-lit area, like near a window, and control the background for visual appeal. A photography booth made of white foam core can create a clean backdrop that reflects light evenly.
Experiment with various angles and distances to showcase the texture and detail of your embroidery effectively.
Tips for Editing Your Embroidery Photos
Editing your embroidery photos can greatly enhance their visual appeal, bringing out the intricate details and vibrant colors.
To achieve stunning results, follow these tips using free or inexpensive editing tools:
- Adjust brightness and contrast to guarantee true-to-life colors.
- Remove distracting backgrounds with one-click features for a professional look.
- Perform color correction to enhance the vibrancy of threads and fabrics.
Maintain consistency in your portfolio by using similar cropping proportions and adjustments.
Finally, compress images with tools like tinyjpg.com to optimize loading times without sacrificing quality.
This way, your work shines beautifully online!
Showcasing Your Work in Context
When you showcase your embroidery in context, you give viewers a tangible sense of its place in everyday life.
Use natural settings and thoughtful background choices to enhance your work’s appeal, ensuring the surroundings complement rather than overshadow it.
Contextual Background Choices
Selecting the right background for your embroidery photography can greatly enhance its visual appeal and storytelling.
To create good photos, consider these options:
- Soft fabrics: Choose materials like linen or cotton that complement your embroidery without overshadowing it.
- Textured surfaces: Incorporate rustic wood or stone to add depth while keeping your work the focal point.
- Neutral tones: Opt for muted backgrounds that allow your colors and details to shine through.
Ensure consistent lighting between your embroidery and background to avoid mismatched shadows.
These choices will elevate your portfolio and showcase your artistry effectively.
Natural Settings Benefits
Natural settings can dramatically elevate your embroidery photography by placing your work in a context that enhances its beauty and narrative.
Shooting in gardens or parks creates harmony between your embroidery and the environment, making it feel alive. Soft, diffused natural light, especially during early morning or late afternoon, minimizes harsh shadows and highlights texture, resulting in professional images.
Incorporating natural elements like flowers or leaves adds an organic touch and tells a deeper story about your piece.
Ultimately, natural settings evoke emotions, allowing viewers to connect more intimately with your artwork by placing it in relatable, familiar contexts.






