
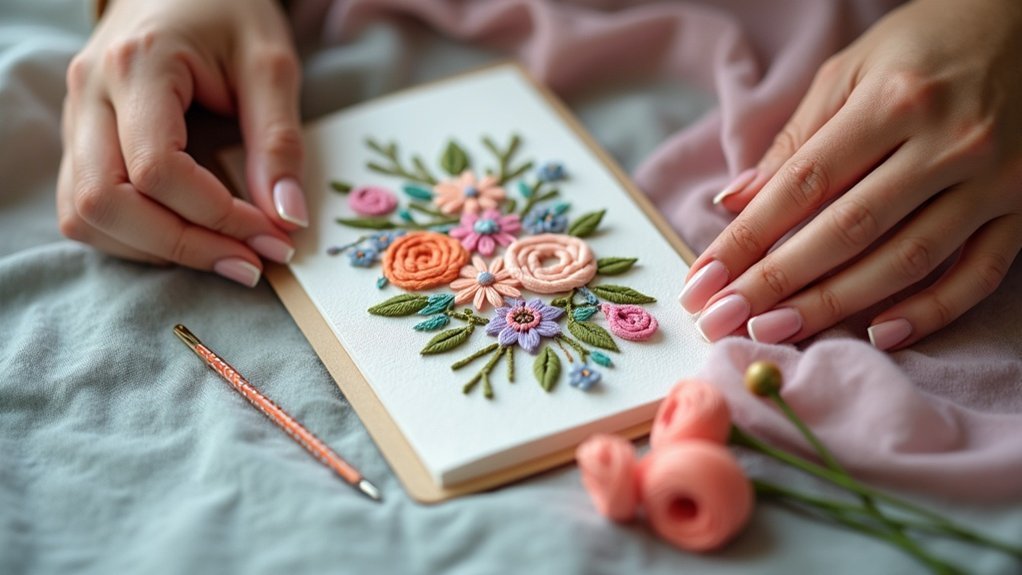
To mount your embroidery on greeting cards, start by cutting sturdy cardstock to 5 by 7 inches and folding it in half. Add interfacing on the back for stability and secure it with double-sided craft fuse tape and painters tape. Use a tear-away stabilizer beneath for aligning your design. Once your embroidery’s done, trim any excess stabilizer and cover the back with printer paper to give it a polished look. Want to elevate your card even further?
Key Takeaways
- Cut sturdy cardstock to 5 by 7 inches and fold it in half for the card base.
- Apply interfacing to the back of the card for added stability before embroidery.
- Secure the card to a tear-away stabilizer using double-sided craft fuse tape and painters tape.
- After embroidering, trim excess stabilizer and cover the back with a piece of printer paper for a polished finish.
- Enhance the card with decorative edges, embellishments, or layering techniques for a personalized touch.
Supplies Needed for Embroidered Cards
When you’re ready to create your embroidered greeting cards, having the right supplies is essential for a polished finish.
Start with a sturdy cardstock, weighing between 60 and 80 pounds, to guarantee durability. Make sure to include a sheet of white printer paper as a backing for a neat look.
Choose a sturdy cardstock between 60 and 80 pounds for durability, and add white printer paper for a polished backing.
For added stability during embroidery, apply interfacing to the back of the card. Choose a smaller needle, preferably a 65-9, to make precise holes for your intricate designs.
Finally, use double-sided craft fuse tape and half-inch painters tape to securely attach all materials, ensuring everything stays on the right side throughout the process.
Preparing the Card for Embroidery
With your supplies ready, it’s time to prepare the card for embroidery. Start by cutting your cardstock to 5 by 7 inches and fold it in half to form the base.
Next, apply interfacing to the back of the right side—this adds stability for stitching. Place a tear-away stabilizer beneath the card and create a placement line for alignment.
Use double-sided craft fuse tape and half-inch painters tape to secure the card to the stabilizer, ensuring the fold aligns with the line.
After stitching, trim away the stabilizer and cover the back with a pre-cut piece of white printer paper for a polished look.
The Embroidery Process
Now that you’ve prepared your card, it’s time to focus on the embroidery process.
Start by cutting your cardstock and applying interfacing for stability, then use a tear-away stabilizer to keep everything aligned during stitching.
With your materials ready, you can explore various stitching techniques that will bring your design to life on the card.
Material Preparation Steps
To kick off your embroidery project for greeting cards, first, prepare your materials meticulously. Start by cutting your cardstock to 5 by 7 inches and folding it in half for a sturdy card base.
Apply interfacing to the back, ensuring it’s on the right side where the embroidery will happen, adding stability. Next, use tear-away stabilizer for a placement line and secure the cardstock with adhesive and painter’s tape.
After stitching your outline, remove the backing before placing the fabric, matching thread for a seamless look. Trim excess stabilizer and cover the back with pre-cut printer paper for a polished finish.
Stitching Techniques Overview
As you commence on the embroidery process, understanding the various stitching techniques is essential for achieving beautifully crafted greeting cards.
Start by cutting your cardstock to a 5 by 7 inch size, folding it in half, and applying interfacing for stability. Use a tear-away stabilizer to align the card accurately, ensuring the fold matches the placement line.
Secure the card with double-sided craft fuse tape and half-inch painters tape. After stitching the outline, place your fabric over it and use matching thread for tack down stitches.
Finally, trim excess stabilizer and cover it with printer paper for a polished look.
Finishing Touches for a Polished Look
While you may have already poured your creativity into the embroidery, the finishing touches can elevate your greeting card to a whole new level of professionalism.
Follow these steps for a polished look:
- Trim away excess paper stabilizer from the back.
- Cover the back with a pre-cut piece of printer paper (4.75 by 7 inches).
- Use double-sided craft fuse tape to secure the backing paper, pressing firmly along the edges.
- Verify the card folds freely and looks neat.
These final details enhance your card’s appearance and show how much you care about the recipient.
Adding Decorative Elements
Decorative elements can transform your embroidered greeting card from simple to stunning, making it a true work of art.
Start by incorporating decorative edges using paper punches for intricate designs that elevate your card’s corners. Use corner punches with wings for precise placement and secure attachment.
Experiment with layering techniques, folding colored paper like red to create vibrant contrasts.
Enhance the card’s surface with embellishments like stickers, sequins, or ribbons, adding a personal touch that resonates with the recipient.
Finally, consider seasonal theme punches to align your design with holidays, making the card even more relevant and engaging.
Enjoying the Crafting Experience
Crafting your own greeting cards is a joyful journey that sparks creativity and personal expression.
As you immerse yourself in this rewarding activity, consider these four tips to enhance your experience:
- Explore Design Options: Experiment with colors, materials, and techniques to fuel your creativity.
- Focus on Details: Neat corners and clean edges amplify your satisfaction and professionalism.
- Use Simple Techniques: Tools like double-sided tape and decorative punches can elevate your card’s presentation.
- Personalize Thoughtfully: Consider the recipient’s preferences to add meaningful touches that make your cards memorable.
Enjoy the mindfulness and fulfillment that comes with every creation!






