
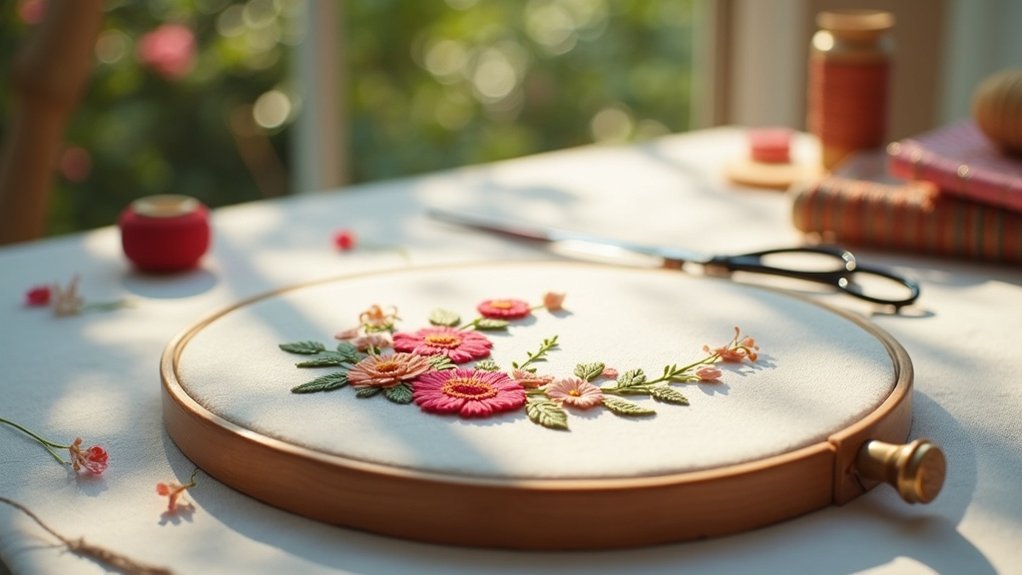
To mount your embroidery in a hoop for display, start by placing the inner ring on a flat surface and centering your fabric on top, design side up. Secure it with the outer ring, tightening the screw to hold it taut. Trim excess fabric to 1-2 inches. Gather the fabric edges tightly behind the hoop and apply a felt backing with stitches. Now your hoop is ready! For more tips on enhancing your display, keep exploring!
Key Takeaways
- Center the finished embroidery on the inner hoop and press the outer hoop over it to secure the fabric.
- Tighten the tension screw on the outer ring to hold the fabric taut and prevent sagging.
- Trim excess fabric to 1-2 inches around the hoop for a neat finish, using pinking shears to prevent fraying.
- Cut a felt circle slightly smaller than the hoop’s circumference and stitch it to the back for protection.
- Display the mounted embroidery using frames, stands, or by hanging in a clustered formation for visual impact.
Materials Needed for Mounting
When you’re ready to mount your embroidery in a hoop, gather your materials to secure a smooth process. You’ll need a wood embroidery hoop, consisting of an inner and outer ring, and a felt sheet to cover the back.
Confirm your felt circle is slightly smaller than the hoop’s inner circumference for a polished finish. Have your finished fabric project clean and pressed, along with essential tools like embroidery floss, a needle, scissors, and a pen or chalk pencil for marking.
Optional pinking shears can help prevent fraying, confirming your piece looks its best when displayed.
Preparing the Embroidery Hoop
Before you start, gather all the materials you need for a smooth process.
Lay the inner circle of the hoop on a flat surface and center your embroidered fabric on top, making sure the design is facing up.
Once you’ve positioned everything correctly, gently press the outer hoop over the fabric and tighten the tension screw to secure it in place.
Gather Required Materials
To prepare your embroidery hoop, you’ll need a few essential materials: a timber embroidery hoop with a top tension screw, a well-pressed fabric project, and a circle of wool felt that’s slightly smaller than the hoop’s circumference.
Begin by ensuring your fabric is smooth and wrinkle-free for a polished look.
Next, position the inner circle of the hoop on a flat surface. Center the fabric over it, design facing up, then place the outer hoop on top.
Tighten the screw to secure the fabric taut, trimming any excess fabric to 1-2 inches from the edge for a neat finish.
Positioning the Fabric
As you prepare to position your fabric in the embroidery hoop, make certain your finished work is well-pressed to eliminate any creases.
Start by placing the inner circle of the hoop on a flat surface, centering your fabric with the design facing up. Carefully place the outer hoop over the fabric, pressing it down to secure it in place, ensuring your design remains centered.
Next, tighten the top tension screw on the outer hoop to hold the fabric taut, avoiding any wrinkles or distortions.
Finally, trim any excess fabric around the edge of the hoop, leaving a 1-2 inch margin for later.
Securing the Fabric in the Hoop
Once you’ve positioned your finished embroidery design face-up over the inner ring of the hoop, it’s essential to guarantee everything is centered properly before you place the outer ring on top.
Next, tighten the screw on the top ring to secure the fabric, ensuring it’s taut yet not distorting your beautiful design.
Tighten the top ring’s screw to secure the fabric, keeping it taut without compromising your stunning design.
For added security, use a long doubled sewing thread to stitch a loose running stitch around the edge of the fabric.
Once done, gently pull the thread to gather the fabric tightly against the back of the hoop, securing it firmly before adding a felt circle or backing.
Trimming Excess Fabric
Once you’ve secured your fabric in the hoop, it’s time to trim the excess for a polished look.
Leave about 1-2 inches of fabric margin, and use pinking shears to cut clean edges while minimizing fraying.
Just be careful not to snip too close to your stitching, as that could risk damaging your beautiful design.
Importance of Proper Trimming
Proper trimming is key to achieving a polished look when mounting your embroidery in a hoop. Start by leaving a 1-2 inch margin around the edge; this gives you enough fabric to gather and secure.
Use pinking shears to trim the excess fabric, as they help minimize fraying, especially for delicate materials. A neat back guarantees your embroidery is taut and evenly displayed, enhancing its overall appearance.
Gather the trimmed edges tightly behind the hoop to maintain structural integrity, preventing sagging or shifting over time. This attention to detail elevates your piece, making it a wonderful gift or display item.
Techniques for Clean Edges
Achieving clean edges when mounting your embroidery in a hoop is essential for a professional finish.
Start by trimming the excess fabric to about 1-2 inches from the hoop’s edge, reducing bulk while allowing for secure gathering. Use pinking shears to cut the fabric, which helps prevent fraying.
Next, take a running stitch along the fabric edge to gather it tightly behind the hoop. Pull the thread gently but firmly to guarantee a snug fit, avoiding any puckering.
Finally, secure the gathered fabric by stitching a felt circle over the back or using hot glue for a polished look.
Avoiding Fabric Fraying
After securing your embroidery in the hoop and confirming clean edges, it’s time to focus on avoiding fabric fraying. Trim the excess fabric to about 1 to 2 inches from the edge of the hoop. Use pinking shears to cut, as the zigzag pattern helps prevent unraveling. Gently pull the thread of a running stitch, gathering the fabric tightly behind the hoop. When stitching to the felt backing, make sure to use tight stitches for security. Regularly check that the fabric is smooth and taut to prevent future fraying.
| Action | Purpose | Emotion Evoked |
|---|---|---|
| Trim excess fabric | Prevent fraying | Relief |
| Use pinking shears | Secure edges | Confidence |
| Tight stitches | Confirm durability | Satisfaction |
Gathering the Fabric for a Neat Finish
To gather the fabric for a neat finish, start by trimming the excess material to about 1-2 inches from the edge of the hoop.
- Use pinking shears to prevent fraying.
- Thread a long doubled sewing thread through a large needle.
- Sew a loose running stitch around the fabric edge, keeping stitches evenly spaced.
Gently pull the thread ends to gather the fabric tightly behind the hoop, creating a smooth back.
Secure the gathered fabric with a knot to keep it tidy.
This attention to gathering and stitching guarantees your project looks polished and professional.
Applying the Felt Backing
Applying a felt backing to your embroidery project is an essential step in achieving a professional finish. Start by cutting a circle of wool felt that’s slightly smaller than your hoop’s circumference.
Once you’ve gathered the fabric around the hoop, position the felt circle on the back, aligning it with the fabric edges. Now, use a blanket stitch or whip stitch to securely attach the felt to the back, ensuring your stitches are evenly spaced and tight enough to prevent any fabric from showing through.
This backing not only enhances the appearance but also protects your stitching from dust and damage.
Finishing Touches for Presentation
As you prepare to showcase your beautifully embroidered piece, don’t overlook the finishing touches that can elevate its presentation. A neat and polished look can be achieved by covering the back of the hoop with wool felt.
Secure it by stitching all around with a blanket stitch or whip stitch, ensuring raw edges are tucked away.
Consider adding these charming embellishments:
- A decorative bow
- A hanging loop for easy display
- Colorful trim to frame your work
- An inspirational quote or tag
Finally, check the front for tautness and alignment, making any adjustments needed for a professional finish.
Displaying Your Finished Hoop Art
Once you’ve added the finishing touches to your hoop art, it’s time to showcase your creation in a way that truly highlights your craftsmanship.
Consider displaying your hoops on walls using hooks or ribbons for a vibrant focal point. Mix different sizes, like 7-inch and 8-inch frames, to enhance visual appeal. For a stylish vignette, stagger the heights of multiple hoops when hanging them together.
Alternatively, small plate stands or easels can showcase your art on tabletops or shelves.
Don’t forget to swap out hoops seasonally, keeping your decor fresh and allowing room for creative expression throughout the year.






