
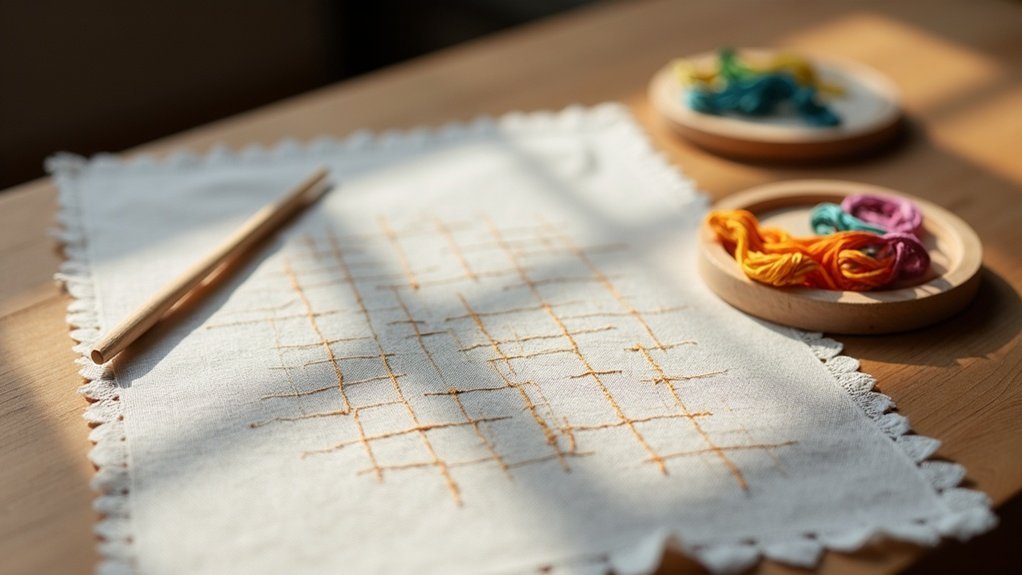
To mark grids for Sashiko embroidery, start by selecting a durable fabric like linen or cotton, avoiding stretchy types. Use a thin metal ruler and friction markers or white pens appropriate for your fabric. Measure and draw your grid, marking intersections to guide your stitching. You can also use templates for added precision and creativity. With practice, you’ll master your pattern execution. To reveal even more tips and techniques, keep exploring!
Key Takeaways
- Choose durable fabrics like linen or cotton and avoid stretchy materials to maintain grid accuracy.
- Use a thin metal ruler to measure and draw precise grid lines on your fabric.
- Select appropriate marking tools like friction markers for light fabrics or white pens for dark fabrics.
- Create a complete grid by marking lines in both directions, adding inner dots for stitch placement.
- Consider using templates or graph paper to ensure uniformity and straight lines in your grid marking.
Choosing the Right Fabric for Sashiko
When it comes to choosing the right fabric for sashiko, you’ll want to start with something that not only looks good but also holds its shape beautifully.
Opt for durable linen or soft cotton, like quilting cotton, to achieve a perfect balance. Avoid stretchy or slippery fabrics, as they’ll distort your grid markings and complicate your stitching.
For the best sashiko results, choose durable linen or soft cotton, and steer clear of stretchy fabrics that could distort your work.
Pre-washed fabrics are essential, too; they prevent shrinking and maintain your hard work’s integrity.
Choose a dark fabric that contrasts well with your thread color, ensuring you can easily mark your pattern and showcase your stunning sashiko embroidery with pride.
Essential Tools for Accurate Marking
To create precise grids for your Sashiko embroidery, you’ll need the right tools at your fingertips.
A thin metal ruler will give you the accuracy you crave, while friction markers and white pens guarantee your lines stand out on any fabric.
Don’t forget to utilize templates or graph paper for effortless alignment—accuracy is key!
Recommended Marking Tools
Precision is key when marking grids for Sashiko embroidery, and having the right tools can make all the difference.
To achieve those straight lines and perfect pattern lines, consider these recommended marking tools:
- Thin Metal Ruler – Guarantees accurate lines without the bulk of quilting rulers.
- Friction Markers – Great for visibility on light fabrics; easy to erase.
- White Pens – Ideal for marking on darker materials for clarity.
- Templates – Help guide your marking process for consistent grid lines.
With these marking tools, your Sashiko embroidery will shine with precision and beauty!
Grid Drawing Techniques
Although marking grids for Sashiko embroidery may seem intimidating at first, mastering a few essential techniques can elevate your embroidery game.
Start by using a thin metal ruler to draw your lines, ensuring precision. For visibility, friction markers work wonders on light fabrics, while white pens shine on darker ones.
Begin marking the fabric with a border to set accurate lines for your grid. Consider using templates for consistent spacing and fewer errors.
Alternatively, graph paper can simplify the process, allowing easy cutting and alignment.
With these tools, you’ll create beautiful, precise patterns that serve your embroidery vision beautifully.
Step-by-Step Grid Marking Process
Marking grids for sashiko embroidery is an essential step that sets the stage for your beautiful design.
Follow this step-by-step marking process to guarantee consistent spacing and precise stitch sizes:
- Measure and mark a border on your fabric with a thin metal ruler.
- Use a friction marker or white pen for light fabrics, and iron-off or wash-out pens for dark ones.
- Create a complete grid by marking lines in both directions, utilizing templates or graph paper.
- Add inner dots on the grid to guide your smaller stitches effectively.
With these tips, you’ll create stunning, well-defined patterns!
Techniques for Enhanced Visibility
To enhance visibility while marking grids for sashiko embroidery, you’ll want to choose the right tools to make your lines pop. Use thin metal rulers for precise lines and opt for friction markers on light fabrics, while white pens work wonders on dark colors. Start by marking a border, then use opposite direction marking for accuracy. Employ templates or graph paper, taping them down for stability. Here’s a quick reference:
| Tool Type | Best Use |
|---|---|
| Friction Marker | Light fabrics |
| White Pen | Dark fabrics |
| Ceramic Pencil | Versatile option |
| Metal Ruler | Precision & accuracy |
| Graph Paper | Guiding straight lines |
Utilizing Templates for Precision
Using templates can transform your sashiko embroidery by ensuring every line is crisp and consistent.
Whether you choose sturdy plastic or opt for custom designs, these tools help you maintain precision and release your creativity.
Plus, taping them down not only stabilizes your work but also enhances your overall stitching experience.
Benefits of Using Templates
When you embrace templates for Sashiko embroidery, you reveal a world of precision that transforms your stitching experience.
These invaluable tools enhance your accuracy and streamline the marking process. Here are four benefits of using templates:
- Straight Lines: Achieve uniformity with perfectly straight grid lines.
- Consistent Spacing: Enjoy evenly spaced stitches, making your patterns flow beautifully.
- Quick Replication: Easily recreate intricate designs without constant measuring.
- Reduced Slippage: Taping down templates guarantees stability, leading to flawless results.
With templates, you’ll find joy in creating Sashiko designs that serve both your artistry and the recipients of your stitched gifts.
Types of Template Materials
Selecting the right materials for your Sashiko templates can make a significant difference in your embroidery experience. Consider the following template materials for effective marking grids and accurate placement:
| Material | Benefits |
|---|---|
| Plastic/Perspex | Durable, reusable, easy alignment |
| Graph Paper | Customizable size, consistent spacing |
| Taped Templates | Prevents slipping, guarantees straight lines |
Using contrasting materials enhances visibility, while templates with inner dots help maintain uniform stitch sizes. Choose wisely to create a delightful, precise Sashiko experience that’ll serve both your creativity and the designs you wish to share!
Creating Custom Templates
Creating custom templates opens up a world of precision in your Sashiko embroidery projects.
With careful planning, you can achieve beautiful, consistent stitching results. Here’s how:
- Use graph paper to sketch your desired grid pattern, ensuring precise lines.
- Create durable templates from plastic or perspex for multiple uses.
- Tape down your templates on fabric to prevent slipping during marking.
- Add inner dots to guide smaller stitches and maintain uniformity.
Tips for Achieving Accurate Patterns
To guarantee your sashiko embroidery patterns are both precise and beautiful, start by using a thin metal ruler for drawing your grids. This assures better accuracy than thicker rulers.
Use friction markers on light fabrics and white or chalk markers on dark fabrics for visibility. Mark a border around your fabric to maintain straight, evenly spaced lines.
Consider utilizing templates or plastic grids to simplify your marking process and prevent slipping. For intricate designs, adding inner dots can help you achieve consistent stitch lengths and vertical stitches.
Don’t forget to check for free downloadable templates to inspire your creativity!
Exploring Different Sashiko Patterns
As you explore the world of sashiko patterns, you’ll discover a rich tapestry of designs that invite both creativity and skill.
Use the following ideas to enhance your sashiko stitching on a piece of fabric:
- Hitomezashi Patterns: Embrace geometric designs with alternating stitches and gaps.
- Diagonal Lines: Create depth by alternating stitching patterns row by row.
- Larger Grids: Experiment with larger stitches to achieve varied effects.
- Simple Running Stitch: Master this fundamental technique for intricate designs.
Engaging in these patterns not only sparks your imagination but also connects you with a community of fellow stitchers.






