
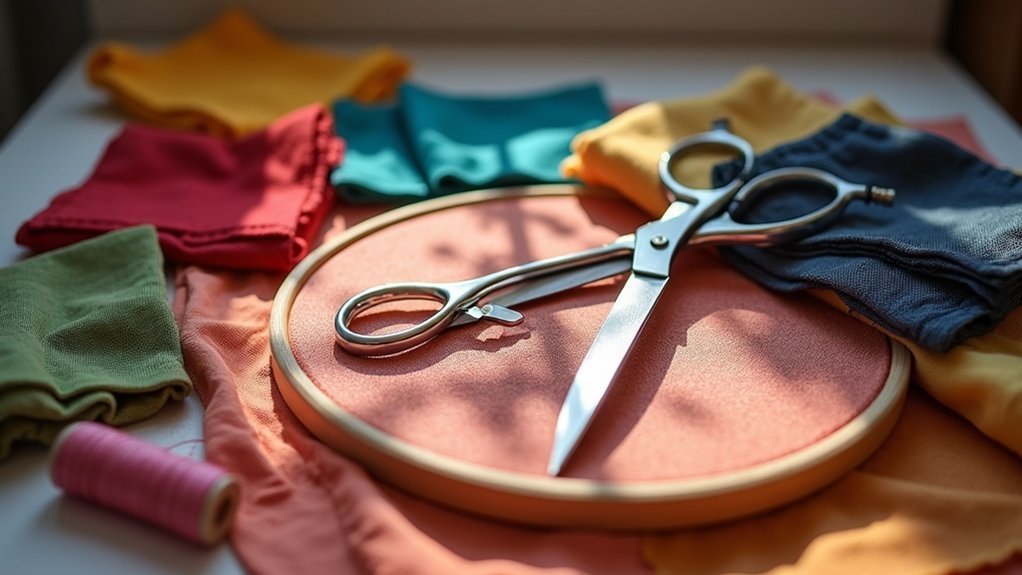
To manage waste canvas for your embroidery on clothing, start by carefully preparing your fabric and securing the canvas in place. Use a water-soluble pen for accurate markings and a hoop to maintain tension. Stitch with precision, following the grid to guarantee evenness. When it’s time to remove the canvas, moisten it and use tweezers for easy extraction of threads. With every stitch and snip, you’ll create stunning pieces, and there’s more to explore on enhancing your craft.
Key Takeaways
- Wash and press your fabric to prepare it, ensuring a smooth surface for the waste canvas application.
- Secure the waste canvas with a hoop or basting stitches to maintain tautness for precise stitching.
- Follow the pregridded lines on the waste canvas for accurate stitch placement and uniformity in your design.
- Wet the canvas thoroughly after stitching to loosen the adhesive, making removal easier with tweezers.
- Inspect your work for any remaining threads after canvas removal and tidy up loose ends for a polished finish.
Understanding Waste Canvas
When you immerse yourself in the world of embroidery, waste canvas becomes an invaluable ally. This stiff, woven fabric, held together with water-soluble glue, helps you stitch on various materials with ease.
Available in different counts, like 6.5 to 14 stitches per inch, it allows for both bold and intricate designs. The pregridded blue threads guide your stitch counts, ensuring precision.
With varied stitch counts from 6.5 to 14 per inch, waste canvas ensures precision for both bold and intricate designs.
Once you’ve finished your masterpiece, wetting the canvas lets you easily remove waste canvas, pulling out the fibers while leaving your embroidery floss intact.
Embrace this tool to enhance your creations and serve others with beautifully crafted pieces.
Preparing Your Fabric
Preparing your fabric sets the stage for a successful embroidery project, ensuring your designs shine with clarity and precision. Follow these steps to get started:
- Wash and Press: Clean your fabric to remove any sizing, then press it for a smooth, even surface.
- Choose the Right Size: Select a fabric piece slightly larger than your waste canvas to prevent fraying and allow for easy handling.
- Mark the Grain: Identify and mark the fabric grain for accurate design placement, ensuring alignment with the natural lines.
With a sharp embroidery needle, you’ll easily pierce through both fabric and waste canvas, avoiding damage.
Happy stitching!
Securing the Waste Canvas
With your fabric ready, it’s time to secure the waste canvas for your embroidery project. Start by cutting the waste canvas larger than your design, giving you extra fabric to handle.
Use a water-soluble pen to mark its placement on the right side of your fabric, ensuring accurate alignment. You can secure the canvas using a hoop, pins, or basting stitches, keeping it taut for even tension and accuracy.
If you’re working with delicate fabrics, consider adding lightweight interfacing beneath for support. Once your embroidery’s complete, removing the waste canvas will be a breeze, leaving a pristine design behind.
Stitching With Waste Canvas
As you immerse yourself in stitching with waste canvas, you’ll appreciate the structured grid it provides, making it easier to achieve precise and uniform stitches on your fabric.
Here’s how to enhance your cross stitching experience:
- Choose the right count: Opt for a higher count for detailed designs.
- Secure it well: Use basting or hoops to keep the waste canvas taut.
- Stitch thoughtfully: Follow the grid, ensuring your stitches align perfectly.
Removing the Waste Canvas
When it’s time to remove the waste canvas, start by wetting it thoroughly to loosen any adhesive holding it in place.
You’ll want to use sturdy tweezers to carefully extract the threads, alternating between horizontal and vertical strands for a smoother process.
If you encounter stubborn areas, snipping the canvas between designs can make removal much simpler, ensuring your embroidery remains intact and pristine.
Effective Thread Removal Techniques
Removing waste canvas can seem intimidating, but you can master effective techniques with a bit of practice. Here’s how to remove that pesky canvas efficiently:
- Use embroidery scissors to cut away excess canvas around your design, avoiding any damage to your stitches.
- Wet the waste canvas thoroughly to dissolve the glue, loosening the fibers for easier removal.
- Employ sturdy tweezers to pull out the threads, alternating between horizontal and vertical strands for an effective extraction.
Always check for remaining strands after removal and do touch-ups as needed to keep your embroidery looking pristine.
Happy stitching!
Step-by-Step Canvas Removal
To successfully tackle the removal of waste canvas, it’s essential to start by detaching any sewing threads that hold it in place. Next, trim away excess canvas with sharp embroidery scissors, being careful not to snip your stitches. Use tweezers to pull out the strands, alternating directions to loosen the grid. If you hit resistance, switch areas to prevent damage and revisit later. After most of the waste canvas is gone, inspect for remaining strands or any touch-ups needed.
| Step | Action |
|---|---|
| 1. Detach threads | Cut securing threads |
| 2. Trim canvas | Use sharp scissors |
| 3. Pull strands | Use tweezers alternately |
| 4. Avoid resistance | Change areas if necessary |
| 5. Final check | Inspect for remaining bits |
Tools for Easy Extraction
After successfully detaching the waste canvas, having the right tools on hand can make the extraction process smoother and more efficient.
Here are three essential tools to help you:
- Kelly clamp – This sturdy grip tool holds your fabric in place, making extraction easier and more controlled.
- Sturdy tweezers – Use these for precise pulling of threads from the waste canvas, ensuring you don’t disturb your sharp embroidery.
- Plastic cutting board – Place this underneath your fabric for support, preventing damage while you work on removing those stubborn strands.
With these tools, you’ll streamline the extraction process effectively!
Tips for Effective Removal
When it comes to efficiently removing waste canvas, having the right tools makes all the difference.
A sturdy pair of tweezers or a Kelly clamp can be your best friends, allowing you to grasp those stubborn threads with precision.
Combine these tools with smart techniques, like snipping between letters, and you’ll find the extraction process becomes a breeze.
Tools for Efficient Removal
While removing waste canvas might seem challenging, having the right tools at your disposal can make the process smooth and efficient.
Here are three essential tools you’ll need:
- Kelly Clamp: Securely hold the waste canvas in place, making it easier to pull out strands.
- Sturdy Tweezers: Use these for precise pulling of canvas strands, ensuring minimal damage to your embroidery.
- Plastic Cutting Board: Place this under your fabric for added support while pulling, preventing accidental tearing.
Techniques for Canvas Extraction
Mastering the art of waste canvas removal involves employing smart techniques that streamline the process. Start by cutting the waste canvas close to the embroidery. Alternate between pulling vertical and horizontal strands to loosen the grid. Use sturdy tweezers or a Kelly clamp for a gentle yet steady grip. If you hit stubborn strands, misting the canvas with water can help. For intricate designs, snip the canvas between letters to create manageable sections. Here’s a handy table to guide you:
| Technique | Description | Purpose |
|---|---|---|
| Cut Close | Trim canvas near stitches | Reduces bulk |
| Alternate Pulling | Pull vertical then horizontal strands | Loosens grid |
| Use Tweezers | Employ sturdy tools for grip | Prevents disruption |
| Mist with Water | Spray stubborn strands | Breaks adhesive bonds |
| Snip Between Designs | Cut canvas in sections | Eases extraction |
Disposal and Cleanup
As you wrap up your embroidery project, ensuring a clean and organized workspace is essential for both the final presentation and your efficiency in future endeavors.
To tackle disposal and cleanup effectively, follow these steps:
- Collect all removed waste canvas strands in a designated container to avoid clutter.
- Dispose of the strands in a garbage bag, making cleanup straightforward and environmentally responsible.
- After the main removal, check for any lingering strands to guarantee your project looks polished.
Celebrating Your Completed Project
Once you’ve skillfully removed the waste canvas, you can truly appreciate the beauty of your embroidery masterpiece.
Inspect your work, tidy up any loose threads, and revel in the finished size of your creation.
Now it’s time to celebrate! Frame your project or display it proudly, showcasing your hard work to the world.
Snap high-quality photos, and share them on social media platforms like Instagram to inspire fellow crafters.
Engage with the embroidery community, discussing techniques and challenges you faced.
Reflect on your journey, and set new goals to expand your creativity in future projects.
Celebrate every stitch!






