
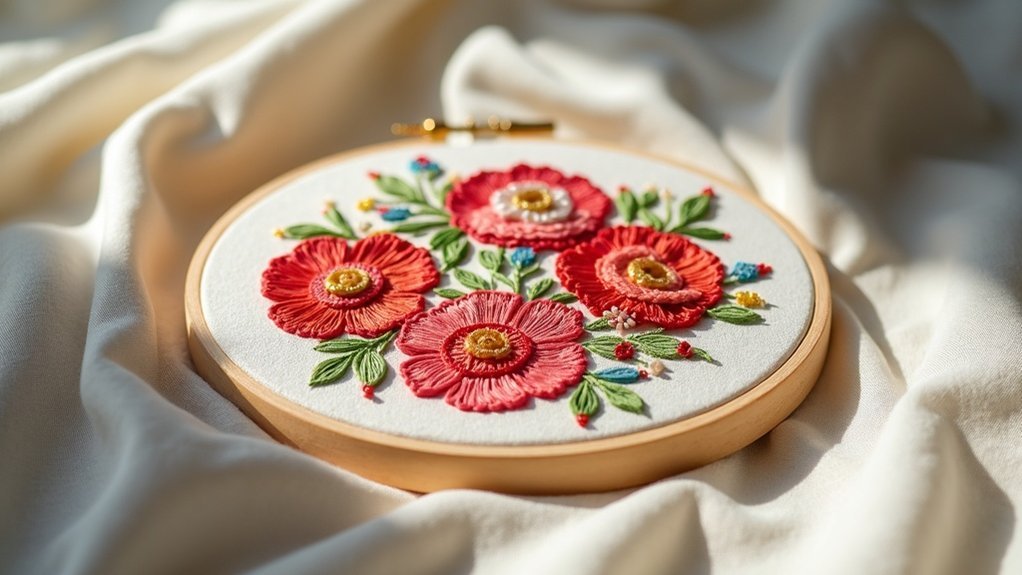
To light embroidery for photography, leverage natural light during golden hours and position your work in open shade to avoid harsh conditions. Use diffused lighting techniques, like placing frosted materials over light sources, to soften shadows and enhance details. Experiment with close-up angles and utilize white balance settings to capture true colors. By adjusting your light sources and angles, you can reveal intricate textures and make your craft shine—there’s more to explore in optimizing your setup.
Key Takeaways
- Utilize natural light during golden hours for the best illumination and avoid harsh shadows on your embroidery.
- Position your embroidery in open shade or near a window to achieve soft, diffused lighting without glare.
- Experiment with angles and perspectives, capturing close-ups from various heights to highlight intricate details and textures.
- Use diffusion materials like frosted shower curtains or tissue paper over lights to soften harsh shadows.
- Ensure accurate color representation by setting the camera’s white balance to match the light source.
Utilizing Natural Light for Optimal Results
When you’re aiming for stunning embroidery photography, leveraging natural light can make all the difference. Utilize this light source during golden hours, ideally before 11 AM or 1½ hours before sunset, to achieve soft, even light.
Position your embroidery in open shade to avoid harsh sunlight and dappled conditions, ensuring a flattering look. If indoors, set up near a window for diffused light, steering clear of direct sunlight to prevent glare.
To enhance results, consider using a frosted shower curtain to soften excessive brightness and adjust your angle relative to the window for ideal texture and detail visibility in your work.
Softening Shadows With Diffused Lighting
To achieve beautifully lit embroidery photographs, softening shadows is essential, especially when using direct lighting sources.
Utilize diffused lighting by placing materials like tissue paper or frosted shower curtains over your lights to create a gentle light effect that enhances a natural look. Position your lights closer to the embroidery while employing diffusion techniques for an even spread of illumination.
Enhance your embroidery photos with diffused lighting using materials like tissue paper for a soft, natural effect.
Incorporate white foam core reflectors to bounce light onto your piece, further softening shadows and ensuring balanced light distribution.
Adjusting the distance between light sources and your embroidery fine-tunes shadow softness, revealing intricate details and vibrant colors beautifully.
Experimenting With Angles and Positions
How can you elevate your embroidery photography by experimenting with angles and positions?
Start by taking close-up pictures from above, eye level, or slightly below to reveal unique details. Use a ring light for even illumination and position your work near a window to enhance natural light.
Pay attention to diagonal threads that guide your focus, ensuring the center of the piece shines through. Adjust your distance and angle to find the most flattering perspective while incorporating familiar objects for context.
This approach highlights your craftsmanship, showcasing intricate stitching and texture in a way that engages and inspires viewers.
Understanding White Balance for Accurate Colors
What’s the secret to capturing the true essence of your embroidery colors? Understanding white balance is essential when it’s time to take photos.
Here’s how to guarantee accurate colors:
- Set your camera’s white balance to match your light source—use daylight settings for natural light.
- Experiment with different settings to avoid unwanted color casts.
- Utilize a gray card to calibrate white balance in varying conditions.
- Opt for daylight-balanced bulbs (around 5500K) to enhance vibrancy.
These tips will help you take stunning photos of your hand embroidery, guaranteeing the best time to take pictures yields true-to-life colors.
Enhancing Textures and Details in Photography
Accurate white balance sets the foundation for capturing true colors, but to truly showcase your embroidery, focusing on textures and details is equally important.
Try to take advantage of side lighting; it creates shadows that highlight stitch depth and intricacy. You’d love how multiple light sources can achieve even illumination, reducing harsh shadows that obscure fine details.
Diffusing light through materials like tissue paper softens shadows, enhancing visibility. Experimenting with different angles reveals unique textures, particularly in larger pieces.
Close-up shots, with proper techniques, effectively showcase craftsmanship and subtle color variations, allowing your embroidery to truly shine in photographs.






