
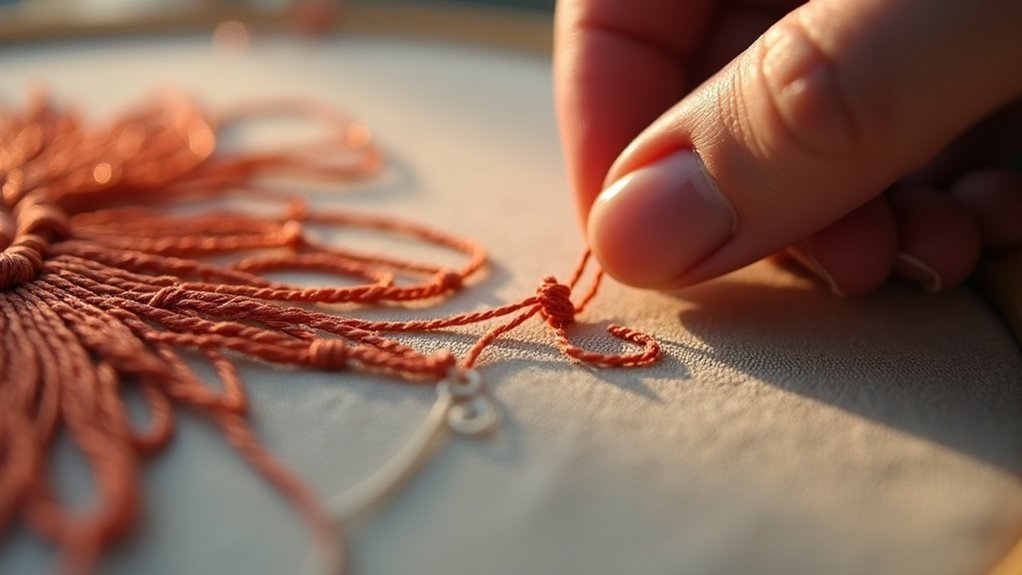
To knot embroidery thread invisibly, start by cutting your floss to double the desired length. Strip one strand and fold the remaining strands in half to create a loop. Insert both ends through the needle’s eye, leaving the loop free. Insert your needle into the fabric, pull it through while exposing the loop, then stitch back through that loop before reinforcing with a small straight stitch. This technique gives a neat finish—keep going to discover more tips and tricks!
Key Takeaways
- Cut embroidery floss to double the desired length and remove one strand for the no-knot start technique.
- Fold remaining strands in half to create a loop and thread the cut ends through the needle’s eye.
- Insert the needle into the fabric, leaving the loop exposed, to create a clean anchoring point.
- Bring the needle back through the loop after moving forward a stitch length to secure the thread.
- Complete a small straight stitch in the same hole to lock the thread in place without visible knots.
Understanding the No-Knot Start Technique
The No-Knot Start Technique is a game-changer for embroiderers aiming for a polished finish.
The No-Knot Start Technique revolutionizes embroidery, offering a sleek, professional finish for visible backs.
By using two strands of embroidery floss, you create an almost invisible starting point on your fabric, perfect for projects with visible backs.
Start by cutting double the usual length of floss and folding it in half, threading the loop through your needle.
Insert the needle into the fabric, leaving a loop, and bring it back up through the loop after advancing a stitch length.
This method eliminates waste knots, resulting in a cleaner appearance and less bulk, especially beneficial for double running stitch projects.
Preparing Your Thread for Knotting
Preparing your thread for knotting involves several essential steps to guarantee a smooth stitching experience. Start by cutting your embroidery floss to double the desired length—typically 36 inches for an 18-inch project. Next, strip one strand from the six strands to facilitate the no-knot start technique. Fold the prepared thread in half to create a loop, which helps anchor the thread invisibly. Finally, insert both cut ends through the needle’s eye while keeping the loop intact for your initial stitch.
| Step | Action |
|---|---|
| Cut Length | Double the desired project length |
| Strip Strand | Remove one strand from the floss |
| Create Loop | Fold the thread in half |
Step-by-Step Stitching Process
Now that you’ve prepared your thread, it’s time to focus on the stitching process.
Start by creating a loop with the floss to guarantee a clean anchoring technique.
Follow each step carefully to achieve a seamless finish without any visible knots.
Preparing the Thread
To achieve an effective start to your embroidery project, you’ll want to prepare your thread carefully.
First, cut double the usual length of embroidery floss—about 36 inches for an 18-inch length. Make sure to strip one thread from the six strands, creating a loop with the remaining strands for the no-knot start technique.
Fold the thread in half and thread the two cut ends through the needle’s eye. Insert the needle into the fabric from the top, leaving a loop. Then, bring the needle back up through the loop after moving forward a stitch length to secure it.
Stitching Technique Steps
As you begin stitching, it’s essential to maintain focus on both technique and precision to guarantee your work looks polished. Start with a no-knot start: cut your embroidery floss to double the desired length, strip one thread, and fold the rest in half. Insert the needle into the fabric, leaving the loop exposed, and move forward a stitch length. Bring the needle back up through the loop, securing it by reinserting into the same hole. Complete a small straight stitch to lock in the thread without visible bulk.
| Step | Action | Result |
|---|---|---|
| Cut Floss | Double desired length | Ready to stitch |
| Create Loop | Fold strands in half | No-knot start achieved |
| Anchor Stitch | Small stitch on surface | Clean, neat appearance |
Benefits of an Invisible Knot
While creating beautiful embroidery, you’ll appreciate the numerous benefits of using an invisible knot. This technique eliminates visible knots on the back, providing a neater, more professional finish.
You’ll find that it reduces bulk, making your projects easier to iron and enhancing their overall presentation. Additionally, an invisible knot helps prevent tangling and fraying of threads, improving the durability of your work.
This method is especially beneficial for items where both sides are visible. Plus, it works well with various threads, including specialty options like invisible thread, allowing for versatility across different embroidery styles.
Tips for Beginners
To master the No-Knot Technique, start by preparing your thread correctly—use an even number of strands and cut twice the usual length.
As you stitch, focus on maintaining neatness by securing your thread properly and practicing on scrap fabric first.
These foundational tips will help you achieve a polished finish in your embroidery projects.
Practice the No-Knot Technique
When you want to achieve a seamless start in your embroidery projects, practicing the No-Knot Technique is essential for beginners. This method uses two strands of embroidery floss, ideal for even numbers. Here’s a quick guide:
| Step | Action |
|---|---|
| Prepare the thread | Cut double your usual length and fold for a loop |
| Insert the needle | Go through the fabric, leaving a loop |
| Secure the loop | Insert the needle back, pulling the loop through to the back |
| Complete the stitch | Finish with a small straight stitch on the fabric surface |
With practice, you’ll eliminate waste knots, enhancing your embroidery’s quality.
Thread Preparation Essentials
Mastering the No-Knot Technique sets the stage for effective thread preparation, which is vital for achieving professional-quality embroidery.
Start by cutting your embroidery floss to double the desired length; for instance, use 36 inches for an 18-inch stitch. Next, strip one thread from a six-strand floss and fold the remaining strands in half to create a loop.
Insert your needle from the top into the fabric, leaving the loop for secure anchoring. Finally, take a small straight stitch to secure the looped thread at the back.
These thread preparation essentials guarantee neat and tidy backs, elevating your embroidery projects.
Stitching Tips for Neatness
While it may seem intimidating at first, achieving neat stitches in embroidery is entirely possible with a few simple techniques. Here are some key stitching tips for neatness:
- Use the no-knot start technique: Anchor your thread with a straight stitch to avoid visible knots.
- Maintain consistent stitch lengths: Small, even stitches create a polished look.
- Keep thread tension even: This guarantees your work remains flat and neat.
Experiment with different threads, including invisible thread, to enhance the quality of your embroidery.
With practice, you’ll master neat stitching and create beautiful projects that serve others effectively.
Exploring Additional Hand Stitching Techniques
As you probe deeper into hand stitching, exploring additional techniques can enhance your skills and elevate your embroidery projects.
One essential method to master is the No-Knot Start Technique. To begin, cut double the usual length of embroidery floss and strip one thread to create a loop for anchoring.
Insert your needle through the fabric to form the loop, then secure it by bringing the needle back through the loop and completing a small straight stitch.
This approach not only reduces bulk on the fabric’s reverse but also eliminates waste knots, resulting in a polished finish that impresses those you serve.






