
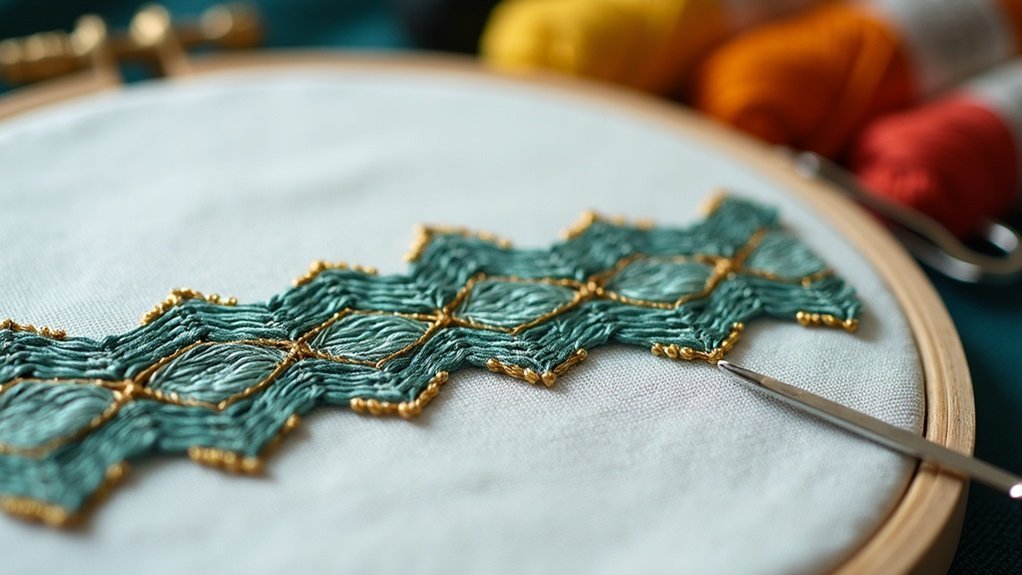
To herringbone stitch in embroidery, mark two parallel lines on your fabric about 3/8 inch apart. Bring your blunt tapestry needle up at the left edge of the bottom line, then down diagonally to the opposite line. Alternate by coming up slightly to the right on the top line. Keep your thread tension relaxed for an even finish. Experiment with variations and creative projects to enhance your stitching skills and explore new techniques.
Key Takeaways
- Mark two parallel lines on your fabric, spaced about 3/8 inch apart, to guide your stitches.
- Begin by bringing the needle up at the left edge of the bottom line, then down diagonally to the opposite line.
- Alternate stitching by coming up on the top line diagonally across, ensuring stitches remain parallel.
- Maintain relaxed thread tension to avoid puckering and achieve a smooth, polished finish.
- Experiment with variations like laced or twisted herringbone to enhance your embroidery projects.
Materials Needed for Herringbone Stitch
To successfully execute the herringbone stitch, you’ll need a few essential materials. First, choose your embroidery fabric; Aida or cotton works best for stability and ease.
Next, select a suitable needle—a blunt tapestry needle is ideal since it threads easily and minimizes snagging. For embroidery thread, opt for 2-3 strands for visibility; consider twisted threads like Perle cotton to enhance texture.
Don’t forget scissors for trimming any excess thread, ensuring clean edges. Finally, a ruler or fabric marker will help you draw parallel lines, allowing for consistent stitch placement and neat, even stitching throughout your project.
Step-by-Step Instructions for Herringbone Stitch
Begin the herringbone stitch by marking two parallel lines on your fabric, spaced about 3/8 inch apart.
Start your herringbone stitch by marking two parallel lines on your fabric, about 3/8 inch apart.
- Bring the needle up at the left edge of the bottom line, then take it diagonally down to the opposite line.
- Return the needle slightly right of your last stitch, coming up on the top line diagonally across.
- Alternate this process, guaranteeing stitches stay parallel and consistent.
Maintain relaxed thread tension to prevent puckering, allowing your stitches to naturally relax.
This method not only enhances your hand embroidery but also guarantees your herringbone stitch looks polished and professional.
Tips for Perfecting Your Herringbone Stitch
While mastering the herringbone stitch can take practice, incorporating a few key tips will greatly enhance your results.
First, maintain relaxed thread tension to avoid puckering, ensuring a smooth finish. Use two parallel lines as guides for your diagonal stitches, keeping them even and consistent. Secure your initial stitch with a knot at the thread’s end to prevent unraveling.
Experiment with different thread types, like Perle cotton, for improved visibility and texture.
Finally, practice alternating diagonal movements between the top and bottom lines to develop a rhythm, leading to neater, more uniform stitches in your embroidery techniques.
Variations of Herringbone Stitch to Try
Once you’ve honed your skills with the standard herringbone stitch, exploring its variations can elevate your embroidery projects.
Mastering the herringbone stitch opens the door to exciting variations that can enhance your embroidery artistry.
Consider trying these:
- Laced Herringbone: Weave a second thread through the finished stitches for added decoration without piercing the fabric.
- Tacked Herringbone: Incorporate small horizontal stitches at thread crossings for extra detail and stability.
- Twisted Herringbone: Pass the thread under the first stitch to create a twist effect, enhancing visual appeal.
Each variation adds unique textures and finishes, allowing you to serve others with beautifully crafted pieces that showcase your embroidery skills.
Creative Project Ideas Using Herringbone Stitch
Herringbone stitch offers endless possibilities for creative projects, allowing you to transform simple designs into intricate works of art. Consider these ideas:
| Project Idea | Description | Techniques Used |
|---|---|---|
| Decorative Apple Basket | Enhance edges and details | Classic herringbone stitch |
| Floral Designs | Add texture with twisted and tacked variations | Twisted herringbone stitch |
| Stylish Borders | Secure fabric layers with elegant finishes | Laced herringbone stitch |
| Whimsical Dragon Embroidery | Represent flames and scales, showcasing creativity | Varied herringbone stitch |
Explore these creative project ideas to elevate your embroidery skills!






