
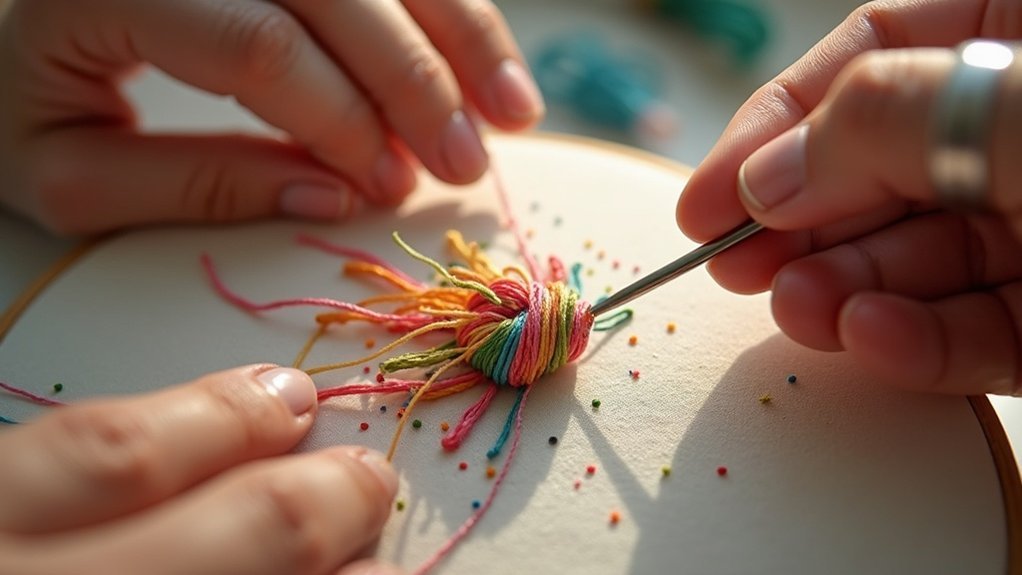
To create a French knot in embroidery, start by threading your needle and tying a knot at the end. Insert the needle from back to front, then wrap your working thread around it 2-3 times. Push the needle back through the fabric near your original exit point, maintaining tension as you pull through. If knots pull through, adjust your technique slightly, and if you want to fine-tune your skills or explore variations, there’s more to learn about perfecting this stitch.
Key Takeaways
- Begin by preparing your fabric and securing it in an embroidery hoop for stability while working on your French knots.
- Thread a milliner needle and tie a knot at the end to secure your thread for knot-making.
- Insert the needle from the back to the front of the fabric, then wrap the working thread around the needle 2-3 times.
- Insert the needle back into the fabric close to the original exit point and pull through while maintaining tension to form the knot.
- Practice on scrap fabric to perfect your technique and ensure consistent knot size and appearance for your embroidery project.
Understanding French Knots
French knots are vital in embroidery, offering a unique way to add texture and dimension to your designs.
To create these knots, use a milliner needle for its longer shaft, which helps with wrapping the working thread effectively. Adjust the size of your French knots by varying the number of wraps—1-2 for smaller knots and 3 for larger ones.
It’s important to maintain proper tension on your working thread during this process; too tight, and they might slip through the fabric.
Avoid common mistakes, like pulling through the same hole, to guarantee your knots are secure and beautifully crafted.
Essential Supplies for French Knots
To create perfect French knots, you’ll need a few essential tools and the right type of thread.
Start with an embroidery hoop to keep your fabric taut and a milliner needle for easy wrapping of the thread.
Choose embroidery thread or floss in 2-3 strands to achieve the ideal knot size that complements your project.
Recommended Embroidery Tools
When diving into the art of creating French knots, having the right tools can make all the difference in your embroidery experience.
Start with an embroidery hoop to keep your fabric taut, ensuring stability while you work. A milliner needle is ideal due to its longer shaft, facilitating easier thread wrapping for smooth knots.
Choose the right thread, like stranded cotton or pearl cotton, as thickness affects your knot’s size and appearance.
Consider using an embroidery stand to free your non-needle hand, maintaining tension.
Finally, a thread conditioner can help reduce tangling, enhancing your hand embroidery execution of those intricate stitches.
Thread Types to Use
Choosing the right thread type is essential for mastering French knots, as it directly influences the knot’s size, texture, and overall appearance.
Consider these options for excellent results:
- Stranded cotton: Use 6-strand embroidery floss for versatile knot sizes and easy manipulation.
- Pearl cotton: Ideal for larger knots, its twist and thickness offer distinctive texture and stability.
- Milliner needles: Their long shaft facilitates easy wrapping of the thread, perfect for French knots.
- Thread conditioner: Apply to your embroidery thread to reduce tangling and promote smooth knot formation.
Select wisely according to your fabric’s weave and weight for the best outcome.
Step-by-Step Guide to Creating a French Knot
To create a French knot, you’ll begin by preparing your thread and fabric, ensuring the tail is secured for better tension.
Next, wrap the working thread around the needle before inserting it back into the fabric, following proper placement guidelines.
Finally, maintain tension as you pull the needle through to complete the knot, allowing the trailing thread to secure the coil effectively.
Preparation and Thread Management
Before diving into creating a French knot, it’s crucial to set up your workspace effectively to guarantee a smooth process. Proper preparation and thread management will help you achieve neat knots. Here’s how to get started:
- Secure the embroidery hoop on a stable surface.
- Pinch the floss a few inches from the fabric exit point to maintain tension.
- Use a waste knot to prevent slipping while you work.
- Wrap the working thread around the needle 1-2 times, maintaining consistent tension.
These steps guarantee your knot-making process is efficient, clean, and professional, allowing you to serve others with your embroidery skills.
Wrapping and Inserting Needle
As you prepare to create a French knot, it’s essential to maintain tension on the embroidery floss, ensuring a firm grip a few inches from where the thread exits the fabric. To make French knots, wrap the thread around the needle 1-2 times, keeping the coil snug. Next, insert the needle back into the fabric near the original exit point, avoiding the same hole. While holding the working thread, gently tug down to secure the coil. Finally, push the needle all the way through to complete the knot, allowing the trailing floss to pass through the center of the coil.
| Step | Action | Purpose |
|---|---|---|
| 1 | Maintain tension | Keeps thread taut |
| 2 | Wrap thread around needle | Forms the knot |
| 3 | Insert needle back | Creates the knot foundation |
| 4 | Hold working thread | Secures the coil |
Completing the Knot
Once you’ve wrapped the thread around the needle and secured the coil, you’re ready to complete the French knot. Here’s how to finish it:
- Reinsert the needle next to the original exit point to maintain the knot’s position.
- Push the needle all the way through the fabric.
- Pull the thread, allowing the trailing floss to slip down through the center of the coil.
- Maintain tension on the working thread to guarantee the knot stays secure.
If the knot isn’t right, revisit your steps, focusing on snug wraps and proper needle insertion.
Practice will enhance your French knot skills!
Troubleshooting Common Issues
When you encounter issues with French knots, understanding the underlying causes can make a significant difference in your embroidery experience.
If your knot pulls through the fabric, make certain you insert the needle beside, not into, the same exit point to anchor it properly. Using the same hole for both entry and exit can cause knots to slip, so be mindful.
To avoid tangling, stroke the working thread gently and maintain consistent tension.
If knots look messy, adjust your wraps; 1-3 wraps are ideal.
Finally, practice with different thread types or needle sizes to find the best combination for successful knots.
Variations in Knot Size and Style
French knots offer various options for size and style, allowing you to customize your embroidery projects.
You can create unique effects by adjusting the knot size and experimenting with different techniques. Consider these variations:
- Use 1-2 wraps around the needle for standard knots; 3 wraps for larger ones.
- Thicker threads or multiple strands yield bigger, more visible knots.
- Explore styles like the colonial knot for different appearances.
- A milliner needle can ease the creation of knots, especially with thicker threads.
Tips for Maintaining Tension and Preventing Tangles
Creating variations in knot size and style can enhance your embroidery projects, but maintaining proper tension and preventing tangles is just as important for achieving neat results.
To guarantee a secure knot, hold the working thread taut with your non-dominant hand. Use an away knot as a temporary anchor to keep tension steady while creating your French knot.
Before you start, smooth and equalize the lengths of thread strands to avoid tangling. Choose an appropriate needle size based on the number of strands to prevent resistance.
Consider using thread conditioner to keep strands together, minimizing fraying and enhancing overall tension.
Engaging With the Embroidery Community
Although you might feel isolated in your embroidery journey, engaging with the embroidery community can greatly enhance your skills and enjoyment. Connecting with others allows you to share tips and tricks, making challenges like mastering French knots more manageable.
- Join community forums to ask questions about your favorite stitches.
- Participate in local workshops for hands-on practice with experienced embroiderers.
- Explore blogs and social media for extra tips on French knots.
- Contribute your stories and insights to inspire fellow crafters.






