
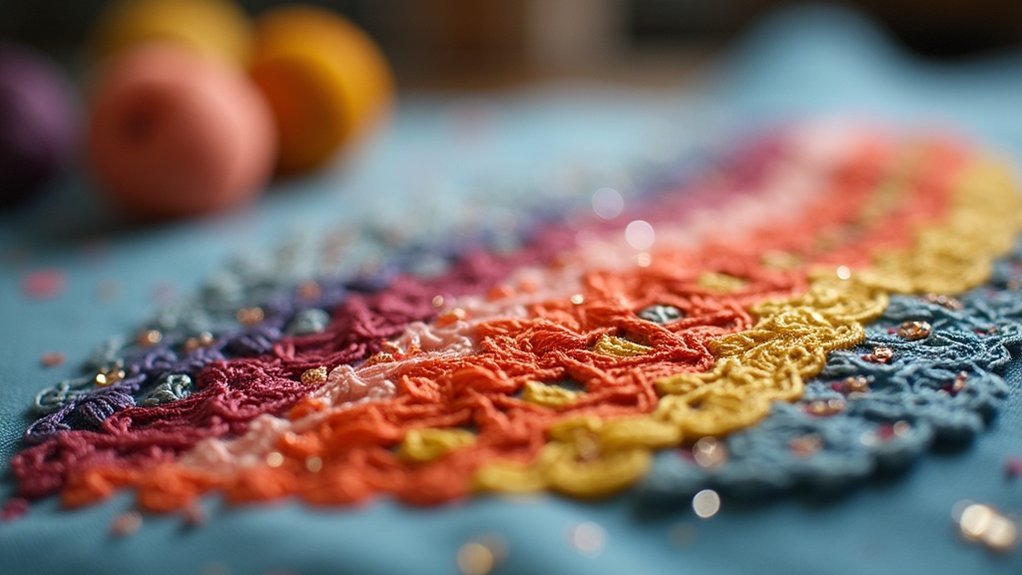
To fly stitch in embroidery, start by bringing your thread up to the left of the center line, then down to the right, forming a V shape. Angle your needle back up to the center below the starting point, and repeat the process, anchoring each stitch in the same hole. Adjust spacing for effects; closer stitches create density, while wider ones allow for an airy design. Keep experimenting to explore unique patterns and techniques that elevate your stitch work.
Key Takeaways
- Begin by bringing the thread up to the left of the center line and down to the right to form a V shape.
- Angle the needle back up to the center line below the starting point to create the fly stitch.
- Repeat the process, anchoring each new stitch in the same hole for a consistent design.
- Adjust the spacing between stitches to create varied effects; closer stitches yield density while wider ones offer an airy look.
- Experiment with the length of anchoring stitches to create different visual shapes, like Y formations for added connections.
Understanding the Fly Stitch Technique
While mastering embroidery techniques, understanding the Fly Stitch can greatly enhance your projects.
This stitch begins by bringing your thread up to the left of the center line and down to the right, creating a barbed appearance. Angle your needle back up to the center line, ensuring the thread crosses over the working thread before pulling through.
Varying the spacing between stitches offers different visual effects; closer stitches yield a denser look. Remember, the length of the anchoring stitch affects the design, forming Y shapes that enhance connections.
Use the Fly Stitch for decorative lines, filling leaf shapes, and intricate patterns.
Step-by-Step Guide to Fly Stitch
To effectively execute the Fly Stitch, follow this step-by-step guide that builds on your understanding of the technique.
Start by bringing your thread up to the left of the center line, then down to the right, forming a V shape. Angle your needle back up to the center line below your starting point.
Begin by bringing your thread up to the left of the center line, then down to the right to create a V shape.
For a series of stitches, repeat this process, anchoring each new stitch in the same hole as the previous one.
Adjust spacing for varied effects; closer stitches fill in while wider ones create an open design. Experiment with anchor length to influence the overall look of your embroidery.
Variations in Spacing for Different Effects
Adjusting the spacing between your fly stitches is essential for achieving different visual effects in your embroidery.
When you place the stitches close together, you’ll create a dense, filled look, while wider spacing allows for a more textured, airy design.
Experimenting with both spacing and stitch size can greatly enhance the overall aesthetic of your work.
Closer Stitches for Filling
When you place fly stitches closely together, the result is a rich, filled appearance that enhances your embroidery project. To achieve this, guarantee gaps between the stitches are minimal, anchoring each fly stitch in the same hole as the previous one for a seamless look.
By adjusting the spacing and depth of the V shape, you can create variations in texture and design. For intricate patterns, fill leaf shapes by placing the fly stitches right next to each other, which will enhance the overall depth.
Experimenting with stitch size can dramatically impact the aesthetic of your filled area.
Wider Stitches for Texture
While working with wider fly stitches, you can achieve a beautifully textured effect that breathes life into your embroidery. Increasing the spacing between stitches creates an open, airy look. Experiment with the depth of the V shape by adjusting stitch length for added visual interest. For a dynamic design, use longer anchoring stitches to form a striking Y shape. Here’s a quick reference table to illustrate the effects of wider stitches for texture:
| Stitch Spacing | Effect |
|---|---|
| Close | Dense, filled texture |
| Medium | Balanced texture |
| Wide | Open, airy appearance |
| Very Wide | Dramatic, spacious look |
Adjusting the Size of Your Fly Stitches
To adjust the size of your Fly stitches, focus on varying both the length of your stitches and the depth of the V shape.
For finer stitches, shorten the distance between the entry and exit points while keeping the anchoring technique consistent.
Conversely, for bolder designs, increase the spacing and adjust the angle of the needle to enhance the visual impact of each stitch.
V Shape Depth Adjustment
Adjusting the depth of the V shape in your fly stitches greatly impacts the overall appearance of your embroidery. To achieve a deeper V, increase the distance between the anchoring stitch and the fly stitch, allowing for a more pronounced angle.
Conversely, position your fly stitches closer to the anchoring point for shallower V shapes, creating a compact look. Experiment with anchoring stitch lengths to find the ideal balance for your design; longer stitches result in a Y shape that connects the fly stitches tightly.
Anchoring Stitch Length Variations
Anchoring stitch length variations play an essential role in determining the size and appearance of your fly stitches. Longer anchoring stitches create a Y shape, seamlessly connecting multiple fly stitches.
To guarantee continuity, come up in the same hole as the last anchor stitch before making the next long stitch. Varying the length of these anchoring stitches allows for both subtle and bold effects, enhancing your design’s visual appeal.
For a more filled appearance, use shorter anchoring stitches while keeping fly stitches close together. Adjusting the depth of the V shape through anchoring stitch length can considerably enhance texture.
The Importance of Anchoring Stitches
While you might focus on the artistry of fly stitch in your embroidery projects, the importance of anchoring stitches can’t be overlooked. Anchoring stitches secure each fly stitch, maintaining shape and integrity throughout your work.
Consistent placement, ideally in the same hole as previous stitches, creates a seamless connection. Varying the length of your anchoring stitches can enhance the overall design, with longer stitches emphasizing the Y shape.
Proper anchoring allows flexibility in spacing and size, enabling intricate patterns while ensuring stability. Effective anchoring techniques are essential for achieving visual flow and a polished finish in your embroidery projects.
Creative Applications of Fly Stitch
As you explore the creative applications of fly stitch in your embroidery projects, you’ll discover its versatility in producing stunning visual effects.
Use fly stitch to craft intricate leaf shapes, filling them with closely spaced stitches for a lush appearance. It can also serve as decorative lines or leaf spines, enhancing texture and dimension.
By varying the spacing between stitches, you achieve airy or dense patterns. Adjusting the V shape’s depth customizes size and style.
Additionally, incorporating longer anchoring stitches creates a Y shape, connecting multiple fly stitches for a cohesive design that truly elevates your embroidery work.
Tips for Perfecting Your Fly Stitch
Perfecting your fly stitch requires attention to detail and technique. To achieve beautifully uniform fly stitches, follow these tips:
- Start by bringing the thread up to the left of the center line for consistent placement.
- Keep even spacing between stitches; closer stitches create fullness, while wider spacing offers openness.
- Vary the depth of the V shape in each stitch for added texture and visual interest.
- Anchor your stitches in the same hole as the previous stitch to guarantee a seamless design.
Exploring Patterns With Fly Stitch
Exploring patterns with fly stitch opens up a world of creative possibilities in your embroidery projects. You can create intricate designs by varying the spacing and size of your fly stitches, allowing for both filled and open patterns.
Adjusting the angle and length of your anchoring stitches forms a Y shape, enhancing visual complexity. Incorporate fly stitch into leaf shapes to provide a decorative spine, adding depth and texture.
Experimenting with the depth of the V shape can produce aesthetics ranging from delicate to bold. This versatility makes fly stitch a valuable technique for crafting unique embroidery designs.






