
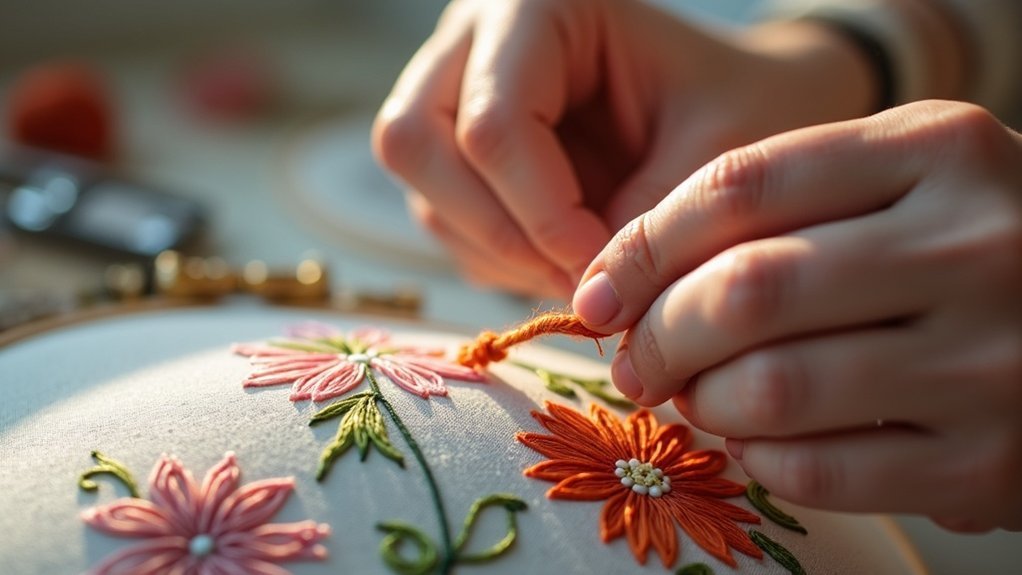
To finish embroidery thread neatly, secure your stitches by running the needle under 2-3 existing stitches, or use backstitching over the last stitch for added durability. If you prefer not to use knots, tiny stab stitches in inconspicuous areas can effectively anchor threads. Be mindful of your thread type; some may require extra anchors. Proper techniques not only enhance the neatness of your work but also contribute to its longevity—and there’s more to explore on this topic!
Key Takeaways
- Use techniques like backstitching or tiny stab stitches to secure threads without knots for a polished finish.
- Run the needle under 2-3 existing stitches to anchor the thread securely and prevent unraveling.
- Choose the right thread type; standard embroidery threads can be easily anchored, while Brazilian threads may need extra secure stitches.
- Ensure all initial stitches are securely placed and consider the impact of finishing techniques on the overall appearance.
- Engage with the embroidery community to share techniques and tips for achieving neat finishes and enhancing skills.
The Importance of Secure Stitches
When you’re working on embroidery, secure stitches aren’t just an option; they’re essential for maintaining the integrity of your design. To guarantee durability, always secure your threads by running your needle through existing stitches at the start and end.
Use tiny stitches in inconspicuous areas to anchor without bulk. Different stitches, like backstitching over the last stitch, can greatly enhance thread security, especially in long and short stitches.
Ending Threads Without Knots
When you finish your embroidery, securing threads without knots is essential for a polished look.
You can use techniques like backstitching or tiny stab stitches to anchor your thread effectively, depending on your stitching method.
Also, consider the type of thread you’re using, as this can influence how you secure it neatly.
Techniques for Secure Anchoring
Although finishing your embroidery thread securely might seem challenging, using effective techniques can help you achieve a neat look without knots.
To secure the thread, run your needle to the back and weave it under 2-3 existing stitches. For added security, use back stitches over the last stitch made. You can also make tiny stab stitches in inconspicuous areas to conceal loose threads.
When working with stitches like French knots, consider picking up a small thread of fabric or whipping around stitches for extra anchorage.
Consistency in these techniques guarantees durability and a tidy finish during washing.
Stitching Methods Overview
To finish your embroidery threads without creating knots, you’ll want to use a variety of effective stitching methods. Securely anchoring threads guarantees neatness and longevity in your hand embroidery.
| Stitch Method | Description |
|---|---|
| Under Existing Stitches | Run the thread under 2-3 stitches on the back. |
| Backstitching | Stitch over the last stitch for extra security. |
| Whipping for Knots | Wrap around French knots for stability. |
| Lazy Daisy Secure | Pick up a small thread to anchor in place. |
| Tiny Stab Stitches | Use inconspicuous areas for tidy anchoring. |
Thread Type Considerations
Choosing the right thread type can greatly influence how you finish your embroidery threads without knots. For standard embroidery thread, run the thread under 2-3 existing stitches on the back for a secure anchor.
If you’re using Brazilian thread, consider adding extra anchor stitches due to its unique characteristics. For tiny areas, use stab stitches to hide your anchoring without adding bulk.
You can also cluster French knots for effective durability during washes. Remember, adjusting your techniques based on thread type considerations guarantees a tidy finish, helping you serve your project and its future owners beautifully.
Techniques for Different Stitches
When you’re working with different embroidery stitches, securing your threads properly can make all the difference in achieving a polished look. For clusters of French knots, guarantee your thread runs under 2-3 stitches on the back for effective anchoring. Use a small thread of fabric beneath the last lazy daisy stitch to prevent unraveling. Backstitching into the last stitch reinforces loose threads, while tiny stitches in inconspicuous areas anchor threads securely. When using slippery Brazilian thread, incorporate multiple anchor stitches for a tidy finish.
| Stitch Type | Securing Technique |
|---|---|
| French Knots | Under 2-3 stitches on the back |
| Lazy Daisy | Pick up a small thread beneath |
| Backstitch | Reinforce last stitch |
| Tiny Stitches | Anchor in inconspicuous areas |
| Brazilian Thread | Use multiple anchor stitches |
Tips for Specific Setups
Securing your threads effectively varies based on the setup you’re using. When you’re ready to end on a scroll frame, finish your threads on the front to maintain tension.
Use tiny stab stitches in covered areas to hide ends without a knot. After finishing, snip threads close to the surface to keep everything tidy.
For delicate fabrics, whip the thread around the last few stitches for added stability and to prevent unraveling. If you’re working with Brazilian thread, include additional anchor stitches to guarantee they remain secure during washing.
With these tips, your projects will look polished and professional.
The Case For Knots
When you’re working on embroidery, using knots can offer a quick way to secure your threads, especially in practice pieces or when the back won’t be visible.
While knots can add some bulk, they’re often a time-saving option for beginners.
However, it’s important to reflect on the specific needs of your project, as there are also alternatives that might better suit your design.
Benefits of Knot Usage
Although many embroiderers prefer to avoid knots, they offer several practical benefits that can enhance your stitching experience.
Using a waste knot can quickly secure your working thread, especially in practice pieces or areas that won’t be visible. This method saves time, eliminating the need for multiple anchoring stitches, which is perfect for beginners or large projects.
When the back of your work is covered, knots provide a convenient solution without extensive finishing techniques. Additionally, used sparingly, knots can add texture or layers to your design, enhancing the overall aesthetic while streamlining your stitching process.
Knot Alternatives in Embroidery
While many embroiderers shy away from knots due to concerns about bulkiness, there are effective alternatives that can guarantee a clean finish without sacrificing stability.
Consider using techniques like the thread loop or weaving the end of the thread through previous stitches. These knot alternatives help secure your work without risking unraveling, especially since knots can sometimes come undone during washing.
When you choose to anchor threads this way, make sure you’re working in inconspicuous areas to maintain a polished look. Embracing these methods can enhance your versatility, balancing speed and neatness in all your embroidery projects.
Situations Favoring Knots
For many embroiderers, knots can be a practical solution in specific situations where speed and simplicity are paramount. Here are some instances where knots are beneficial:
| Situation | Benefits | Considerations |
|---|---|---|
| Practice pieces | Quick securing of thread ends | Back isn’t visible |
| Time constraints | Fast anchoring for larger projects | May require additional anchoring |
| French knots | Clusters provide sufficient anchoring | guarantee even tension |
| Unraveling threads | Immediate fix for certain threads | Check for durability |
Embrace knots when needed, and you’ll streamline your embroidery process effectively!
How to Start With a Good Old-Fashioned Knot
When you’re ready to start your embroidery project, using a good old-fashioned knot can be a straightforward method to anchor your thread.
Starting your embroidery project with a simple knot is an effective way to secure your thread.
Follow these steps to guarantee a clean start:
- Create a waste knot on the front of the fabric, placing it away from your first stitch.
- Secure the knot with small stitches along your guideline, keeping it discreet.
- After you’ve worked a few stitches, snip off the knot to maintain a tidy back.
How to Start Embroidery Stitches Without a Knot
Starting your embroidery stitches without a knot can create a smoother finish and minimize bulk on the back of your fabric.
Begin with a waste knot placed on the front, securing it with small stitches along your guideline. Alternatively, use the hanging tail technique, leaving a long tail to secure your first stitch tightly. Make sure those initial stitches are placed close together to prevent unraveling.
For added security, run your needle through 2-3 existing stitches on the back. Tiny stab stitches in inconspicuous areas can also anchor your thread, ensuring it stays secure during washing and regular handling.
Reader Interactions
Engaging with fellow embroiderers can enhance your understanding of finishing techniques. Reader interactions in the comments section can be invaluable.
Connecting with other embroiderers enriches your knowledge of finishing techniques and fosters a valuable community.
Here’s how to make the most of these exchanges:
- Share your own finishing methods, like backstitching over the last stitch.
- Ask for visual aids that clarify techniques you find challenging.
- Suggest secure anchoring techniques to prevent unraveling during washing.
These interactions foster a supportive community, where everyone grows together.
If you have additional tips or questions, let me know! Your contributions can help others achieve a clean finish and elevate their embroidery projects.






