
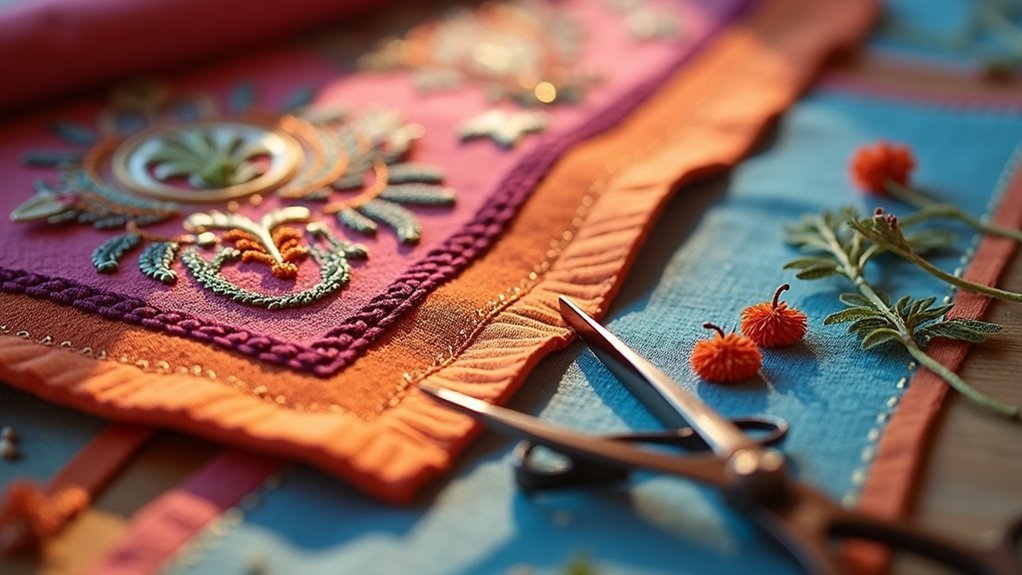
To finish your embroidery edges with bias tape, start by selecting a suitable double fold bias tape. Unfold it, pin it securely to the edges, and guarantee a snug fit. Use a sharp embroidery needle for clean stitching. For neat corners, miter the bias tape at a 45-degree angle and trim excess fabric to reduce bulk. Finally, press the corners gently for a crisp look. Stick around to uncover more tips and techniques for a polished finish!
Key Takeaways
- Cut bias tape on the bias and unfold it to fit snugly around the edges of your embroidery piece.
- Secure the bias tape with fabric pins to prevent shifting while sewing.
- Miter corners by folding tape at a 45-degree angle for a neat finish.
- Use a sharp embroidery needle for easy stitching through layers and prevent puckering.
- Press corners gently after folding to ensure crisp edges and a professional appearance.
Understanding Bias Tape
When you plunge into the world of embroidery, understanding bias tape is key to achieving clean, professional edges.
Bias tape, a narrow strip cut on the bias, offers the flexibility you need for finishing curves and corners. You’ll find it available in various widths, but double fold bias tape is often your best bet for a polished look.
It effectively prevents fraying, ensuring your edges remain durable and intact. Select the right material, like cotton or polyester, to match your fabric.
Tucking in the edges when applying bias tape will help create neat corners, enhancing your embroidery projects’ overall appearance.
Materials Needed for Finishing
To achieve beautifully finished embroidery edges, gathering the right materials is essential. You’ll need a completed embroidery piece as your canvas. A sharp embroidery needle and embroidery floss guarantee clean stitching when attaching the bias tape to finish. Fabric pins will secure the bias tape along the edges, preventing any shifting during sewing. For a polished finish, opt for single fold wide bias tape, also known as quilting bias tape. Remember to allocate extra time for this finishing process to guarantee a professional appearance.
| Material | Purpose | Notes |
|---|---|---|
| Completed embroidery piece | Focal point of your project | |
| Sharp embroidery needle | Guarantees clean stitching | Essential for detail |
| Fabric pins | Secures bias tape during sewing | Prevents shifting |
| Single fold bias tape | Provides a polished finish | Recommended choice |
| Extra time | Guarantees careful application | Enhances professionalism |
Preparing Your Embroidery for Bias Tape
As you prepare your embroidery for bias tape application, start by unfolding the bias tape to fit snugly around the edges of your finished piece, making sure it wraps smoothly for a seamless look.
Check that the tape appears consistent on both the front and the wrong side, maintaining that polished finish.
For added support, consider applying interfacing to the back of the embroidery, stabilizing the fabric effectively.
To cover any exposed interfacing, cut a small square of fabric and secure it with pins or stitches.
This step guarantees a clean, professional appearance when your artwork is displayed proudly.
Attaching the Bias Tape
Securing the bias tape around your embroidery is essential for achieving a polished finish that showcases your work. Start by pinning the single fold bias tape along all edges, aligning it evenly with the fabric. Consider mitering the corners at a 45-degree angle for a clean look, eliminating the need for cutting. Use a sharp embroidery needle to backstitch along the edge, ensuring a strong attachment. Afterward, tie off the thread securely to prevent unraveling. Check out the table below for additional tips on seam allowance and techniques to elevate your embroidery presentation.
| Task | Description |
|---|---|
| Pinning | Align bias tape evenly with fabric |
| Mitering Corners | Fold at 45 degrees for neat edges |
| Backstitching | Use a sharp needle for a secure attachment |
| Tying Off | Secure thread to prevent unraveling |
| Display Ideas | Explore creative ways to showcase your finished piece |
Techniques for Neat Corners
When you’re aiming for a polished finish, mastering the technique of mitering corners is essential for applying bias tape around your embroidery.
Begin by folding the bias tape at a 45-degree angle before pinning it, which guarantees a clean finish without excess bulk. As you pin, leave some ease to let the tape curve smoothly, preventing puckering.
Use a sharp embroidery needle to stitch through multiple fabric layers easily. After securing, trim any excess fabric from the corners to reduce bulk.
Finally, press the folded corners gently, establishing a crisp edge that elevates your finishing touch beautifully.
Finalizing Your Stitching
To achieve a flawless finish on your embroidery, it’s essential that you finalize your stitching meticulously.
Start by backstitching along the entire edge, securing the bias tape firmly in place. Use a sharp embroidery needle for clean, precise stitching, ensuring your stitch line is even and professional.
Once you’ve completed the backstitching, tie off the thread securely to prevent any unraveling.
To enhance the overall appearance, carefully press the bias tape, giving your piece a polished look.
With these steps, your embroidery won’t only serve its purpose but also impress those who admire your handiwork.
Creative Display Ideas
You can transform your embroidered pieces into stunning framed wall art by using a wooden hoop to encase your work, letting the bias tape beautifully finish the edges.
For a charming decorative table display, consider turning your embroidery into a unique centerpiece by placing it in a vibrant fabric frame.
Framed Wall Art
There’s something uniquely enchanting about showcasing embroidered pieces as framed wall art, transforming them into stunning focal points in any room.
Consider using a shadow box frame, which adds depth and protects your work. Select a strip of fabric for bias tape that complements the right side of your embroidery, ensuring a seamless change.
A wooden or metal frame with a mat board elevates the presentation, highlighting intricate details.
Experiment with various hanging techniques, like decorative hooks or gallery walls, and don’t hesitate to embellish with washi tape or fabric flowers for a personal touch that enhances the overall aesthetic.
Decorative Table Displays
Elevate your home decor with four dynamic ideas for showcasing embroidery in decorative table displays.
First, use decorative frames or hoops to protect your pieces while enhancing their beauty; fold the bias tape neatly along the edge for a polished finish.
Next, consider a fabric-covered board as a backdrop, allowing the bias tape to complement your design.
Create interest by arranging multiple small pieces in varied sizes, all showcasing that charming bias tape.
Finally, utilize easels or stands for individual pieces, layering them on decorative boxes to add depth and guarantee each embroidered edge shines from every angle.
Tips for Future Projects
While starting on future embroidery projects, selecting the right bias tape plays an essential role in achieving a polished finish.
Make sure you consider these tips for an ideal result:
- Choose colors and widths that complement your design for a cohesive look.
- Experiment with mitering corners to create seamless changes.
- Always pre-wash your bias tape to avoid shrinkage and maintain durability.
- Incorporate interfacing behind your embroidery for added support, ensuring the bias tape lays flatter.
These techniques can elevate your work and serve others beautifully, transforming your embroidery into stunning displays.






