
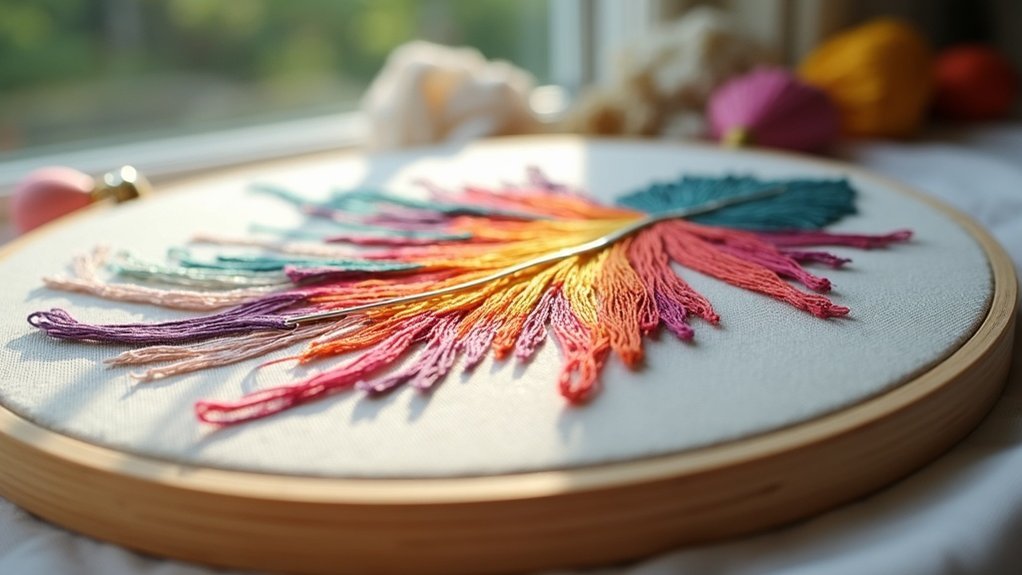
To feather stitch in embroidery, draw four parallel lines on your fabric. Start by bringing your needle up on the left side of the top line, skip the second line, and bring the needle down on the left side of the bottom line to form a loop. Move forward one stitch length, then pull the needle through the loop. Keep alternating this pattern for texture. You’ll discover various ways to enhance your feather stitches with decorative options next.
Key Takeaways
- Start by drawing four parallel lines on your fabric as guides for even stitching.
- Bring the needle up on the left side of the top line and down on the left side of the bottom line, forming a loop.
- Maintain consistent stitch length and spacing by moving one stitch length forward each time.
- Secure the last loop with a tiny forward stitch and check for uniformity in the V-shape.
- Enhance your design by adding decorative elements like beads or floral motifs around the stitches.
Preparation for Feather Stitch
Before you start stitching the Feather Stitch, it’s important to prepare your fabric properly.
Begin by drawing four parallel lines on your fabric to serve as guides. Bring your needle up on the left side of the top line to initiate your stitch. Next, skip the second line and bring your needle down on the left side of the bottom line, ensuring you leave a loop on top of the fabric.
Maintain even tension throughout the stitching process to achieve consistent loops and spacing, which are vital for creating the characteristic V-shape of the Feather Stitch in subsequent steps.
Creating the First Stitch
To create the first stitch of the Feather Stitch, start by bringing your needle up on the left side of the top parallel line after preparing your four parallel lines.
Next, skip one line and bring the needle down on the left side of the bottom line, leaving a loop on top of the fabric.
Move one stitch length forward on the line between the two lines before bringing the needle up through the fabric.
Make sure the needle passes through the loop you created, linking the fly stitch technique.
This initial stitch establishes a consistent foundation for your feather stitch.
Continuing the Stitching Process
To continue the stitching process, bring your thread up on the current line and skip one parallel line to maintain the feather stitch pattern.
Form the loop by bringing the needle down on the top line, ensuring you leave a loop on the fabric for that signature look.
As you progress, make sure each stitch is of consistent length and spacing to keep your design neat and uniform.
Loop Formation Techniques
When continuing the stitching process for the feather stitch, always bring your needle up on the current line to maintain the flow of your design.
To create the perfect loop on top, follow these techniques:
- After bringing your needle down on the top line, consistently leave a loop on top of the fabric to form the V-shape.
- Move one stitch length to the right between the two lines before pulling the needle through the loop for uniformity.
- Alternate between skipping lines and creating loops to preserve the pattern’s texture and visual appeal.
Experiment with colors for added vibrancy!
Stitch Consistency Importance
Consistency is essential in achieving a polished feather stitch that stands out for its beauty and precision. To maintain uniformity, guarantee each stitch length forward is identical; this enhances your design’s overall appearance.
Regularly check the distance between stitches to avoid uneven gaps that disrupt the flow. Using a ruler or fabric guide can greatly assist in measuring and maintaining stitch consistency throughout your project.
Additionally, pay attention to color and thread tension, as these factors contribute to the harmony of your feather stitch, making it look more professional. Aim for balance, and your embroidery will truly shine.
Repeating the Technique
As you practice the feather stitch, you’ll find that mastering the repetition of this technique is key to achieving a uniform and appealing design.
Mastering the feather stitch through consistent practice is essential for creating a beautiful and uniform design.
Here are three essential steps to guide you:
- Begin by bringing the needle up on the current line, skipping the next parallel line to create a loop.
- Move one stitch length to the right and pull the thread through the loop.
- Alternate between skipping lines and making loops consistently.
Finalizing the Feather Stitch
To finalize your feather stitch, secure the last stitch by making a tiny forward stitch to keep it in place.
Check your work for consistency in stitch length and spacing to guarantee a polished appearance.
If desired, add decorative touches like small flowers or beads at the ends to enhance your design.
Securing Last Stitch
Finalizing the Feather Stitch involves an essential step: securing the last stitch. This step keeps your work intact and prevents unraveling.
Follow these guidelines for a clean finish:
- Make a tiny forward stitch after your last loop to secure it.
- Gently tug on the thread to guarantee the V-shape is well-defined.
- Check that the stitch is tight before cutting the thread.
Checking Overall Appearance
Once you’ve completed the feather stitch, it’s crucial to evaluate the overall appearance of your work.
Make sure to assess the symmetry and spacing between the stitches for uniformity. Check that each loop consistently sits atop the fabric, achieving that signature feather-like effect.
Verify the tension remains even throughout; this prevents puckering and maintains design integrity. Review your color choices and any embellishments added to the ends of the stitches for added decorative flair.
Finally, secure the last stitch with a tiny forward stitch to prevent unraveling and finalize the design neatly, making certain your work is polished and professional.
Decorative Finishing Touches
After evaluating the overall appearance of your feather stitch, it’s time to add those decorative finishing touches that elevate your work.
Here are three suggestions to enhance your design:
- Make a tiny stitch forward after the last completed stitch to secure the feather stitch firmly.
- Review your stitch line for consistent length and spacing, ensuring the integrity remains intact.
- Add embellishments, like small flowers or beads, at the ends to introduce a delightful flair, or even incorporate fly stitch elements for added texture.
Once you’re satisfied, enjoy the aesthetic outcome, reflecting your unique style in every detail.
Decorative Options and Embellishments
While feather stitching is a fundamental embroidery technique, enhancing it with decorative options and embellishments can elevate your designs considerably.
You’re going to start by experimenting with different thread colors to create vibrant patterns. Varying your stitch lengths adds texture and depth for a dynamic look.
To finish, consider adding small embellishments like beads or sequins at the ends of your feather stitches for sparkle. Specialty threads, such as metallic or variegated options, introduce unique visual effects.
Finally, integrating floral motifs around your feather stitches creates a cohesive, artistic piece that truly stands out in any embroidery project.






