
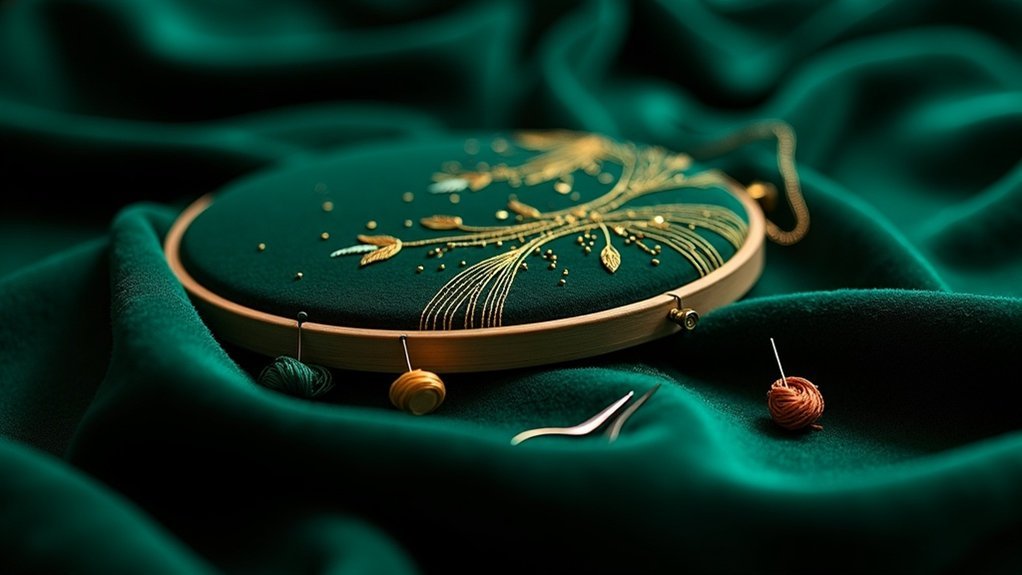
To embroider on velvet, start by selecting a lightweight topper stabilizer to keep stitches crisp without crushing the fabric’s plushness. Use a ballpoint needle for stretch velvet and an embroidery needle for regular velvet, maintaining a consistent tension while hooping. Techniques like floating the fabric help protect its surface, while sticky stabilizers secure it effectively. Remember to trim excess stabilizer after stitching for a polished finish. Discover more tips and techniques to elevate your velvet projects!
Key Takeaways
- Choose a suitable stabilizer, like StitcH20 WashAway topper, to prevent pile crushing and ensure crisp stitches on velvet.
- Use a ballpoint needle for stretch velvet and an embroidery needle for regular velvet, maintaining a size of 80/12 for optimal results.
- Implement the floating hooping technique with sticky stabilizers to protect the velvet surface and secure the fabric without damaging it.
- Maintain consistent tension during embroidery to avoid sagging and ensure the fabric remains taut for high-quality stitch results.
- After stitching, carefully remove excess stabilizer and trim loose threads for a polished finish on your embroidered velvet project.
Understanding Velvet and Its Unique Properties
Velvet, with its sumptuous texture and vibrant hues, captivates anyone who touches it. This luxurious fabric features a distinct pile, offering a rich tactile experience that can change with the light.
However, you must handle velvet with care; its sensitivity to heat and water can easily lead to damage. When embroidering, selecting the right stabilizer is key, as it supports your design while preserving the fabric’s integrity.
A topper stabilizer prevents stitches from sinking into the nap, ensuring clarity. Choosing the appropriate needle—ball point for stretch velvet and embroidery needles for regular—is essential to prevent snagging this exquisite material.
Essential Tools for Embroidering on Velvet
When starting on the journey of embroidering on velvet, having the right tools at your fingertips can make all the difference in achieving stunning results.
Use a ballpoint needle for stretch velvet or an embroidery needle for regular velvet, ideally sized 80/12 to complement your 40 wt thread. A topper like StitcH20 WashAway prevents pile crushing, while stabilizers such as OESD StabilStick CutAway or TearAway provide essential support.
Employ the floating technique for hooping, ensuring no direct contact with the velvet. Finally, the Viking metal hoop’s ultra-strong magnets secure the fabric, enhancing your machine embroidery experience with adjustable tension and stability.
The Importance of Stabilizers in Velvet Embroidery
When embroidering on velvet, selecting the right stabilizer is essential to keep your fabric stable and your stitches sharp.
You’ll find that proper hooping techniques, combined with the right stabilizer, can greatly enhance your embroidery’s overall quality.
Let’s explore how these elements work together to create stunning results on this luxurious fabric.
Choosing Appropriate Stabilizers
Choosing the right stabilizer is essential for achieving beautiful results in velvet embroidery, as it directly affects the quality of your stitching.
Lightweight toppers, like StitcH20 WashAway, preserve the velvet’s luxurious texture while offering support. For a secure hold without traditional hooping, opt for sticky stabilizers such as OESD StabilStick CutAway.
Both tearaway and cutaway stabilizers provide flexibility, allowing you to cater to your project’s needs. Remember to avoid heavy stabilizers that could damage the delicate fabric or create stiffness.
Hooping Techniques for Velvet
Although hooping velvet might seem straightforward, using the right techniques is crucial to prevent damage and achieve stunning results.
Instead of traditional hooping, opt for the floating technique with a sticky stabilizer like OESD StabilStick CutAway. This provides secure adhesion while protecting the velvet’s delicate pile.
A topper stabilizer is essential to keep stitches from sinking into the nap, preserving the fabric’s surface beauty. Confirm the stabilizer is flat and taut; sagging can distort your design.
Consider using a Viking metal hoop, as its adjustable tension allows for ideal control, safeguarding your lovely velvet from crushing.
Happy stitching!
Techniques for Hooping Velvet Effectively
To hoop velvet effectively, you’ll want to master the floating technique, which allows you to hoop only the stabilizer.
Use sticky stabilizers like OESD StabilStick CutAway or TearAway to secure your fabric without the risk of hoop burn or crushing its delicate pile. Avoid hooping polyester velvet directly to prevent discoloration.
Utilize sticky stabilizers to protect your velvet and prevent discoloration by avoiding direct hooping.
When using a Viking metal hoop, guarantee your fabric is taut; lightly tap it to check the tension. Smooth the fabric and evenly distribute magnets around the hoop to maintain consistent tension, preventing sagging during the embroidery process.
This attention to detail guarantees beautiful results in your projects.
Choosing the Right Thread and Needle for Velvet
When you’re ready to stitch on velvet, selecting the right thread and needle is essential for achieving stunning results.
Go for 40 wt cotton or polyester threads for a smooth finish, and match your needle size to the thread for the best compatibility.
Thread Types and Options
Choosing the right thread and needle for embroidering on velvet can make all the difference in achieving a stunning finish. Here are some essential tips:
- Use 40 wt cotton or polyester threads for polyester velvet.
- Opt for a ball point needle for stretch velvet to prevent damage.
- Match your needle size to your thread; an 80/12 needle works well for standard embroidery threads.
- For a faux embossed effect, choose a thread color that closely matches the velvet.
With the right thread types and needle options, your embroidery won’t only look beautiful but also enhance the luxurious texture of the velvet.
Needle Size Recommendations
Finding the right needle size is essential for achieving beautiful embroidery on velvet. For regular velvet, consider using an embroidery needle size 80/12, which accommodates the thread and fabric thickness without causing damage.
When working with stretch velvet, opt for ball point needles to prevent snagging the delicate fibers.
It’s vital that your needle size recommendations align with your thread type; a larger needle can create unsightly holes, while a smaller one may struggle to penetrate.
Don’t hesitate to test different needle and thread combinations on scrap velvet to find the perfect setup for your embroidery masterpiece.
Matching Thread to Velvet
To achieve stunning embroidery on velvet, it’s essential to carefully match your thread to the fabric.
Consider these tips for a flawless finish:
- Use 40 wt cotton or polyester threads for polyester velvet.
- Opt for a ballpoint needle for stretch velvet and an 80/12 standard needle for regular velvet.
- Choose thread colors that enhance the velvet’s luxurious look, creating a faux embossed effect.
- Avoid dense stitches without extra stabilizer to prevent warping.
Tips for Achieving a Professional Finish
While embroidering on velvet can be a luxurious endeavor, achieving a professional finish requires attention to detail and the right techniques. Always use a topper stabilizer, like StitcH20 WashAway, to keep your stitches crisp. Opt for a floating hooping technique to protect the velvet from hoop burn. Choose the right needle—ballpoint for stretch velvet, embroidery for regular—to minimize snags. Maintain light tension and avoid dense patterns unless using extra stabilizers. Finally, rinse or remove the topper carefully to preserve the velvet’s plushness.
| Technique | Description |
|---|---|
| Topper Stabilizer | Prevents pile crushing, guarantees stitch clarity |
| Floating Hooping | Protects velvet surface from hoop burn |
| Needle Selection | Minimizes fabric snags |
Exploring Creative Project Ideas With Velvet Embroidery
After mastering the techniques for a professional finish on velvet, it’s time to let your creativity shine through with this luxurious fabric.
Unleash your creativity with luxurious velvet after perfecting your professional finish techniques.
Here are some inspiring ideas for projects featuring embroidered velvet:
- Personalized throw pillows that enhance your home decor
- Custom velvet accessories like bags or jewelry pouches
- Festive holiday ornaments or elegant table runners
- Unique plush velvet animals or cuddle blankets for children
These embroidered velvet creations can elevate your gift-giving and home aesthetics, adding a touch of elegance and comfort that will surely delight those who receive them.
Let your imagination run wild!






