
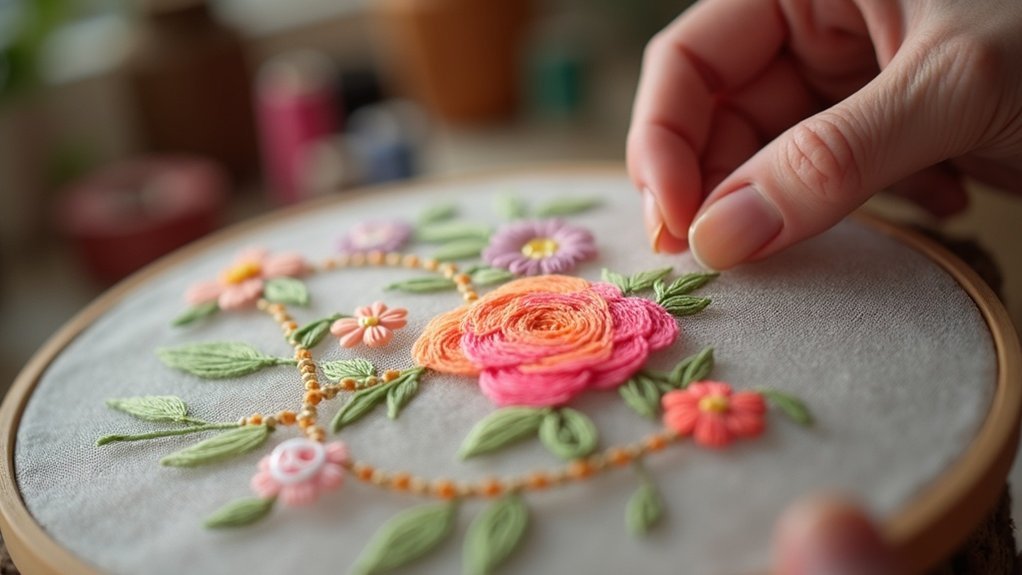
Embroidering on tulle or sheer fabric requires precision and care. Start by securing tulle tightly in a hoop to prevent bubbles, and use basting stitches to guarantee proper alignment. Monitor your thread tension carefully, keeping it balanced to avoid damage. Opt for running stitches to minimize visibility, and knot securely beneath lines for a polished finish. Looking for more tips and creative techniques to enhance your embroidery projects? Keep exploring for further insights and inspiration!
Key Takeaways
- Secure tulle tightly in an embroidery hoop to prevent bubbles and ensure precise stitching without damaging the delicate fabric.
- Use basting stitches for accurate design placement and to maintain fabric flatness during the embroidery process.
- Select appropriate stabilizers, such as sticky back water-soluble or regular water-soluble, to support the fabric while stitching.
- Monitor thread tension closely to avoid holes and puckering; adjust tension for a balanced, clean finish.
- Incorporate knotting techniques and extra stitches on the back to enhance stability and minimize thread visibility.
Understanding the Delicacy of Tulle Fabric
When you begin working with tulle, it’s vital to recognize its delicate nature, which can easily lead to frustration if mishandled. This sheer fabric, while beautiful, requires careful handling during embroidery on tulle to prevent tearing.
The limited stretch demands proper securing in a hoop; otherwise, it may skew. Gentle thread tension is essential, as excessive pulling can damage intricate designs, leaving holes.
Always consider the visibility of stitches on the back, ensuring that your work looks polished from both sides. Treat tulle with care, and you’ll create stunning embellishments that truly serve your vision and purpose.
Preparing Tulle for Embroidery
Before you start stitching, take a moment to outline your design with basting stitches on the tulle; this guarantees everything stays perfectly aligned.
Choose the right stabilizer—sticky back water-soluble or regular water-soluble—to support the delicate fabric throughout the process.
With the tulle laid flat and tightly secured in the hoop, you’re set for a precise and beautiful embroidery project.
Choosing Stabilizer Types
Choosing the right stabilizer is essential for achieving beautiful embroidery on tulle, as it guarantees support without adding unwanted bulk.
For delicate fabrics, sticky back water-soluble stabilizers work wonders, holding the tulle securely in place while facilitating easy removal post-embroidery.
You’ll also want to take into account water-soluble stabilizers, as they help prevent puckering and maintain tulle’s sheer quality, allowing for smooth, even stitches.
Always verify the stabilizer is well adhered to the tulle before hooping, keeping everything taut and wrinkle-free during the embroidery process.
This attention to detail will lead to stunning, professional results in your projects.
Basting Design Outline
Basting the design outline on tulle is an essential step that sets the stage for flawless embroidery. Use basting stitches to carefully mark your embroidery design before using your embroidery machine. This guarantees accurate placement while maintaining the fabric’s natural stretch. Keep the tulle flat to achieve smooth, even stitches, and consider a water-soluble stabilizer for support without added weight. Remember to keep basting stitches loose to prevent distortion.
| Step | Action | Tips |
|---|---|---|
| 1. Mark Placement | Outline your design | Use a fabric marker |
| 2. Lay Flat | Ensure no bends | Smooth with hands |
| 3. Baste | Stitch loosely | Avoid pulling fabric |
| 4. Use Stabilizer | Add water-soluble | Supports without heaviness |
| 5. Check Alignment | Verify before sewing | Double-check your placement |
Important Techniques for Successful Embroidery
Embroidery on tulle can be a delicate dance of creativity and technique, requiring a thoughtful approach to achieve stunning results.
Always use a hoop to maintain tulle’s natural stretch, preventing bubbles. Start with basting stitches to outline your design, ensuring precise placement. When stitching, make sure to choose a running stitch over a backstitch for smoother, less noticeable lines.
To keep the back tidy, secure threads tightly underneath your stitches, especially for intricate designs. Employ traveling lines beneath filled areas, minimizing stitch visibility on the sheer fabric.
These techniques will elevate your embroidery, creating a beautiful and professional finish.
Managing Thread Tension
While working on your tulle project, managing thread tension is essential to guarantee your design remains intact and beautifully rendered. Remember to pull threads lightly; this prevents holes in the delicate fabric. Here’s a handy guide to help adjust your thread tension effectively:
| Tension Level | Effect on Stitches | Adjustments Needed |
|---|---|---|
| Low | Loose, visible gaps | Tighten a little bit |
| Medium | Balanced stitches | Maintain as is |
| High | Fabric damage | Loosen another one |
| Too Tight | Ruptures | Loosen immediately |
| Just Right | Smooth, clean finish | Perfectly balanced |
Regularly check tension for best results!
Properly Stretching the Fabric
To properly stretch tulle, you’ll want to place it flat in an embroidery hoop, securing the outer ring without tugging on the delicate fabric.
This careful approach maintains its natural stretch and prevents unsightly bubbles while allowing you to see your design clearly.
Keep the tulle taut but not overly tight, as this balance is essential for achieving those immaculate, even stitches you’re aiming for.
Use an Embroidery Hoop
When you’re ready to start embroidering on tulle, using an embroidery hoop becomes vital for achieving the best results. Here’s how to properly stretch your fabric:
- Lay the tulle flat on the inner hoop, making sure it maintains its natural stretch without distortion.
- Gently secure the outer ring, being careful not to pull too tightly to prevent holes or damage.
- Check the tension regularly, keeping the fabric taut but not overstretched for smooth stitches and a neat appearance.
This method helps avoid bubbles and guarantees you can clearly see your design, essential for intricate embroidery on sheer fabrics.
Maintain Natural Stretch
Maintaining the natural stretch of tulle is essential for achieving flawless embroidery results, as it guarantees your stitches flow smoothly without distortion.
Start by placing the tulle flat on the inner ring of your embroidery hoop, avoiding excessive pulling. Gently secure the outer ring, making sure you don’t apply extra tension, which could distort the fabric.
Keep an eye on the tulle while you embroider; any movement can lead to wrinkles or puckering, compromising your design.
Secure Fabric Flat
After confirming the tulle retains its natural stretch, it’s time to secure the fabric flat in the embroidery hoop.
Follow these steps to achieve a smooth, taut surface:
- Position the Tulle: Lay the fabric on the inner hoop, confirming it’s flat without stretching or bending.
- Secure with the Outer Ring: Gently place the outer ring on top, avoiding excessive tension to prevent holes.
- Monitor Tension: Keep an eye on the fabric’s tautness while securing, confirming it remains straight and neat.
This careful preparation will help prevent bubbles and confirm a clean, visible design during your embroidery process.
Creative Thread Placement Strategies
As you explore the enchanting world of tulle embroidery, consider how your thread placement can transform the overall look of your design.
Utilize traveling lines beneath filled areas to keep the underside neat and minimize thread visibility. For contour designs, opt for running stitches instead of backstitches; they’ll create smoother edges.
Traveling lines beneath filled areas help maintain a tidy underside, while running stitches offer smoother edges for contour designs.
Weaving stitches through the fabric enhances both beauty and stability—crucial for tulle’s delicate texture. Always envision how your stitches will appear on both sides of the fabric, ensuring a polished finish.
Thoughtful placement not only elevates your creations but also serves those who’ll cherish your handiwork.
Securing Threads for a Clean Finish
Creative thread placement not only enhances the beauty of your tulle embroidery but also sets the stage for securing threads that guarantee a clean finish.
To achieve this, follow these essential steps:
- Knot Securely: Make tight knots beneath your embroidered lines to hide back thread and maintain a polished look.
- Minimize Visibility: For fine designs, position stitches cleverly to reduce back thread visibility, using traveling lines under filled areas.
- Stabilize with Extra Stitches: For thread-painted designs, add extra stitches on the back to bolster stability and prevent unraveling.
These practices assure that your tulle masterpiece remains stunning from every angle.
Finding Inspiration for Your Tulle Embroidery Designs
Where do you find the spark for your tulle embroidery designs? Start with nature walks—each petal and leaf can inspire intricate patterns. Capture photos as references to fuel your creativity later.
Immerse yourself in magazines that resonate with your interests; they’re a goldmine for fresh styles. Social media, especially Instagram, showcases diverse tulle applications that can ignite your imagination.
Explore magazines that inspire you, as they offer a treasure trove of innovative styles, while social media can spark your creativity with its vast tulle designs.
Pinterest serves as a visual library; curate boards filled with ideas that reflect your unique vision.
Finally, review your personal photos to guarantee your designs echo your authentic style, making your embroidery projects not just beautiful, but deeply meaningful.






