
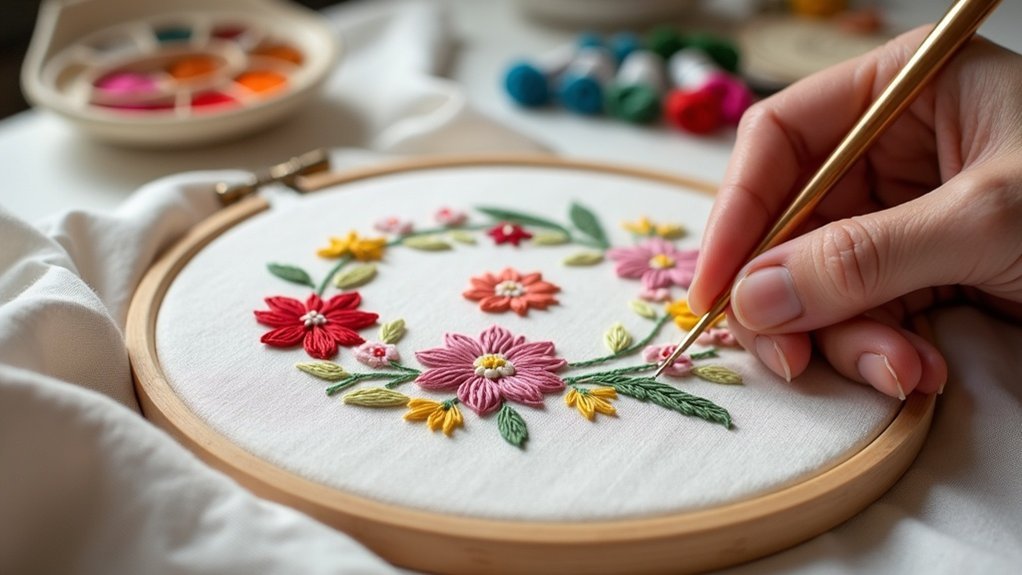
To embroider on linen for crisp stitches, start with medium-weight, 100% natural linen to guarantee stability and minimize stretch. Pre-wash and cut your fabric larger than your design to prevent puckering. Use the right hooping and guarantee even tension to keep your stitches defined. Choose appropriate stabilizers—cut-away for lightweight linen or tear-away for medium weight. These steps will elevate your work’s precision and clarity. There’s so much more to uncover about achieving stunning results!
Key Takeaways
- Select medium-weight, tightly woven 100% natural linen for stability and minimal stretch during stitching.
- Pre-wash linen to remove chemicals and cut fabric at least 2 inches larger than your design for accuracy.
- Use appropriate stabilizers based on linen weight to prevent distortion and ensure crisp stitches.
- Hoop the linen tightly to maintain even tension and practice on a scrap piece for better results.
- Finish edges with a zigzag stitch or serger to prevent fraying before starting your embroidery project.
Selecting the Right Linen for Embroidery
When it comes to selecting the right linen for embroidery, the fabric you choose can make all the difference in your project’s outcome.
Opt for medium-weight linen, ideally between 130–190 GSM, to strike a perfect balance of support and flexibility. 100% natural linen offers remarkable stability and minimizes stretch, enhancing stitch definition while reducing puckering.
Look for tightly woven linen with a smooth, even finish to keep fabric movement at bay. If you’re a beginner, cotton-linen blends provide excellent handling without sacrificing stitch quality.
Preparing Linen: Pre-Washing and Cutting
With the right linen selected, you’re ready to prepare it for your embroidery project. Start by pre-washing your linen in very hot water, followed by a cold rinse to remove chemicals and guarantee proper shrinkage.
Next, take precise measurements, cutting the fabric at least 2 inches larger than your design—this guarantees dimensions remain accurate. Always cut along the thread for a straight edge, preserving the integrity of the fabric.
To prevent fraying, finish the edges with a zigzag stitch. This careful preparation sets the stage for beautiful embroidery, allowing your creativity to shine through every stitch.
Neatening and Hemming Techniques
To guarantee your linen stays pristine throughout your embroidery journey, mastering neatening and hemming techniques is essential.
Begin by neatening the edges with a sewing machine, whip stitch, or serger to prevent fraying. Verify proper tension to avoid puckering during finishing. Consider merrowed edges before your embroidery project; this helps maintain fabric integrity.
Neaten edges with a sewing machine or serger to prevent fraying, ensuring fabric integrity before starting your embroidery project.
When it comes to hems, use machine-assisted hemstitching for oblong shapes, and remember to embroider before hemming for easy movement in the hoop.
Finally, employ a zigzag stitch on raw edges to prevent curling, ensuring a clean finish for your beautiful linen masterpiece.
Hooping Techniques for Linen Embroidery
When you hoop linen, achieving the right tautness is essential for crisp, beautiful stitches.
Carefully choose a stabilizer that complements the fabric, providing support without hindering your design.
With the perfect combination of tension and backing, your embroidery will truly shine on that lovely linen.
Fabric Tautness Importance
As you commence your linen embroidery journey, ensuring fabric tautness during hooping is essential to achieve sharp, clean designs.
Maintaining even tension prevents puckering, a common issue with linen’s quirks that can lead to distorted designs. Use sturdy wooden or plastic hoops that grip securely, allowing for minimal movement and maintaining flatness throughout your stitching.
When hooping, place the linen with the correct side facing out and tighten carefully to avoid overstretching its fibers.
Remember to practice on a scrap piece to perfect your hooping techniques before diving into your project, steering clear of seams or edges that could compromise tautness.
Stabilizer Selection Tips
With your linen securely hooped and tension set, the next step is selecting the right stabilizer to support your embroidery efforts.
For medium-weight linen, choose a tear-away stabilizer; it provides essential support while ensuring a clean finish post-stitching. If you’re working with lightweight linen, opt for a cut-away stabilizer to maintain stability and prevent puckering.
Remember to use a wooden hoop for better grip and even tension during the embroidery process.
Before diving in, test your setup on a scrap piece of linen, ensuring you’ve fine-tuned your stabilizer choice for ideal results.
Happy stitching!
Choosing the Right Stabilizers
Choosing the right stabilizer can make or break your linen embroidery project.
You’ll want to match the stabilizer type to the weight of your linen to achieve the best results.
Let’s explore how different stabilizers can enhance your stitching magic and keep your fabric looking flawless.
Stabilizer Types Overview
When selecting the right stabilizer for your linen embroidery project, understanding the various types available can make all the difference in achieving stunning results.
For lightweight linen, cut-away stabilizers prevent distortion while ensuring crisp stitches.
Medium-weight linen benefits from tear-away stabilizers, allowing easy removal post-embroidery.
Heavy linen requires sticky stabilizers for secure placement, preventing any unwanted shifting.
For intricate designs, double layers of stabilizer enhance stability, reducing puckering in high-density patterns.
Always test different stabilizers on scrap linen to find the perfect match, ensuring your final piece serves others with beautifully defined embroidery.
Matching Stabilizers to Linen
While the fabric you choose plays a crucial role in your embroidery’s success, selecting the right stabilizer can elevate your project to new heights.
For lightweight linen, tear-away stabilizers work wonders, while medium-weight linen thrives with cut-away stabilizers for added support.
If you’re working with sheer linens, opt for a lightweight, fusible stabilizer to maintain drape without distortion.
To avoid puckering during stitching, hoop the stabilizer tightly and guarantee proper tension.
Always test various stabilizers on scrap pieces to find the perfect match that minimizes shrinkage and maintains stitch integrity, assuring your beautifully embroidered pieces truly shine.
Troubleshooting Common Embroidery Challenges
Embroidery on linen can be a delightful experience, but it often comes with its share of challenges that might leave you feeling frustrated.
Embroidery on linen offers joy, yet it can pose frustrating challenges along the way.
To navigate these embroidery challenges, keep these tips in mind:
- Adjust thread tension for best results.
- Use appropriate stabilizers for your linen’s weight.
- Keep the fabric taut in the hoop, but don’t overstretch.
- Test on scrap linen to perfect your setup.
If puckering occurs, consider underlay stitches to provide extra support for high-density designs.
Always use sharp embroidery needles to glide through the tightly woven fibers, ensuring stitch quality without snags.
Happy stitching!
Creative Project Ideas for Linen Embroidery
After mastering the intricacies of troubleshooting embroidery challenges, you’re ready to explore the exciting world of creative projects on linen.
Consider crafting personalized napkins adorned with monograms or seasonal motifs that highlight your intricate stitchwork. Botanical designs, like floral patterns, breathe life into table runners and home decor items.
Elevate embroidered linen garments with unique stitching techniques, adding dimension with padded satin stitch.
Don’t forget whimsical designs on tote bags or pillowcases, bringing art to everyday items.
With linen’s durability, your heirloom projects can be cherished and used over time, making each piece a reflection of your artistry.






