
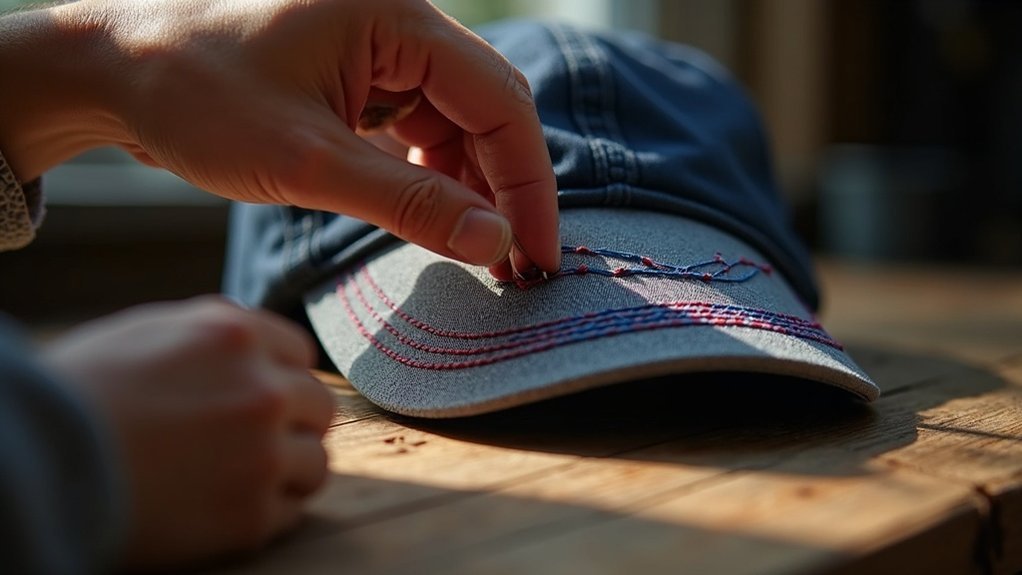
To embroider on hats with curved surfaces, start by using a specialized cap frame to guarantee stability. Choose high-quality stabilizers, like cut-away, to prevent design distortion. Align the center seam of the hat with the hoop’s center mark for accurate placement. Use appropriate needle types based on fabric thickness to avoid breaks, and do a bounce test after hooping to check tension. Master these techniques, and you’ll discover advanced methods for complex designs and materials.
Key Takeaways
- Use specialized cap frames to ensure stability and maintain thread tension on the curved surfaces of hats.
- Align the center seam of the hat with the hoop’s center mark for accurate design placement.
- Utilize high-quality stabilizers, such as cut-away, to prevent design distortion during the embroidery process.
- Conduct a bounce test after hooping to check fabric tension and prevent shifting during stitching.
- Choose the correct needle type and thread based on the fabric thickness for optimal results.
Essential Tools and Materials for Hat Embroidery
When it comes to hat embroidery, having the right tools and materials is essential for achieving professional results.
Use specialized cap frames that guarantee stability and maintain thread tension on curved surfaces. High-quality stabilizers, like cut-away or sticky types, prevent design distortion during stitching.
Selecting the correct needle type based on fabric—larger needles for heavier materials like twill—avoids breaks. Choose vibrant polyester threads that match your fabric for durability and color retention.
Finally, invest in hooping systems specifically designed for hats to keep fabric aligned and taut, guaranteeing crisp, precise embroidery every time you create.
Step-by-Step Techniques for Different Hat Styles
With your tools and materials ready, it’s time to explore the specific techniques for embroidering different hat styles.
For structured caps, use a cap driver during hooping to secure the fabric and guarantee accurate placement, keeping the sweatband folded away. Align the center seam with the hoop’s center mark to avoid misalignment.
Use a cap driver for structured caps to ensure precise placement and avoid misalignment by aligning the center seam with the hoop’s center mark.
For unstructured hats like bucket hats, employ cut-away or sticky stabilizers, pinning the center. Always perform a bounce test after hooping to check tension and prevent shifting.
Choose appropriate needle types and thread choices based on fabric thickness for ideal embroidery results.
Hand vs. Machine Embroidery: Choosing Your Approach
When deciding between hand and machine embroidery for hats, consider the unique benefits each method offers.
Hand embroidery allows for intricate, personalized designs that can add emotional value, while machine embroidery excels in speed and consistency, making it ideal for bulk projects.
Benefits of Hand Embroidery
Crafting a unique design through hand embroidery offers an unparalleled sense of individuality and artistry, especially when it comes to personalizing hats.
Hand embroidery allows for custom designs that incorporate a unique touch, elevating your creations. Its flexibility in design means you can make creative modifications as you stitch, adapting to the hat’s curved surfaces.
While this labor-intensive process may take time, it results in an intricate finish that machines often can’t replicate. Engaging in hand embroidery can also be a meditative practice, fostering patience and skill development, making each hat a special piece far removed from bulk projects.
Advantages of Machine Embroidery
Machine embroidery stands out for its remarkable efficiency and consistency, making it a preferred choice for those looking to produce high-quality designs on hats swiftly. This technique excels in handling curved hats, utilizing essential tools like stabilizers for ideal results. With precise design placement and the ability to manage thread tension, you’ll achieve clean, intricate designs in a fraction of the time required for hand embroidery. For commercial embroidery and bulk orders, machine embroidery is unparalleled.
| Feature | Machine Embroidery | Hand Embroidery |
|---|---|---|
| Speed | 15-45 minutes per design | 30 minutes to hours |
| Consistency | High | Variable |
| Complexity of Designs | Intricate | Limited |
Beginner Tips and Common Pitfalls to Avoid
Although you may feel enthusiastic to start embroidering hats, taking a moment to prepare can considerably enhance your results.
Begin by conducting test stitches on scrap fabric to verify proper design alignment and thread tension. Choose the right stabilizer for your fabric; heavyweight cut-away stabilizers work best for thicker materials to prevent puckering.
Confirm the hat is securely hooped and centered—tight hooping is crucial to avoid misalignment. Regularly check and adjust your thread tension, as improper settings can lead to thread breaks.
Finally, take your time; rushing can lead to common pitfalls like misalignment or fabric damage.
Advanced Techniques for Complex Designs and Materials
When tackling advanced embroidery techniques for complex designs on hats, understanding the nuances of material and design placement is crucial.
Mastering advanced embroidery techniques for hats requires a keen understanding of materials and precise design placement.
Utilize these strategies for successful cap embroidery:
- Employ center-outward stitching to maintain even tension and reduce distortion.
- Choose appropriate stitch density and underlay, like edge-run underlay, to stabilize your design.
- Combine tear-away and cut-away stabilizers, using water-soluble film toppers for delicate fabrics.
- Set embroidery speed to 600–700 stitches per minute for cleaner results and fewer thread breaks.
Regularly test your setup with fabric scraps to verify compatibility and alignment before finalizing your designs.
Selecting the Right Embroidery Machine for Hats
Choosing the right embroidery machine for hats is essential for achieving professional-quality results, as it directly impacts your ability to handle the unique shape and fabric of headwear.
Opt for a machine equipped with a cap driver to navigate curved surfaces effectively. A high number of needles, ideally 15-20, facilitates quick color changes for complex designs.
Look for adjustable speed settings between 600-1000 stitches per minute to guarantee control during stitching. Additionally, consider models with robust digitizing software and various hooping options, including stabilizers, to maintain fabric stability and achieve precise stitching on your embroidered hats.
Aftercare and Maintenance for Embroidered Hats
Proper care and maintenance of embroidered hats is essential for preserving their appearance and longevity.
Proper care and maintenance of embroidered hats is crucial for keeping them looking great and lasting longer.
To guarantee your hats remain in top condition, follow these steps:
- Hand-wash embroidered hats in cold water with a mild detergent.
- Gently dab stains with a soft cloth; avoid scrubbing directly on the embroidery.
- After washing, reshape the crown and brim while damp to maintain fabric integrity.
- Store embroidered hats in breathable boxes or hang them on hooks to prevent flattening.






