
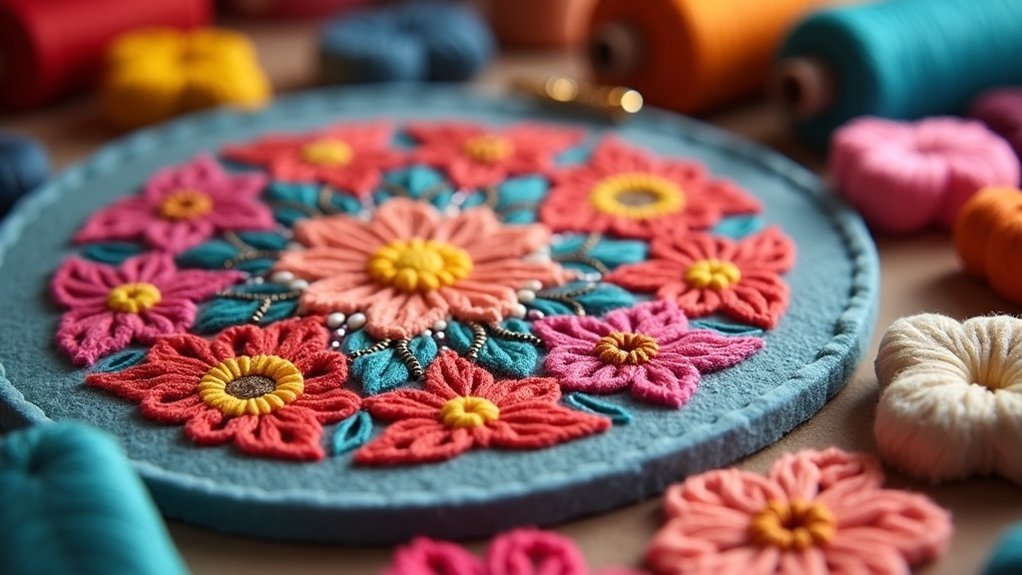
To embroider on felt with clean edges, start with 100% wool felt and use small, sharp embroidery needles. Choose high-quality embroidery floss to maintain tension and apply stabilizers to prevent puckering. For precise pattern transfers, utilize freehand tracing or stencils. Stick with stitches like blanket, whip, or satin for neat edges. Trim excess threads carefully with sharp scissors for a polished look. Discover more tips and techniques to enhance your felt embroidery skills!
Key Takeaways
- Use 100% wool felt for durability and to achieve clean, professional-looking stitches.
- Transfer your pattern using techniques like stencils or freehand tracing for precise designs.
- Employ stitches such as blanket stitch or whip stitch for neat edges and to prevent fraying.
- Use a stabilizer to support the fabric and avoid puckering during stitching.
- Keep sharp embroidery scissors handy to trim threads and maintain a polished finish.
Essential Materials for Clean Felt Embroidery
When diving into the world of felt embroidery, having the right materials can make all the difference in achieving stunning results.
Start with 100% wool felt; its sturdiness guarantees clean stitches without fraying. Choose a small to medium-sized embroidery needle, like sizes 7 to 9, for precise penetration.
For a polished finish, use high-quality embroidery floss or durable perle cotton, maintaining consistent tension. Don’t forget stabilizers, such as tear-away, to support your fabric and prevent puckering.
Finally, keep sharp embroidery scissors handy to trim excess threads, enhancing your final piece and showcasing your dedication to detail and quality.
Techniques for Transferring Patterns Onto Felt
Transferring patterns onto felt opens up a world of creative possibilities, and you’ve got some fantastic methods at your fingertips.
Whether you choose freehand tracing for a personal touch, stencils for precise shapes, or the tissue paper technique for accuracy, each approach offers unique benefits.
Let’s explore how these techniques can elevate your embroidery projects and simplify the pattern transfer process.
Freehand Tracing Methods
There’s something satisfying about freehand tracing patterns onto felt, making it a popular choice for crafters looking to add a personal touch to their projects.
Use an erasable fabric pen on light felt or tailor’s chalk for dark materials to guarantee visibility. Lay your fabric flat and taut to prevent shifting during tracing.
Practice on scrap felt to refine your technique and achieve clean outlines before moving to your final embroidery design. For intricate patterns, thin tracing paper can help enhance control.
After stitching, gently remove markings to keep your finished piece looking polished and professional.
Stencil and Iron-On
Two popular methods for transferring patterns onto felt are stenciling and iron-on techniques, each offering unique advantages for your embroidery projects.
- The stencil method creates clean lines by tracing with an erasable fabric pen.
- Iron-on transfer allows for precise embroidery patterns using printed designs.
- Confirm secure placement of stencils with pins or tape to prevent movement.
- After stitching, carefully remove any transfer markings for a polished finish.
Choose the method that suits your project best, and enjoy the process of bringing your felt pieces to life with beautiful designs!
Tissue Paper Technique
One effective method for transferring intricate embroidery designs onto felt is the Tissue Paper Technique.
Start by tracing your embroidery pattern onto a thin piece of tissue paper using an erasable fabric pen; avoid lead pencils to keep colors vibrant.
Pin or tape the tissue paper to the felt, ensuring accurate placement. As you sew with your needle and thread, stitch directly through the tissue, securing your design precisely.
Once you finish, gently tear away the paper to reveal your clean embroidery. This transfer method is perfect for detailed work, ensuring a professional finish on your felt project.
Best Stitches for Clean Edges
Creating clean edges while embroidering on felt is essential for achieving a polished, professional look.
To guarantee your embroidery stands out, consider these stitches:
- Blanket stitch: Perfect for sturdy, decorative edges that prevent fraying.
- Whip stitch: Seamlessly joins felt edges, enhancing soft shapes with tiny, discreet stitches.
- Satin stitch: Provides smooth, full coverage for a polished finish, effectively hiding raw felt edges.
- Outline stitch: Maintains shape and precision, creating a tidy finish before adding decorative stitches.
Step-by-Step Guide for Hand Embroidery on Felt
After ensuring your embroidery edges are clean and polished, it’s time to bring your design to life with hand embroidery on felt.
Begin by transferring your embroidery pattern onto the felt, using freehand tracing or the tissue paper technique for precision.
With a small to medium-sized embroidery needle and durable embroidery thread, outline your design using a back stitch or whip stitch for clean edges.
For detailed areas, employ a satin stitch while maintaining consistent thread tension.
Finally, trim excess thread and gently remove any markings, presenting a polished, professional-looking embroidery piece that’s sure to delight others.
Step-by-Step Guide for Machine Embroidery on Felt
Machine embroidery on felt can elevate your craft projects, giving them a polished and professional appearance. Follow these steps for stunning results:
- Set up your machine with a free motion quilting foot and a 75/11 embroidery needle.
- Transfer your pattern using freezer paper, stencils, or iron-on methods for precision.
- Apply a tear-away stabilizer to maintain stability and prevent puckering.
- Hoop the fabric tightly, stitching the outline first before adding decorative stitches for clean edges.
After you’re done, carefully remove the stabilizer and excess threads, revealing your beautiful embroidery on felt, ready to serve others in delightful ways!
Troubleshooting Common Embroidery Challenges on Felt
While embroidering on felt can yield beautiful results, it’s not uncommon to encounter challenges along the way. To tackle common embroidery challenges, start by using stabilizers to prevent puckering and guarantee clean edges.
Pay attention to your thread length and avoid pulling too tightly, as this can lead to tearing. For small, detailed areas, whip stitches or a blanket stitch method can beautifully secure edges.
Address messy edges by practicing stitch length and tension control. If you accidentally cut threads while trimming, use sharp embroidery scissors and always cut away from stitched areas for precision.
Happy stitching!






