
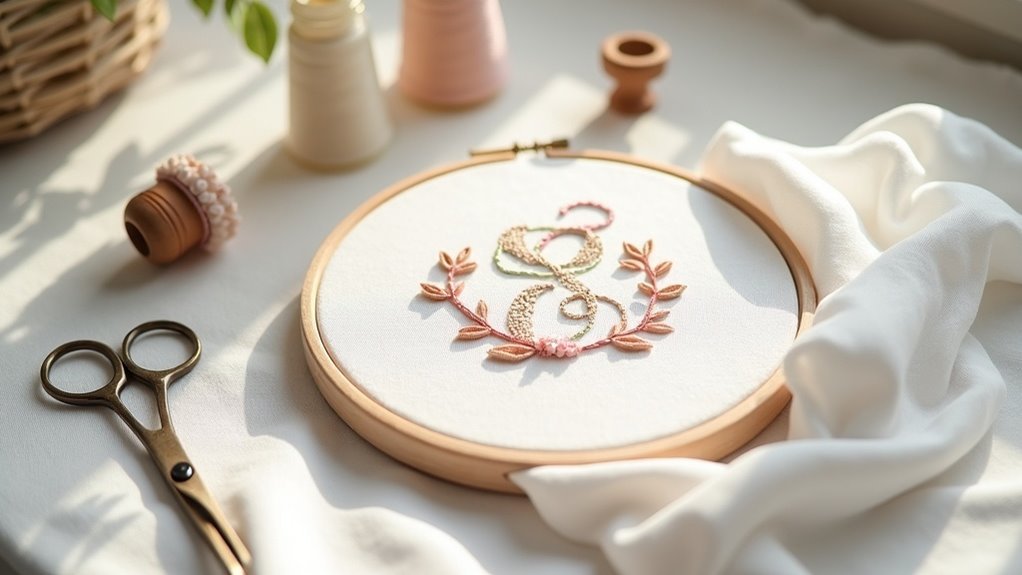
To embroider monograms by hand, gather essential materials like Alba Maxima linen, cotton floche, and a #7 crewel needle. Start by preparing your fabric and using a lightbox for clear design tracing. Choose stitches like split, satin, and stem to bring your letters to life. Guarantee you maintain consistent tension for smooth results. Finally, let your creativity shine as you customize! There’s a treasure trove of tips waiting to help you refine your skills even further.
Key Takeaways
- Select high-quality materials like Alba Maxima linen and cotton floche for vibrant, durable embroidery results.
- Prepare fabric by lightly starching and ironing to prevent stretch during stitching.
- Use a lightbox to trace your chosen monogram design onto the fabric for accuracy.
- Employ key stitches such as split stitch, satin stitch, and back stitch for a polished finish.
- Maintain even tension throughout stitching to avoid puckering and ensure a clean appearance.
Essential Materials for Monogram Embroidery
When starting on your monogram embroidery journey, having the right materials at your fingertips can make all the difference.
Choose Alba Maxima embroidery linen for a sturdy, even weave that enhances your monogram projects. Pair it with cotton floche, offering vibrant colors and a soft texture that glides beautifully through fabric.
Grab a #7 crewel needle, perfect for achieving the ideal stitch length while steering through intricate designs. A 4-inch embroidery hoop will keep your fabric taut, allowing you to maneuver with ease.
Consider shades of pink and taupe, along with greens for decorative elements, to make your monograms truly shine!
Key Stitches for Creating Monograms
When it comes to stitching monograms, mastering key techniques can elevate your work to the next level.
You’ll find that each stitch brings its own flair, from the strong outline of a back stitch to the textured beauty of a split stitch.
Let’s explore these essential embroidery techniques to help your monograms shine!
Essential Embroidery Techniques
To bring your monograms to life, mastering essential embroidery techniques is key. Start with the split stitch for neat outlines and filling, ensuring a smooth edge.
The back stitch enhances your monogram’s definition with its solid stitching lines, while the stem stitch adds elegance to curves.
For larger letters, the satin stitch creates a luxurious finish, and long and short stitches lend depth with color gradients.
Remember, for smaller letters, use 2-3 strands of embroidery floss to maintain clarity.
With these techniques, your embroidered letters will radiate charm and serve beautifully in any project.
Recommended Stitch Types
Choosing the right stitch types is essential for bringing your monograms to life. Each stitch adds its unique charm, enhancing your design beautifully.
Here are some key stitches to contemplate:
- Split Stitch: Perfect for outlining letters with clean edges and minimal bulk.
- Stem Stitch: Creates textured lines on curves, adding elegance to decorative elements.
- Back Stitch: User-friendly for solid outlines, ideal for beginners in embroidering letters.
- Rhodes Stitch: Great for filling smaller areas, offering a lovely texture without the complexity of satin stitch.
Experiment with these stitches to elevate your monogram artistry!
Fabric Preparation and Marking Techniques
Properly preparing your fabric is essential for achieving a crisp, professional-looking monogram. Start with a stable ground fabric, like Alba Maxima embroidery linen, and give it a light starch and iron to minimize stretch during stitching.
Use a lightbox to trace your design, ensuring clarity and precision. For darker fabrics, choose water-erasable or white marking pens to make your design pop.
Secure your fabric in a 4-inch embroidery hoop, binding the inner ring tightly to maintain tension and prevent distortion.
Don’t forget to mark the center of the fabric to position your monogram perfectly on the item. Happy stitching!
Designing Your Monogram: Fonts and Layout
When it comes to designing your monogram, the right font can make all the difference, so choose wisely!
Whether you lean towards bold block letters or graceful script, keep in mind how size and layout will harmonize to create a stunning visual.
You’ll want to balance elegance with legibility, ensuring every stitch shines beautifully on your chosen fabric.
Font Selection Tips
To create a striking monogram, you’ll want to focus on selecting the right fonts that not only reflect your style but also guarantee legibility.
Here are some tips to help you choose:
- Opt for block uppercase and sans-serif styles for clarity, especially in smaller sizes.
- Consider script or italic fonts for elegance, but make certain they maintain stroke clarity for stitching.
- Limit your monogram to two or three letters to keep the design clean.
- Match font choices to fabric type; smooth fabrics suit delicate fonts, while textured ones need bolder styles for clear embroidery.
Sizing Considerations
Choosing the right font sets the stage for your monogram, but sizing can make or break your design. Limit your letters to two or three for clarity; too many can clutter your embroidery. Aim for a letter height of 1-4 inches, with at least a 1/4 inch for legibility on smaller projects.
Block uppercase and sans-serif fonts enhance readability, while elegant scripts require precise strokes during stitching. For larger pieces like pillows, scale your monogram up to 6-8 inches for bold visibility.
Layout Techniques
While the font sets the tone for your monogram, the layout brings your design to life. To create a harmonious look, consider these techniques:
- Use block uppercase and sans-serif fonts for clarity, especially with small letters.
- Limit your monogram to two or three letters for an elegant presentation.
- Start with decorative elements first, then trace your monogram with smooth lines.
- When you stitch the letter, use basic stitches with two strands of cotton embroidery floss for a rich texture.
With thoughtful layout choices, your monogram will beautifully serve its purpose and bring joy to others.
Troubleshooting Common Embroidery Issues
Embroidery can be a delicate art, and even the most seasoned stitchers encounter issues from time to time. To troubleshoot, verify your split stitch creates a clean look by accurately transferring designs and correcting any discrepancies.
Warbles in filled letters often arise from starting and stopping; filling them completely before adding decorative elements minimizes these issues. Maintaining consistent tension with your strands of embroidery floss is vital to prevent puckering.
If you see bobbin thread on top, adjust the upper tension. Remember, each stitch for lettering counts, so take your time to achieve great results in your beautiful monograms!
Creative Ideas for Personalizing Your Projects
Personalizing your projects opens up a world of creativity, allowing you to infuse your unique style into every stitch.
Here are some inspiring ideas to elevate your embroidery:
- Embroider initials on home textiles like towels and napkins using smooth stem stitch.
- Create monogrammed bags or clothing items with bold lettering and vibrant cotton floss.
- Add playful monograms to nursery items, making them special for new parents.
- Enhance wedding gifts or holiday decorations with refined hand embroidery techniques for a classic touch.
Using various embroidery patterns and your needle, turning corners becomes easy, resulting in beautifully textured designs that truly shine!






