
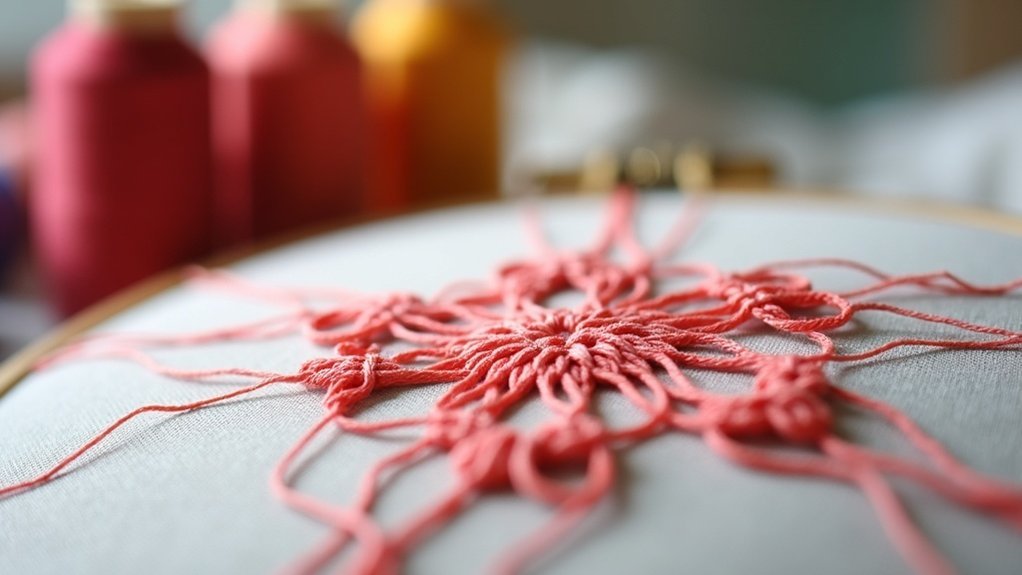
To create a coral knot stitch in embroidery, start by bringing your needle out at point A, inserting it through point B, and pulling it out at point C. Wrap the thread around the needle to form a loop, then pull gently to tighten. Finally, insert the needle back into the fabric half a stitch length further to secure the knot. Maintaining consistent tension and practicing different angles will enhance your technique. There’s more to explore about this fascinating stitch!
Key Takeaways
- Start by bringing the needle out at point A, inserting it through point B, and pulling it out at point C.
- Wrap the thread around the needle to form a loop while keeping the needle inserted in the fabric.
- Gently pull the thread to tighten the loop, creating the coral stitch knot.
- Finish the stitch by going down into the fabric about half a stitch length further to secure the knot.
- Maintain consistent tension and spacing for uniform knots, checking your work regularly for adjustments.
Understanding the Coral Knot Stitch
When you explore the Coral Knot Stitch, you’ll discover it’s a unique technique that adds both texture and visual interest to your embroidery projects.
This stitch, executed from right to left, involves creating knots in the thread by looping it around the needle. To achieve the desired texture and dimension, maintain consistency in stitch length and tension.
Bringing the needle up through the fabric, you’ll loop the thread and pull to form knots along straight stitches. Practicing different angles can enhance your comfort and precision, making the Coral Knot Stitch a versatile choice for embellishing and securing appliqué pieces effectively.
Materials Needed for Coral Knot Stitch
Gathering the right materials is essential for executing the Coral Knot Stitch effectively. You’ll need embroidery floss or thread, preferably in a contrasting color to your fabric for better visibility.
Select a suitable needle—ideally a sharp or embroidery needle—to penetrate the fabric with ease. Choose fabric for embroidery that’s appropriate, such as cotton, linen, or canvas, ensuring it can securely hold the knots.
Scissors or thread snippers are necessary for trimming excess thread, maintaining a clean finish. Finally, consider using a hoop or frame to keep your fabric taut, allowing for precise work on the Coral Knot Stitch.
Step-by-Step Guide to Coral Knot Stitch
To master the Coral Knot Stitch, follow these clear steps that will guide you through the process efficiently:
- Bring the needle out of the fabric at point A, then insert it through point B and bring it out at point C for the stitch line.
- Wrap the thread around the needle to form a loop, keeping the needle in the fabric.
- Pull the thread gently to tighten the loop, creating the knot characteristic of the coral stitch.
- Finish by going down into the fabric about half a stitch length further, securing the knot on the back side in your hand embroidery.
Tips for Perfecting Your Coral Knot Stitch
To perfect your coral knot stitch, focus on maintaining consistent tension in your thread, as this guarantees uniform knot sizes and spacing.
Experimenting with different stitch angles can also help you discover what feels most comfortable while adding unique variations to your work.
Consistent Tension Control
While you work on your coral knot stitch, maintaining consistent tension is essential for producing uniform knots and preventing variations in size.
Here are some tips to help you achieve even tension:
- Keep the thread taut, but not overly tight to avoid bunching.
- Experiment with stitching angles; working from bottom to top may help.
- Use a ruler or marked line as a guide for spacing and tension.
- Regularly check your work, adjusting tension as necessary.
Stitch Angle Variation
Experimenting with stitch angles can greatly enhance the visual appeal of your coral knot stitch. By varying your stitch angle, you can create unique textures and sizes in the knots. Aim for a consistent angle that feels natural, as this uniformity maintains the overall appearance.
For better control, try stitching from the bottom towards the top, which can improve visibility of the stitch angle. Remember, keeping your thread tension consistent while adjusting the angle is essential for a polished finish.
Practice different angles to see how each affects the final look of your coral knot stitch, enriching your embroidery skills.
Practice Makes Perfect
Practicing your coral knot stitch regularly is essential for mastering this technique. Here are some tips to help you achieve uniformity and enhance your skill:
- Use the same thread and fabric for consistency in tension.
- Experiment with different angles; some may find bottom-to-top stitching easier.
- Maintain even stitch length and spacing for a polished look.
- Practice on larger fabric to adjust stitch size for visibility before refining your technique.
Common Mistakes to Avoid
As you work on your coral knot stitch, it’s important to pay attention to several common mistakes that can compromise your final result.
First, make sure your thread tension remains consistent; uneven tension leads to poorly formed knots and a chaotic appearance. Avoid pulling the thread too tightly, which distorts stitches and diminishes texture.
Be vigilant about skipping or misplacing stitches, as this creates uneven spacing in your design. Practice maintaining an even stitch length for a polished finish.
Finally, always secure the knot on the backside of the fabric to prevent unraveling, guaranteeing a clean, professional look for your project.
Creative Applications of Coral Knot Stitch
While the coral knot stitch is often celebrated for its decorative qualities, its creative applications extend far beyond mere embellishment.
You can incorporate this versatile stitch in various ways:
- Enhancing Flower Embroidery: Use it to add intricate details to petals and centers.
- Securing Appliqué: Effectively hold appliqué pieces in place while contributing to decorative embroidery.
- Textural Elements: Create depth and dimension in quilts and garments.
- Bead Embroidery: Craft unique embellishments and patterns that stand out on your fabric.
Embrace the coral knot stitch to elevate your embroidery projects and serve your creative vision!
Variations of the Coral Knot Stitch
When exploring variations of the coral knot stitch, you can enhance your embroidery projects by simply adjusting the size of the knots. By changing the number of loops around the needle, you create diverse textures and visual effects.
This stitch can be used in different directions, accommodating left-handed stitchers and adding versatility. Experimenting with various thread types, like silk or perle cotton, boosts the luminosity of the coral knots.
Additionally, combining the coral knot with other stitches, such as straight or French knots, produces intricate designs. For a unique twist, try arranging the coral knots in a spiral pattern for dynamic interest.
Sharing Your Coral Knot Stitch Creations
After experimenting with various iterations of the coral knot stitch, it’s time to share those creations with the embroidery community.
Here’s how to effectively showcase your work:
- Upload images in your comment to inspire others.
- Engage by providing feedback on fellow stitchers’ projects.
- Join online forums or social media groups to reach a wider audience.
- Use specific hashtags related to coral knot stitch for visibility.
Document your progress with before-and-after images, highlighting techniques and stitches used.
Capture your journey by sharing before-and-after images that showcase your techniques and stitches.
This collaborative spirit fosters growth and learning, making your coral knot stitch endeavors even more rewarding.






