
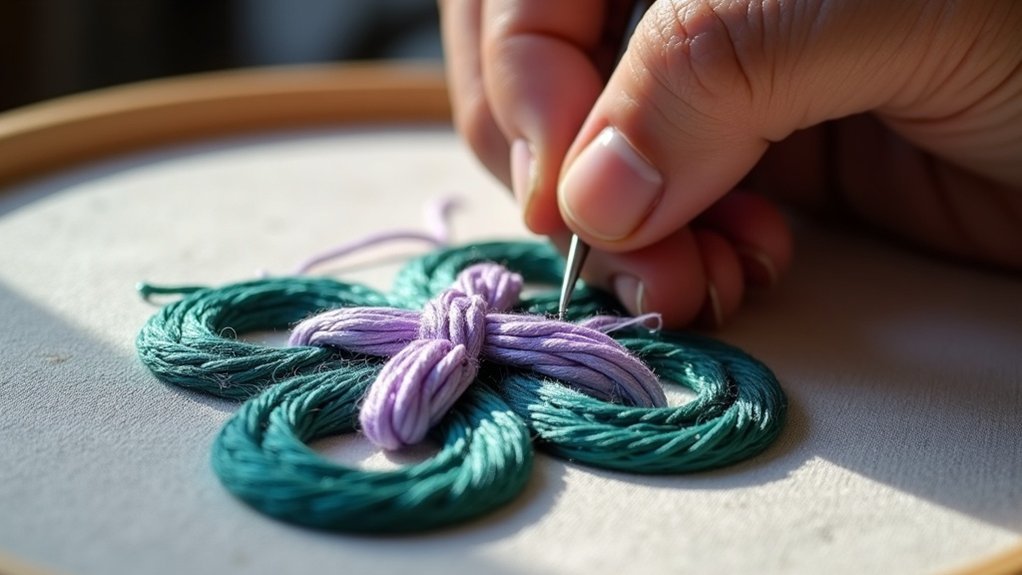
To create a bullion knot in embroidery, start by bringing your needle up through the fabric where you want the knot. Leave a large loop as you bring the needle back down on the opposite side. Wrap the thread around the needle a few times, keeping them loose. Hold the wraps gently while you pull the needle through the loop, ensuring the thread end disappears into the knot. By practicing this technique, you can perfect your knots further.
Key Takeaways
- Begin by bringing the needle up through the fabric and creating a large loop before wrapping the thread around the needle.
- Use a milliners needle for smoother execution and greater maneuverability.
- Carefully wrap the thread around the needle, holding it lightly to avoid tightness and allow for easy movement.
- Pull the needle through the wraps while maintaining control, ensuring the thread end disappears into the knot.
- Securely anchor the knot by bringing the needle back down into the fabric and inspect for even distribution of wraps.
Understanding the Bullion Knot
The bullion knot is often considered one of the more intricate stitches in hand embroidery, and mastering it can be a rewarding yet challenging experience. This stitch involves wrapping the thread around your embroidery needle before pulling it through, creating a textured knot.
Choosing the right embroidery needle is essential; Milliners needles work best due to their narrow eye and long shaft, which facilitate smoother execution. You can create bullion knots using two primary methods, affecting maneuverability.
Additionally, the direction in which you wrap the thread—clockwise or counterclockwise—will influence the knot’s final appearance, enhancing your embroidery’s texture and depth.
Preparing for the Bullion Knot
Preparing for a bullion knot requires careful attention to detail to guarantee success. Start by bringing the needle up through one side of your desired knot location on the fabric, ensuring it’s correctly positioned.
Next, bring the needle back down on the opposite side, leaving a large loop of thread on top. This loop is essential, as it needs to be large enough to accommodate your upcoming wraps.
When you bring the needle up again through the original hole, don’t pull the thread all the way through; this step helps maintain the loop’s integrity for a polished finish.
Wrapping the Thread
Once you’ve established the loop, it’s time to wrap the thread around the needle to form the bullion knot.
Start by determining how many wraps around the needle you need for a successful bullion. As you wrap, gently push the wraps down towards the fabric to keep them organized.
Begin by figuring out the ideal number of wraps around the needle for your bullion knot, ensuring they stay organized as you go.
Use your thumb and pointer finger to hold the wraps lightly, allowing smooth movement when you take your needle through later. Avoid wrapping the thread too tightly; this can hinder needle movement.
Consistent wrap length is essential, so practice different sizes to find the perfect fit for your intended knot.
Pulling the Needle Through
When you’re pulling the needle through the wraps, position it carefully to maintain control and prevent distortion.
If the tension feels off, adjust it gently to guarantee a smooth pull without compromising the knot’s integrity.
Needle Positioning Tips
To guarantee a successful bullion knot, gently hold the wraps with one hand as you pull the needle through them.
Follow these tips for effective needle positioning:
- Pull the needle slowly and steadily to avoid tightening the knot.
- Make certain the thread around the needle is positioned correctly for a smooth pull.
- Aim for the end of the thread to disappear into the knot, creating a clean finish.
- If the knot looks messy, adjust the wraps before finalizing the stitch.
Practicing with different tensions will help you find the best balance for your thread and fabric combination.
Adjusting Tension Effectively
Adjusting tension effectively is essential for achieving a polished bullion knot, as improper tension can lead to messy results.
Make sure you hold the wraps gently with one hand to maintain control while pulling the needle through. Be mindful of the wraps’ tension; if they’re too tight, it’ll be difficult to pull the needle smoothly.
Practice pulling the needle through while adjusting the wraps with your fingers to achieve the right knot size. If the thread end doesn’t disappear into the knot, it indicates improper tension—adjust accordingly for better results.
Consistent practice will enhance your proficiency in creating well-formed bullion knots.
Completing the Bullion Knot
As you complete the bullion knot, confirm that the knot maintains a neat and consistent appearance before securing it to the fabric. Follow these steps to guarantee a polished finish:
- Inspect the wraps for even distribution; confirm they aren’t too tight or loose.
- Take a little bit of time to check for imperfections; adjust as needed.
- Bring the needle back down into the fabric at the end of the knot, anchoring it securely.
- Use cotton floss for a refined look, enhancing the overall quality.
Practice this process frequently to improve your technique and achieve better results.
Tips for Mastery
To master the bullion knot, focus on maintaining consistent tension in your thread wraps, as this directly affects the knot’s appearance.
Practice regularly to build muscle memory, which will enhance your comfort with the technique.
Additionally, experiment with different knot sizes to see how wrap length influences the final result.
Consistent Tension Practice
Achieving consistent tension in your bullion knots is essential for a polished finish, and practicing specific techniques can greatly enhance your skill. Focus on these methods:
- Maintain uniformity in the number of wraps around the needle to foster muscle memory for consistent tension.
- Use your thumb and pointer finger to apply gentle pressure on the wraps for better control.
- Monitor your thread’s tension while pulling the needle through the wraps to influence the knot’s appearance.
- Regularly assess your technique to guarantee you’re not over-tightening the thread, which can disrupt the overall look of your bullion knot.
Experiment With Sizes
Building on your practice of maintaining consistent tension, experimenting with different sizes of bullion knots can greatly enhance your embroidery skills. Start with smaller knots to build confidence, then gradually increase size. Keep a record of wraps used to replicate successful knots. Adjust thread length and wraps to create variations in texture and volume.
| Size | Wraps Used | Texture Variation |
|---|---|---|
| Small | 4 | Smooth |
| Medium | 6 | Plush |
| Large | 8 | Voluminous |
| Extra Large | 10 | Dramatic |
| Custom | Varies | Unique |
Practice on scrap fabric to refine your technique.






