
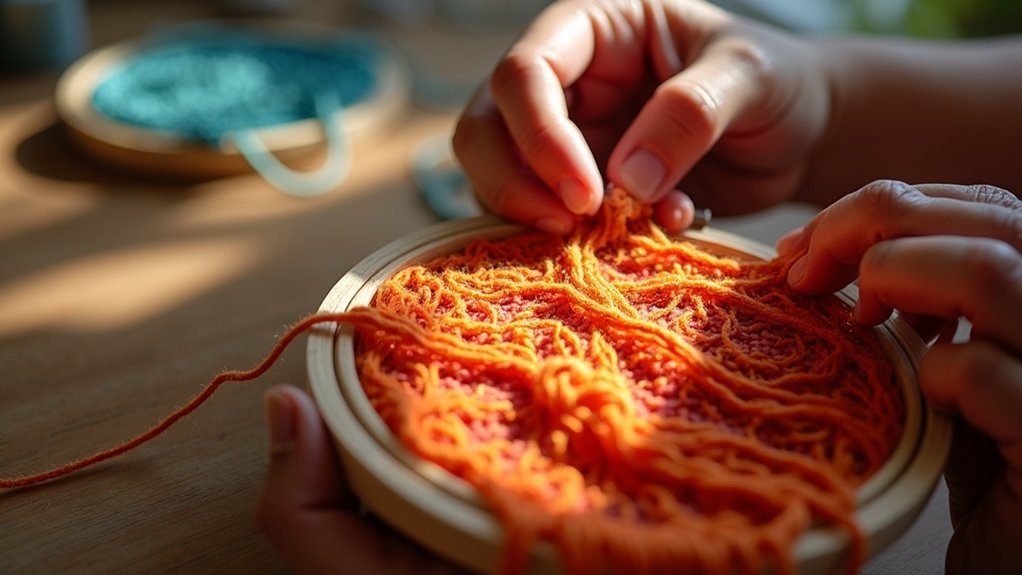
To bind embroidery hoops for better grip, start with a wooden embroidery hoop and cotton twill tape. Separate the inner hoop, and securely attach the tape at an angle, wrapping tightly and evenly without overlaps. Keep tension consistent and use fabric clips for ease. Trim the ends and stitch through both layers to secure. Remember to check tension regularly as you work to guarantee a snug fit. Stay tuned for more tips and techniques to enhance your crafting process!
Key Takeaways
- Use cotton twill tape to wrap the inner hoop tightly without overlaps for a sturdy grip and smooth finish.
- Maintain tension while wrapping to ensure even layers and prevent loosening during embroidery.
- Secure the tape ends by trimming excess and stitching through both layers for durability.
- Consider using fabric clips to hold the tape in place, making the binding process easier.
- Regularly check the hoop tension while working to ensure a snug fit without over-tightening.
Supplies Needed for Binding
To get started with binding your embroidery hoops, you’ll need a few essential supplies that will make the process smooth and efficient.
First, grab a wooden embroidery hoop, either square or round, for your projects. You’ll want cotton twill tape, ideally matching the hoop’s width for a snug fit—about 1-3/4 yards for a 7-inch hoop.
Start with a wooden embroidery hoop and matching cotton twill tape for the best results in your projects.
Don’t forget a heavy-duty sewing thread and a sharp hand sewing needle to secure the binding.
Optional fabric clips, like Wonder Clips, can help hold the tape while you work.
Gather these items, and you’re ready to enhance your embroidery experience!
Step-by-Step Binding Process
With your supplies gathered and the inner hoop prepped, you’re ready to start the binding process.
First, separate the inner hoop from the outer hoop and set the outer hoop aside. Position the end of the cotton twill tape at an angle on the inner hoop and wrap it tightly, ensuring no overlaps for a smooth finish.
Keep tension on the tape as you wrap, creating even layers along the inner edge. Once wrapped, overlap the end with the start, trim any excess, and stitch through both layers to secure it.
Adjust the screw as needed to maintain fabric tautness.
Tips for Effective Binding
While binding your embroidery hoop may seem straightforward, a few key tips can enhance your results considerably.
First, choose cotton twill tape for its sturdy grip and ability to minimize fabric creasing. As you wrap the tape around the inner ring, align the edges without overlapping for a smooth finish.
Maintain tight tension during wrapping to prevent loosening and reduce adjustments later. Use fabric clips to hold the tape in place, making the process easier.
Finally, secure the ends by stitching through both layers after trimming to guarantee they stay in place and don’t unravel over time.
Happy stitching!
Maintaining Tension in Your Hoop
Maintaining proper tension in your embroidery hoop is essential for achieving clean, unpuckered stitches. Regularly check tension, tightening the screw just enough for a snug fit without overdoing it. If you’re using twill or bias tape, tape on the inside where the ends meet can help keep fabric secure. For quick and easy adjustments, remember that Q-snaps or Morgan Hoops hold fabric tighter than traditional hoops. Avoid over-tightening to prevent damage. Here’s a quick reference:
| Action | Recommendation |
|---|---|
| Check tension | Every few stitches |
| Tighten screw | Just enough |
| Use alternative | For long-term projects |
| Avoid | Over-tightening |
| Consider | Q-snaps or Morgan Hoops |
Exploring Additional Techniques and Tools
After ensuring the right tension in your embroidery hoop, it’s time to enhance your binding experience with some additional techniques and tools.
Wrap twill tape around the hoop, securing it with fabric clips to prevent slipping. For a polished finish, use needle and thread to make small, tight stitches along the edges of the cotton tape after binding.
Wrap twill tape around your hoop and secure with clips; finish with tight stitches for a neat look.
You might even experiment with bias tape or strips of fabric for comfort and grip. If you want a different shape, explore square or round hoops that best fit your project’s needs.
Every little bit adds to your overall crafting success!






