
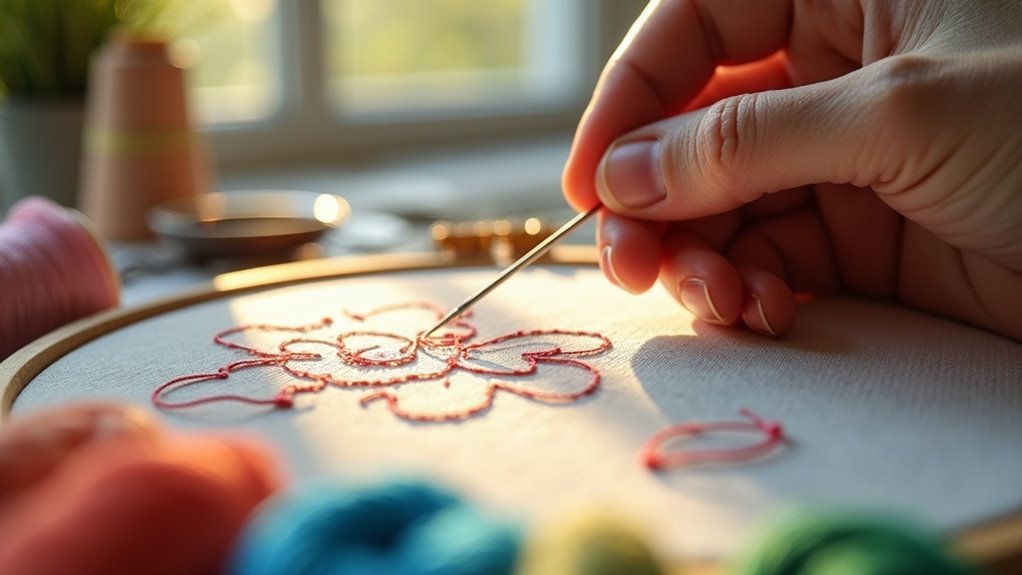
To backstitch in embroidery, start by preparing your fabric and transferring your design. Bring your needle up at the starting point, then poke it down a stitch length away. For the next stitch, bring the needle up a stitch length ahead. Keep your stitches even, and use shorter ones around curves for precision. Secure the thread at the back to avoid unraveling. Ready to explore tips and variations that’ll enhance your stitching skills?
Key Takeaways
- Start by bringing the needle up through the fabric at your designated starting point for backstitching.
- Poke the needle down a stitch length away to create the first stitch, then bring it up ahead for the second stitch.
- Maintain consistent stitch lengths of 4-6mm for a neat appearance, adjusting as needed for curves.
- Use a sharp needle and colorful embroidery floss on stable fabric like Aida cloth for the best results.
- Secure your thread at the back to prevent unraveling and keep your work tidy.
Materials Needed for Backstitching
To commence your backstitching journey, you’ll need a few essential materials. Start with a sharp embroidery needle and colorful embroidery floss, like DMC thread, which will bring your designs to life.
Begin your backstitching adventure with a sharp needle and vibrant embroidery floss to bring your designs to life.
Choose the fabric that appeals to you—Aida is popular but feel free to explore others. Don’t forget to have a design ready and a method for transferring it onto your fabric for accurate placement.
An optional embroidery hoop can keep your fabric taut, while fabric stiffeners, like iron-on interfacing, offer added support.
With these materials, you’re set to make beautiful hand-sewn creations that serve and delight others!
Preparing Your Fabric
Before you start stitching, it’s essential to select the right fabric for your project, like Aida cloth for cross-stitching or cotton for general embroidery.
Make certain to properly prepare the edges to prevent fraying; you can use overlocking or pinking shears for a clean finish.
Taking these steps will guarantee a smooth and enjoyable backstitching experience!
Selecting Appropriate Fabric
Selecting the right fabric is essential for successful embroidery, especially when it comes to backstitching. Choose fabrics like cotton, linen, or Aida cloth for a stable base.
Always start with clean, ironed fabric; wrinkles can disrupt your hand stitching and affect your design’s beauty. If you’re using lightweight fabrics, consider adding iron-on interfacing for extra stability.
Opt for a fabric weight that matches your embroidery pattern—stiffer options often make detailed designs easier to manage.
Preparing Edges Properly
Preparing the edges of your fabric is essential for a successful embroidery experience, especially when backstitching.
To guarantee your project turns out beautifully, follow these steps:
- Clean your fabric: Wash and dry it to remove any dirt or oils.
- Iron it flat: Smooth out wrinkles to prevent disruptions while stitching.
- Prevent fraying: Use overlocking, masking tape, or pinking shears on the edges.
- Consider interfacing: Iron-on interfacing adds weight, making your fabric more stable for stitching.
Transferring Your Design
To successfully transfer your design onto fabric, you’ll want to make sure your lines are clear and visible for stitching. Use a light box or window to trace your design, employing a lead pacer or erasable ink pen for precise markings.
If you prefer, stitch through thin paper, allowing easy removal later. For iron-on designs, remember that they’ll appear as a mirror image, so plan accordingly.
Always prepare your fabric by ensuring it’s clean and ironed flat. This way, you’ll avoid distortions when you start stitching with your needle and thread, keeping your stitch lengths consistent and beautiful!
Executing the Back Stitch
Once your design is securely transferred onto the fabric, it’s time to bring it to life with the Back Stitch.
Follow these steps for beautiful hand embroidery:
- Bring your needle up through the fabric at the starting point.
- Poke it down about a stitch length away to create your first stitch.
- For the second stitch, bring your needle up a stitch length ahead and down into the last stitch’s hole.
- Maintain even stitch lengths, shortening them around tight curves for accuracy.
Finally, secure the thread at the back to prevent unraveling.
Enjoy your stitching journey!
Tips for Effective Back Stitching
To master backstitching, pay attention to your stitch lengths—shorter ones work best for tight curves, while longer stitches shine on straight lines.
Keep your stitches consistent, aiming for about 4-6mm to create a polished finish that enhances your design.
Stitch Length Variations
When it comes to backstitching, mastering stitch length variations can greatly enhance your embroidery projects.
Here are some tips to help you refine your technique:
- Use shorter stitches (4-6mm) for detailed work, especially on curves.
- Aim for consistent stitch lengths across your design for a polished look.
- Shorten your stitch length in sharper curves to maintain accuracy and prevent gaps.
- Don’t hesitate to experiment with longer stitches for a looser, textured appearance, adding versatility to your designs.
Consistent Stitch Alignment
Achieving consistent stitch alignment is essential for creating polished backstitch designs, and you’ll find that it greatly enhances the overall appearance of your embroidery.
To maintain this alignment, keep your stitch length at about 1/4 inch or shorter. Align each stitch precisely with the previous one, connecting their ends seamlessly.
When stitching curves, shorter stitches will help preserve the shape. Using an embroidery hoop can also maintain fabric tension, supporting consistent alignment throughout your work.
With regular practice focused on even spacing, you’ll gain proficiency and confidence in executing back stitches that truly shine.
Practice for Precision
Although mastering back stitching takes time, consistent practice can greatly enhance your precision and skill.
To achieve uniformity in your stitches, follow these tips:
- Maintain a stitch length of about 1/4 inch or less for neat lines.
- Use shorter stitches around sharp curves to guarantee accuracy.
- Regularly practice the back stitch technique to build confidence.
- Experiment with varying stitch lengths for visual effects, while still focusing on uniformity.
With each stitch you make using your needle, you’ll find your back stitch technique improves, resulting in beautiful embroidery that serves others with care and precision.
Keep practicing!
Examples of Back Stitch in Patterns
Back Stitch is a popular choice in many embroidery patterns, and you can see its effectiveness in designs like the “Little Wildflower Meadow.” This technique brings flower stalks to life, adding intricate details that enhance the overall beauty of the piece. You’ll also find Back Stitch in the “Festive Alphabet,” outlining sprigs and holly with crisp lines. The “Gardening Bee” design showcases strong plant stems, proving how versatile this stitch is for both straight lines and curves. Below are examples of how Back Stitch enriches various patterns:
| Pattern Name | Key Features |
|---|---|
| Little Wildflower Meadow | Detailed flower stalks |
| Festive Alphabet | Crisp outlines for letters |
| Gardening Bee | Defined plant stems |
| Versatile Designs | Adapts to straight and curved lines |
Exploring Variations: Whipped Backstitch
While you’re exploring the world of embroidery, consider adding a twist to your traditional backstitch with the Whipped Backstitch. This technique not only enhances your design but also adds dimension.
Enhance your embroidery with the Whipped Backstitch for added dimension and creativity in your designs.
Here’s how to do it:
- Bring your thread up at the beginning of your backstitch line.
- Use a tapestry needle to whip the thread under each backstitch.
- Maintain a consistent direction, ideally from East to West.
- Experiment by applying the whipped technique to other stitches, like the chain stitch.
With practice, you’ll create stunning effects that truly serve and delight others!






