
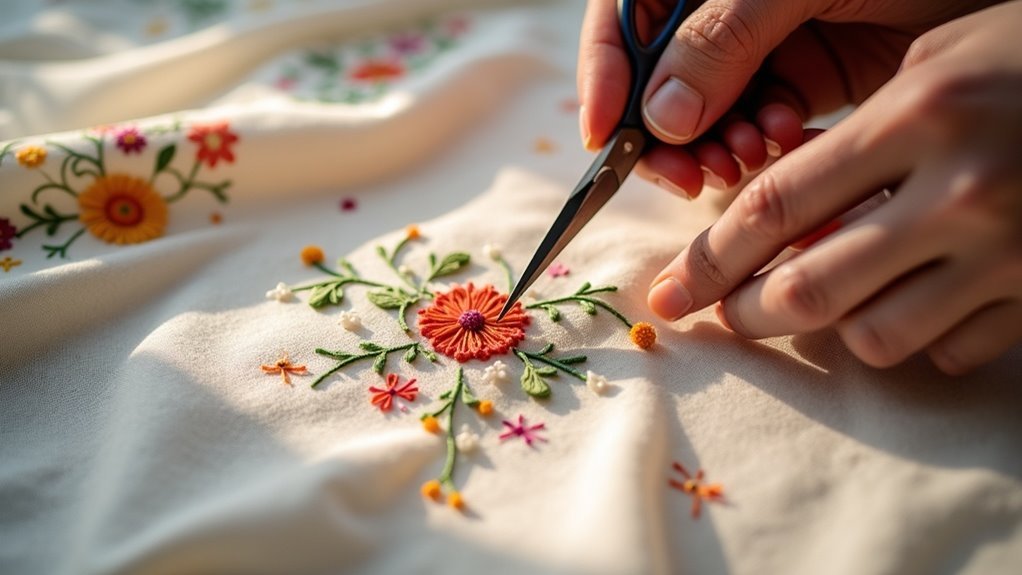
Yes, you can remove embroidery from garments, but it requires careful methods and the right tools. Use a seam ripper or embroidery scissors to cut threads, working slowly in small sections to minimize fabric damage. Consider the type of fabric—delicate ones need gentler techniques, while thicker fabrics may require a larger approach. Always test your method on a hidden area first. If you’re curious about specific tools and techniques, you may want to learn more.
Key Takeaways
- Yes, embroidery can be removed using tools like seam rippers and embroidery scissors, though care is needed to avoid fabric damage.
- Machine embroidery features tighter stitches, making removal more challenging than hand-stitched embroidery.
- Use fabric stabilizers and work slowly on delicate fabrics to maintain integrity during the removal process.
- Consider custom patches as an alternative for covering embroidery without damaging the original fabric.
- For valuable or intricate pieces, professional help may ensure safe and effective embroidery removal.
Understanding the Need for Embroidery Removal
When you find that an embroidered design no longer fits your style or needs, understanding the reasons for removal becomes essential. You might need to remove embroidery to correct mistakes in original designs, ensuring a polished final product.
Additionally, updating your personal style may prompt the removal of existing stitches to create a fresh look or repurpose the fabric. Removing outdated designs enhances garments, making them suitable for donation or resale.
Keep in mind that machine embroidery tends to be more complex due to tighter stitches. Using appropriate tools like seam rippers and embroidery scissors can facilitate this process while minimizing fabric damage.
Tools and Materials for Effective Removal
To effectively remove embroidery, you’ll need specific tools and materials that streamline the process and protect your fabric.
Start with a seam ripper for cutting threads and embroidery scissors for precise snipping. Tweezers are invaluable for pulling out loose threads.
Begin with a seam ripper to cut threads, and use embroidery scissors for precise snipping; tweezers help pull out loose threads effortlessly.
Using a fabric stabilizer, such as wash-away or tear-away, helps prevent delicate fabrics from warping during the removal process. Guarantee proper lighting and consider a magnifying glass to enhance visibility when tackling small threads.
For thicker fabrics, a larger seam ripper or stitch eraser can handle tougher threads without compromising the integrity of your material.
Assessing the Type of Embroidery
How can you determine the type of embroidery before starting the removal process?
Start by evaluating the embroidery stitches; machine embroidery often features tighter, uniform stitches, while hand-stitched designs may have varied, looser stitches.
Identifying the fabric type is essential—delicate fabrics like silk require a gentler approach to prevent damage.
Consider whether the embroidery is decorative or functional, as this influences your technique. For example, logo removal may differ from decorative designs.
Finally, conduct a test removal on a hidden area of the fabric to verify you’re using the right tools and methods without risking visible damage.
Step-by-Step Guide to Removing Embroidery
Before you plunge into removing embroidery, it’s important to prepare your workspace and gather the right tools.
Start by turning the fabric inside out, using a seam ripper or embroidery scissors. Carefully cut the threads in small areas to avoid damaging the fabric.
Once the threads are cut, flip the fabric over and use tweezers to pull the cut ends through to the back, taking your time to prevent tugging.
Afterward, use a lint roller or sticky tape to remove any remaining bits of thread.
Finally, check for missed threads, wash according to care instructions, and iron as needed.
Techniques for Delicate Fabrics
When removing embroidery from delicate fabrics, using a fabric stabilizer is essential to maintain the integrity of the material.
You should gently tease out each thread with a smaller seam ripper or needle to avoid snagging.
Taking your time and working in small sections will help you control the process and protect fragile fabrics like silk or lace.
Stabilizer Use Importance
Using a fabric stabilizer is crucial for maintaining the integrity of delicate fabrics during embroidery removal. Here’s why it matters:
- Prevents Warping: Stabilizers keep the fabric flat, avoiding distortion.
- Reduces Snags: They provide a protective layer against tears, ideal for fragile materials like silk and lace.
- Type Selection: You can choose between wash-away and tear-away stabilizers based on your fabric and embroidery technique.
- Testing Required: Always test on a hidden area first to verify compatibility.
With proper stabilizer use, you’ll enjoy cleaner results, minimizing needle holes and preserving your delicate fabrics’ beauty.
Gentle Thread Teasing Techniques
To successfully remove embroidery from delicate fabrics without causing damage, it’s essential to employ gentle thread teasing techniques.
Start by using a small seam ripper or needle to carefully cut the threads, minimizing the risk of snagging. Next, gently pull on the cut threads with angled tweezers, ensuring you don’t distort the fabric.
If needed, place fabric stabilizers around the embroidery area to maintain support and prevent warping. Always work slowly and patiently, teasing out each stitch to preserve the fabric’s integrity.
Testing this method on a hidden area first can help gauge how your fabric responds.
Strategies for Thick Fabrics
When tackling embroidery removal from thick fabrics like denim or canvas, it’s essential to choose the right tools, such as a larger seam ripper or a stitch eraser.
You’ll want to work slowly in small sections to prevent any damage, ensuring the fabric remains intact.
Additionally, using tweezers to pull cut threads through to the back helps achieve a clean finish without compromising the fabric’s integrity.
Choosing Appropriate Tools
While selecting tools for removing embroidery from thick fabrics like denim or canvas, it’s essential to opt for specialized instruments that can handle robust threads effectively.
Here are some expert tips to guarantee a successful removal:
- Use a Seam Ripper: Choose a larger seam ripper designed for thick fabrics.
- Embroidery Scissors: Employ sharp scissors to cut through tighter stitches.
- Fabric Stabilizer: Consider using stabilizer to prevent warping.
- Test First: Always test your method in an inconspicuous area.
Techniques for Thick Fabrics
Removing embroidery from thick fabrics like denim or canvas requires specific techniques to guarantee a clean outcome without damaging the material. Use a larger seam ripper or stitch eraser designed for heavy fabrics, and work slowly in small sections to prevent holes. Employ a fabric stabilizer to maintain integrity as you remove the embroidery. After removal, assess the fabric for any damage; patching may be necessary. If you’re uncertain or encounter complications, consider professional services for the best results.
| Technique | Tool Used | Key Tip |
|---|---|---|
| Remove Threads | Seam Ripper | Work slowly |
| Stabilize Fabric | Fabric Stabilizer | Minimize distortion |
| Assess Integrity | Visual Inspection | Check for damage |
| Focus on Sections | Stitch Eraser | Small area approach |
| Seek Help | Professional Services | When in doubt |
Preventing Fabric Damage
To prevent fabric damage during the embroidery removal process on thick materials like denim or canvas, it’s essential to take a cautious approach.
Here are some strategies you might consider:
- Use a larger seam ripper or stitch eraser to cut through threads effectively.
- Work slowly and in small sections to minimize risk.
- Consider applying a fabric stabilizer around the embroidery area to maintain shape.
- Avoid tugging on the fabric while pulling out threads to prevent fraying.
Dealing With Aftermath and Repairs
Once you’ve finished taking out the embroidery, addressing the aftermath is essential to restore your fabric’s integrity.
Use a lint roller or sticky tape to remove any stray threads from delicate fabrics. To mend needle holes, gently stretch the fabric and apply a warm iron, which can help close them up for a smoother appearance.
If the damage remains noticeable, consider using custom patches for a polished finish. For complex or valuable pieces, don’t hesitate to seek professional help; their expertise guarantees proper repairs and enhances the longevity of your cherished items after embroidery removal.
Alternative Solutions for Embroidery Removal
While you might be tempted to remove unwanted embroidery completely, alternative solutions can offer a more practical approach without risking damage to your fabric.
Consider these options:
- Cover the embroidery with a patch or appliqué for a fresh look.
- Use fabric markers or dyes to camouflage or change the embroidery’s appearance.
- For delicate fabrics, apply steam or heat to loosen threads for easier removal.
- Consult a professional for safe removal, especially on valuable or complex items.
These methods can help you achieve a new design while preserving the integrity of your fabric.






