
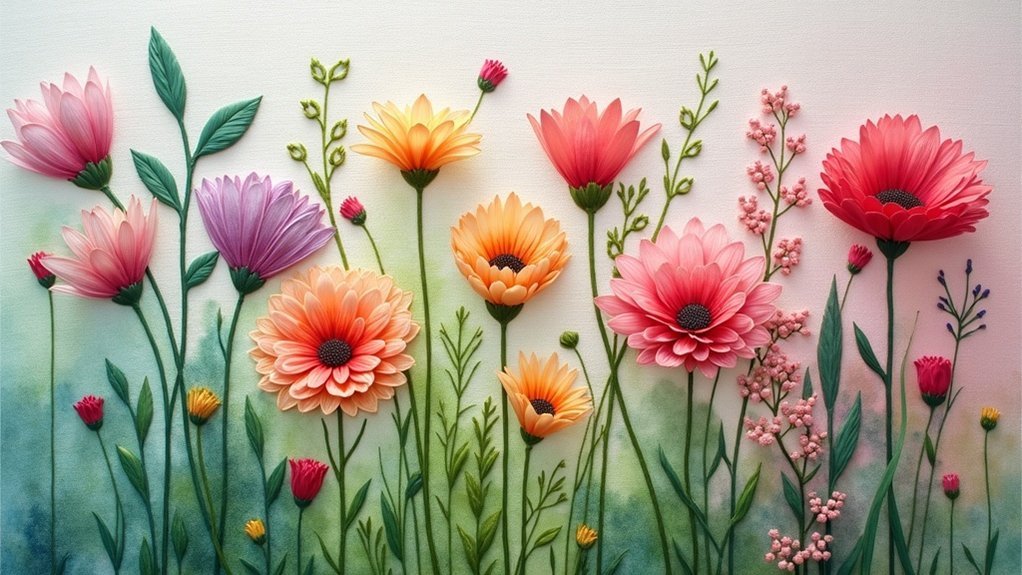
To translate watercolor effects into embroidery, start with sturdy cotton fabric and a combination sewing-embroidery machine. Use vibrant watercolor paints, ensuring you apply them on dry fabric to control bleeding. Employ techniques like wet-on-wet for soft backgrounds and wet-on-dry for sharp edges. Prioritize color vibrancy by adjusting your paint-to-water ratio, and transfer your patterns accurately using a fine pen. With these tips, you can infuse your stitches with the enchanting beauty of watercolor artistry. There’s even more to discover about this enchanting craft!
Key Takeaways
- Use vibrant watercolor paints and appropriate techniques to create soft backgrounds and sharp edges on fabric for desired watercolor effects.
- Choose absorbent fabrics like cotton to enhance blending and color vibrancy in your embroidery projects.
- Apply watercolor using wet-on-wet for soft transitions or wet-on-dry for defined edges, controlling the paint-to-water ratio for intensity.
- Transfer your embroidery patterns accurately on fabric and utilize fine brushes for precise application to maintain design integrity.
- Secure finished artwork with super glue to prevent fraying, and store it in a stable, humidity-free environment for longevity.
Essential Tools and Materials for Watercolor Embroidery
Starting a watercolor embroidery project requires the right tools and materials to release your creativity. You’ll need a combination sewing-embroidery machine to blend techniques effortlessly.
Embarking on a watercolor embroidery project calls for essential tools and a sewing-embroidery machine to fuse your artistic techniques.
Sturdy cotton fabric forms the foundation, while stick-on stabilizer supports your stitching process. Choose vibrant watercolor paints—Crayola’s inexpensive sets or the rich hues from Van Gogh and Winsor & Newton elevate your work.
Don’t forget a variety of brush sizes; larger brushes create broad strokes, while smaller ones offer detail. An embroidery hoop secures your fabric, ensuring no ripples mar your masterpiece.
Finally, consider a stretched canvas base to beautifully display your finished artwork.
Choosing the Right Fabric for Your Project
When it comes to choosing the right fabric for your watercolor embroidery project, the options can greatly influence your artistic outcome. Opt for white fabrics to boost color vibrancy. Cotton canvas offers a sturdy base for techniques, while unbleached muslin minimizes color bleed. Remember, absorbent fabrics like cotton help create soft boundaries and blending effects in your embroidery art.
| Fabric Type | Color Impact | Best Use |
|---|---|---|
| White Cotton Canvas | Vibrant colors | General watercolor work |
| Unbleached Muslin | Controlled bleeding | Detailed watercolor designs |
| Cheap White Fabric | Satisfactory results | Budget-friendly projects |
Selecting the Best Watercolor Paints
When you’re ready to bring watercolor magic to your embroidery, choosing the right paints is key.
Brands like Van Gogh and Winsor & Newton offer vibrant hues that pop on fabric, but don’t overlook budget-friendly options like Crayola for your experiments.
Just remember to check for washability—your stunning designs deserve to last!
Affordable Paint Options
Finding affordable watercolor paints doesn’t mean sacrificing vibrancy or quality; in fact, you might discover some hidden gems that can elevate your artwork.
Brands like Crayola impress with their bright colors, perfect for your embroidery patterns. Experimenting with Van Gogh or Winsor and Newton can yield delightful surprises without breaking the bank.
Don’t overlook watercolor pencils—they often deliver even more punch! A light wash from budget sets can enhance your pieces beautifully.
Just remember, adjusting your paint-to-water ratio can reveal richer hues, allowing you to create stunning effects while staying within budget.
Your artistic journey can be both vibrant and economical!
Vibrancy and Brand Choices
Choosing the right watercolor paints can greatly impact the vibrancy of your embroidery projects. For stunning results, consider watercolor pencils; their concentrated pigments often yield richer colors than traditional paints.
While premium brands like Van Gogh and Winsor & Newton deliver exceptional saturation, don’t underestimate affordable options like Crayola—experimentation with different brands can lead to delightful surprises.
Remember, using more paint than water enhances vibrancy, especially on cotton fabrics. A light wash before you start stitching can add an enchanting background effect, transforming your piece into a vibrant masterpiece that truly serves and inspires others.
Happy stitching!
Washability Considerations
As you immerse yourself in the world of watercolor embroidery, you’ll quickly realize that washability is an essential factor in guaranteeing your vibrant artwork stands the test of time.
To enhance washability, consider using fabric mediums mixed with your watercolor paints. While cheaper sets like Crayola may amaze you, they often lack the durability of higher-end brands.
Remember to heat set your painted fabric after it dries to lock in those beautiful colors. Be cautious with water; too much can cause bleeding.
Always test your chosen paint on a fabric scrap to guarantee both color vibrancy and washability before diving into your masterpiece.
Techniques for Applying Watercolor to Fabric
When you’re ready to bring the fluid beauty of watercolor to fabric, mastering a few key techniques can elevate your artistic expression.
Start with the wet-on-wet method for soft, blended backgrounds, or opt for wet-on-dry for sharper edges. Use more paint than water for vibrant colors, especially on white cotton, which absorbs beautifully.
Explore the wet-on-wet technique for dreamy backgrounds or choose wet-on-dry for defined edges and vibrant colors on white cotton.
Experiment with watercolor pencils for concentrated hues that pop. Keep an eye on your brush’s water amount; drier fabric curbs bleeding, while wet fabric allows colors to flow freely.
These techniques will enhance your hand embroidery, creating stunning, watercolor-inspired fabric art that captivates.
Understanding the Interaction of Watercolor and Embroidery
While exploring the enchanting world of watercolor and embroidery, you’ll discover a dance between color and thread that can transform your fabric into a vibrant tapestry of art. Watercolor brushes allow you to create stunning backgrounds, but remember, colors may lighten after drying. Caution is essential; watercolor can stain embroidery floss. To secure your colors, heat-setting is recommended. Different fabrics react uniquely—the unbleached muslin minimizes color bleed. Embrace experimentation with various brush sizes for unique textures in your artwork.
| Aspect | Watercolor | Embroidery |
|---|---|---|
| Color Retention | May lighten | Generally more stable |
| Fabric Interaction | Varies by type | Dependent on thread type |
| Technique | Brush strokes | Stitching methods |
| Final Effect | Soft, blended colors | Defined textures |
Tips for Controlling Color Bleeding
When you’re ready to bring watercolor magic to your embroidery, start by choosing the right fabric; its texture can make all the difference in how colors behave.
With a smaller brush in hand, you’ll find that your strokes become more precise, helping you keep those vibrant hues exactly where you want them.
Fabric Selection Impact
Choosing the right fabric is essential for achieving stunning watercolor effects in your embroidery, and unbleached muslin often tops the list. This fabric minimizes color bleeding, allowing your vibrant paint to shine through.
For enhanced saturation, consider thicker white cotton, which beautifully showcases colors. To control bleeding, always apply watercolor on dry fabric; moisture invites chaos. A high paint-to-water ratio intensifies hues, while a low ratio softens them.
Additionally, using smaller brushes grants you precision, absorbing less water and helping maintain those delicate lines. Your choice of fabric truly sets the stage for your artistic masterpiece.
Brush Techniques for Control
To master watercolor effects in embroidery, brush techniques play a pivotal role in controlling color bleeding. Start by choosing smaller brushes; they absorb less water, reducing the risk of unwanted spread.
Experiment with various sizes, keeping in mind that larger brushes hold more water and paint. Apply paint gradually, beginning with a light wash to maintain control.
For sharper edges, utilize the wet-on-dry technique—it keeps the paint contained. Also, verify your fabric is dry before painting; this restriction helps limit bleeding.
With these strategies, you’ll create stunning, controlled watercolor effects that beautifully serve your artistic vision.
Transferring Your Embroidery Pattern Accurately
Accurate transfer of your embroidery pattern is essential for achieving that watercolor effect you envision, as even the slightest smudge can compromise your design.
Use a Muji pen with a 0.5 size for fine details, ensuring each line flows smoothly. Opt for permanent, water-resistant ink to keep your pattern intact during watercolor application.
While carbon paper is an option, beware of its dusty residue that might mar your fabric’s beauty. Always test your chosen ink on a scrap piece to confirm it won’t bleed.
This careful approach preserves your artistic vision and enhances the joy of serving others through your craft.
Finalizing Your Artwork for Display
Final touches can elevate your watercolor embroidery from a simple craft to a stunning piece of art. When finalizing your artwork for display, trim fabric edges closely to your hoop, securing them with super glue to prevent fraying. Remember to cover the back with a felt circle for protection. Here’s a quick reference table:
| Step | Tip |
|---|---|
| Cut fabric | Leave a small allowance |
| Secure edges | Use super glue sparingly |
| Cover the back | Use felt for finishing |
| Store artwork | Keep it indoors, away from humidity |
| Maintain appearance | Avoid glue overflow |
Through trial and error, your masterpiece will shine!






