
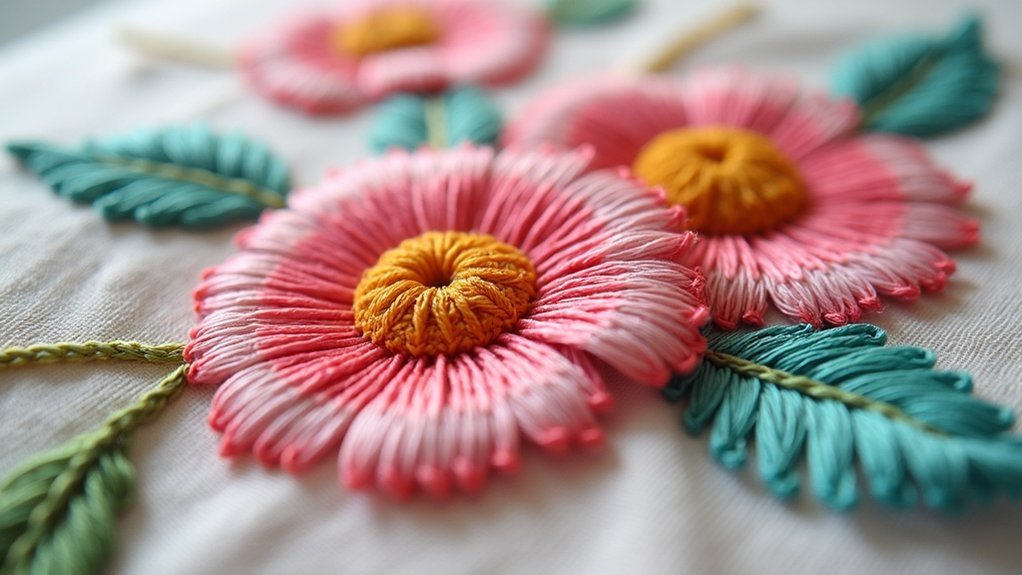
To cover errors in your embroidery projects, start by adjusting stitch density and length to enhance texture and prevent snagging. Incorporate underlays for added stability, ensuring your design holds up over time. Alter stitch angles to create dynamic visual interest, drawing attention away from flaws. Test these tweaks on scrap fabric to perfect your technique. Finally, make strategic corrections to improve overall aesthetics, seamlessly transforming mistakes into art. You’ll uncover even more tips and tricks along the way.
Key Takeaways
- Adjust stitch density and length to prevent stiffness and patchiness, ensuring a smoother finish and reducing thread breakage.
- Incorporate underlays to enhance design stability, preventing misalignment and improving the overall durability of the embroidery.
- Experiment with altering stitch angles to create visual interest and divert attention from errors, enhancing the design’s dynamic appeal.
- Use decorative elements, like appliques, to effectively mask mistakes, turning errors into appealing features of the design.
- Regularly assess and fine-tune your work, adjusting needle positioning and tension for a polished and professional finish.
Understanding the Importance of Design Tweaks
When you commence on an embroidery project, understanding the importance of design tweaks can greatly enhance your results.
Design tweaks allow you to effectively cover mistakes, improving the overall appearance without needing to start over. By adjusting stitch density and incorporating decorative stitches, you can creatively mask errors while adding depth.
Knowing your fabric type is key; different materials may need specific adjustments for ideal results. Tools like a laying tool for long satin stitches can elevate your work, ensuring that even initial missteps achieve a polished finish.
Embrace these design tweaks to transform imperfections into enhancements.
Adjusting Stitch Density and Length
Adjusting stitch density and length is essential for achieving a polished look in your embroidery projects. Here are some key points to evaluate:
Fine-tuning stitch density and length is crucial for a polished finish in embroidery projects.
- Prevent stiffness and patchiness by fine-tuning stitch density.
- Increase stitch length to reduce snagging in high-movement areas.
- Test different densities on scrap fabric to avoid thread breakage.
- Aim for a stitch density of 0.5 to 1.0 mm for a balanced appearance.
Incorporating Underlays for Stability
Incorporating underlays is essential for enhancing design stability and preventing stitch misalignment.
By selecting the right type of underlay, you can guarantee that your fabric remains taut, allowing stitches to lay flat and reducing the chance of puckering.
This not only improves the aesthetic quality of your embroidery but also strengthens the overall durability of your project.
Enhancing Design Stability
To achieve a stable and professional-looking embroidery design, utilizing underlays is essential. They offer a foundational layer that stabilizes fabric and prevents puckering.
Here are some key benefits of adding underlays:
- Improves stitch adhesion for better longevity
- Reduces the risk of embroidery mistakes without compromising aesthetics
- Offers customization for different fabric types and design complexities
- Allows for testing on scrap fabric to fine-tune settings
Preventing Stitch Misalignment
Underlays play a pivotal role in preventing stitch misalignment, ensuring that your embroidery maintains its intended design throughout the stitching process.
By incorporating underlays, you stabilize the fabric, minimizing puckering and distortion. Choosing the right type of underlay, like a zigzag or satin stitch, enhances stitch density and durability.
Adjusting the stitch order to place underlays before decorative elements minimizes thread breaks, ensuring smoother execution. Testing underlay settings on scrap fabric allows you to fine-tune your approach for various fabric types and weights.
This foundation is essential for creating high-quality, flawless embroidery that serves your audience beautifully.
Altering Stitch Angles to Divert Attention
While you might initially focus on perfecting every detail in your embroidery design, altering stitch angles can be a game changer in diverting attention from any errors. By adjusting angles, you create a dynamic appeal that draws the eye away from imperfections.
Altering stitch angles can transform your embroidery, diverting attention from imperfections and enhancing overall appeal.
Here are some tips to take into account:
- Utilize long stitches to enhance texture.
- Verify angles complement your design’s shape for better flow.
- Experiment with varying angles to create interest.
- Pay attention to light and shadow interactions for a natural look.
These tactics can effectively mask minor flaws, allowing your work to shine while serving others beautifully.
Testing Adjustments on Scrap Fabric
Adjusting stitch angles can effectively enhance your design, but before you commit to changes on your final piece, testing adjustments on scrap fabric is a smart move. This practice helps identify potential issues without risking your project. Use scrap fabric of the same type and weight for accurate results. Here’s a quick reference to guide your testing:
| Adjustment Type | Purpose |
|---|---|
| Stitch Density | Impacts appearance and stability |
| Stitch Length | Affects detail and clarity |
| DPI of Images | Guarantees clarity in testing |
Regular testing boosts your skills and confidence, which is essential for professional embroiderers.
Finalizing Corrections for Enhanced Aesthetics
To enhance the aesthetics of your embroidery, focus on effective design adjustments that can transform mistakes into features.
You can seamlessly correct issues like uneven stitches or puckering by adding strategic touches, ensuring a polished final piece.
Effective Design Adjustments
As you finalize your embroidery project, making effective design adjustments can transform minor errors into visual enhancements. Here are some strategies to contemplate:
- Adjust stitch bases to reposition needles and improve tension.
- Add extra stitches in Stem stitching to smooth out mistakes.
- Incorporate decorative elements like appliques to creatively mask errors.
- Use thin interfacing behind holes for reinforcement and durability.
These effective design adjustments not only cover mistakes but also make your piece look much better.
Regularly assess your work to catch issues early, ensuring a polished and professional finish that serves your audience beautifully.
Techniques for Seamless Corrections
Even with the best design adjustments, errors can still occur during the embroidery process. To achieve seamless corrections, consider these techniques:
| Technique | Description |
|---|---|
| Fixing Stitch for Lazy Daisy | Adjust the base to cover mistakes with a fixing stitch. |
| Intermediate Stitches | Add stitches between stem stitches for a smoother look. |
| Decorative Elements | Use the right thread color to mask errors creatively. |
| Interfacing Support | Reinforce fabric behind holes to facilitate seamless coverage. |
These methods not only enhance aesthetics but also guarantee that any wrong thread issues blend beautifully into your design.






