
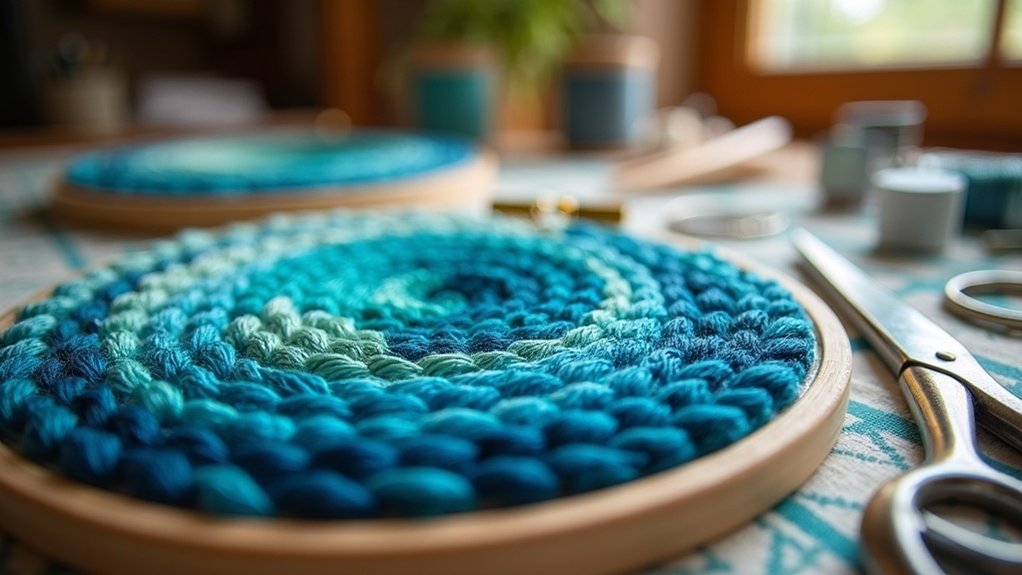
To create stunning gradients in embroidery, choose the right stitch types like satin for smoothness and tatami for large fills. Plan your color sequences carefully, opting for similar tones to guarantee harmony. Use manual stitch placement for unique flair and maintain consistent angles for seamless blending. Experiment with stitch densities to enhance depth, and don’t shy away from bold color combinations. There’s so much more to reveal in gradient embroidery techniques, so keep exploring!
Key Takeaways
- Use a single white thread for real-time recoloring and to achieve seamless color transitions in gradient designs.
- Select color combinations with similar tones and focus on large shapes for harmonious gradient fills.
- Employ overlapping light density fills and manual point-to-point digitizing to create smooth color shifts.
- Test designs in smaller formats to assess effectiveness before committing to full-scale production.
- Experiment with different stitch types, like satin and tatami, to enhance texture and visual interest in your gradients.
Understanding Gradient Embroidery Techniques
When you plunge into the world of gradient embroidery techniques, you’ll discover a fascinating method that transforms ordinary designs into vibrant, dynamic pieces. This approach utilizes a single white thread, recoloring in real-time to achieve seamless color shifts.
Unlike traditional methods, you can explore unlimited colors within the CMYK space. For effective gradients, focus on large shapes and consistent stitch angles, steering clear of small details and neon hues.
Two primary digitizing methods—overlapping light density fills and manual point-to-point digitizing—enable smooth shifts. Combining stitch types like satin and tatami enhances your gradients, ensuring stunning, professional results that serve your audience beautifully.
Selecting the Right Stitch Types
Selecting the right stitch types is essential for achieving stunning gradient effects in embroidery, as each stitch serves a unique purpose in your design.
Here are some key stitch types to ponder:
- Satin Stitch: Perfect for smooth, shiny surfaces, enhancing color shifts.
- Tatami Stitch: Ideal for larger areas, providing a solid appearance with effective gradient fills.
- Run Stitch: Best for small details, ensuring clarity in intricate parts of your gradient.
- Experimentation: Mixing stitch types can yield unique effects, adding character and dimension to your designs.
Careful selection influences the depth and finish, so choose wisely to create enthralling gradients!
Best Practices for Gradient Design
To create eye-catching gradients in embroidery, it’s essential to follow best practices that guarantee smooth changes and vibrant results.
Start by designing gradient-filled shapes large enough to facilitate seamless shifts, avoiding jagged edges. Choose color selections with similar tones and matching undertones for a harmonious blend, steering clear of neon and metallic shades that limit gradient effects.
Utilize various stitch types, like satin and tatami, to enhance the visual appeal and polish of your design.
Finally, always test your designs in smaller formats to identify any potential issues before moving to full-scale production.
Happy stitching!
Color Blending Techniques in Digitizing
When it comes to color blending in your digitized designs, manual stitch placement can elevate your work by creating a unique artistic flair.
You’ll want to adjust stitch density strategically, as varying densities can enhance depth and smoothness in your gradients.
Plus, keep in mind that your choice of colors plays an essential role; the right combinations and arrangements will help you achieve that seamless shift you’re aiming for.
Manual Stitch Placement
Achieving a stunning gradient in embroidery requires thoughtful manual stitch placement, allowing you to blend colors in a way that feels both artistic and intentional.
Here are some key considerations:
- Consistent Stitch Direction: This maintains a smooth shift between shades.
- Varied Stitch Types: Combine tatami and satin stitches for depth and interest.
- Personal Touch: Your unique placements create a one-of-a-kind design that resonates with clients.
- Customer Communication: Clearly explain your manual blending process to align expectations for intricate designs.
Density Adjustments
Manual stitch placement lays the groundwork for creating beautiful gradients, but density adjustments take your designs to the next level.
By varying stitch thickness, you can enhance the illusion of depth, allowing your gradients to breathe life into your embroidery. Carefully mapping these density adjustments guarantees smooth shifts from lighter to denser fills, while consistent stitch direction maintains your design’s flow.
Don’t forget to add a column stitch to conceal rough edges and preserve the desired shape. Communicating with your customers about these adjustments is key to aligning expectations, making sure they’re thrilled with the polished final result.
Color Selection Importance
Although it might seem tempting to choose any colors for your embroidery gradients, effective color selection is essential for achieving a harmonious blend that captivates the eye.
Here are four key factors to reflect on for impactful gradients:
- Choose similar tones for smoother shifts.
- Match undertones to avoid stark contrasts.
- Limit thread colors to simplify blending.
- Maintain consistent stitch direction to enhance visual coherence.
Common Challenges in Gradient Creation
When creating gradients in embroidery, you’ll likely face challenges like precision in color blending and alignment of your stitches.
Misplaced stitching can leave gaps, disrupting the smooth shift you aim for, while inconsistent thread density can lead to unsightly show-through.
To master gradients, you’ll need to pay close attention to stitch placement, angles, and careful color choices to achieve that seamless look.
Precision in Color Blending
Creating gradients in embroidery can be a rewarding yet challenging endeavor, especially when it comes to achieving precision in color blending.
Here are some common challenges you may face:
- Automated tools often struggle with seamless blending, causing show-through.
- Misaligned stitching can create unwanted gaps in fill areas.
- The illusion of a gradient relies on careful thread placement.
- Consistent stitch angles and densities are essential to avoid stepped patterns.
Stitching Alignment Issues
As you explore the intricacies of gradient embroidery, you’ll quickly realize that stitch alignment plays a pivotal role in achieving a polished finish. Improper alignments can lead to visible gaps and disrupt the seamless shifts essential for gradients.
To maintain cohesion, use a consistent stitch angle and monitor placement closely during digitization. Misplaced stitches create openings, while overlapping light density fills help achieve target density without sacrificing alignment.
Adjustments may be necessary to prevent stepped patterns, which compromise the smooth illusion of your design. By prioritizing stitch alignment, you enhance both the beauty and functionality of your gradient embroidery.
Thread Density Challenges
Achieving a smooth gradient in embroidery can be particularly challenging due to thread density issues that often arise during the design process.
Here are some common thread density challenges you might face:
- Automated tools can lead to uneven densities, risking show-through of the background.
- Misplaced stitching creates gaps, ruining the gradient’s overall effect.
- Thread color blending relies heavily on stitch proximity for that seamless look.
- Consistent stitch angles and density adjustments are essential to avoid layering issues.
Tips for Successful Gradient Execution
When you want to execute gradients successfully in embroidery, keeping a consistent stitch angle is essential for achieving smooth shifts.
Choose thread colors that are similar in tone to guarantee a cohesive look in blended areas. By implementing fewer thread colors, you simplify the design, enhancing the smooth transition without overwhelming details.
Select thread colors with similar tones to create a harmonious blend, simplifying your design for a seamless transition.
During digitization, overlapping light density fills can help achieve the right density for seamless gradients.
Finally, adjust stitch alignment and coverage ratios carefully; this precision prevents stepped patterns in stitching and assures ideal results.
Your attention to these details will elevate your gradient embroidery projects considerably.
Enhancing Your Skills in Gradient Embroidery
To elevate your gradient embroidery skills, you’ll need to dive deep into the intricacies of stitch types and their applications. Here are four essential steps to enhance your craft:
- Master stitch types: Use satin stitches for smooth gradients and tatami stitches for larger areas.
- Plan color sequences: Guarantee consistent angles to achieve seamless blending.
- Leverage software: Utilize advanced digitizing tools for creating variegated effects.
- Experiment boldly: Play with different color gradients and stitch densities to add depth.
With continuous practice and the right resources, you’ll create stunning, unique gradient designs that serve and inspire others.






