
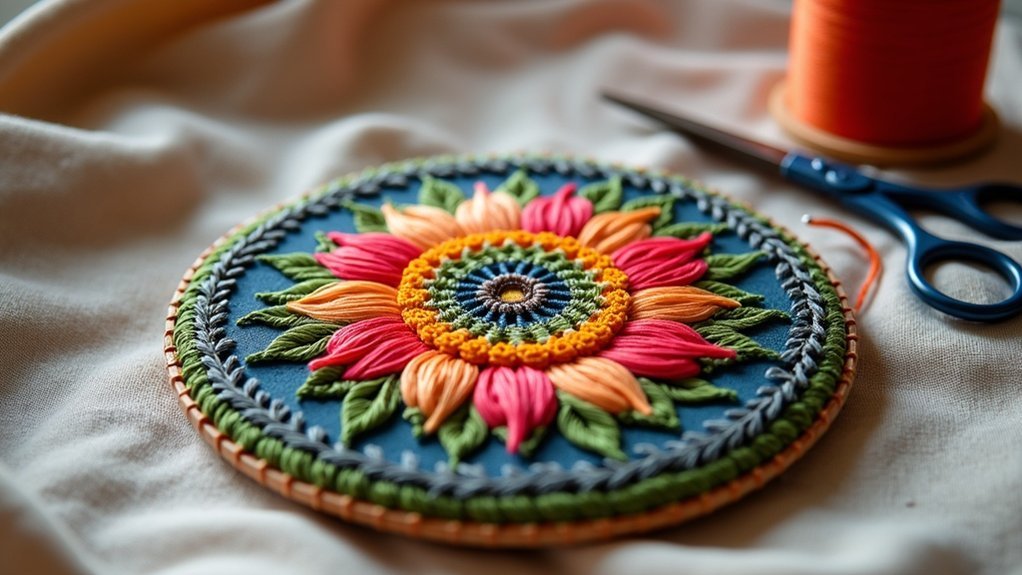
To stitch beautiful borders around your embroidery designs, start by employing techniques like cross stitches and sheaves for texture. Incorporate fly stitch brackets adorned with French knots for flair. Explore argyle herringbone lines to add depth and use heavy chain stitches for an impactful presence. Don’t forget interlaced chain stitches to create enchanting designs. Tweak the stitch sizes and colors as needed to match your style, and there’s even more to discover in these intricate techniques.
Key Takeaways
- Begin with a foundation stitch like basic chain or herringbone to outline the border of your embroidery design.
- Incorporate decorative stitches such as cross stitches or sheaf stitches to add texture and interest to the border.
- Experiment with spacing and variations in stitch size and color to customize the border according to your design theme.
- Use techniques like fly stitch brackets or interlaced chain stitches for unique and visually appealing border effects.
- Maintain consistent thread tension and alignment to ensure a polished and professional look for your stitched borders.
Cross Stitches and Sheaves
Creating an enthralling border around your embroidery design can elevate its overall aesthetic, and incorporating cross stitches and sheaf stitches is a fantastic way to achieve this.
Start by spacing sheaf stitches about 1/4 inch apart at the top and bottom of your design. Then, place cross stitches between each sheaf stitch to enhance texture and visual appeal.
Space sheaf stitches 1/4 inch apart at the top and bottom, then enhance with cross stitches for added texture.
To customize your border, experiment with variations in stitch size, spacing, and color. Guarantee your sheaf stitches are evenly placed for a uniform look.
Using non-divisible pearl cotton thread simplifies the process, yielding consistent and beautiful results for your embroidered creations.
Fly Stitch Brackets
While you might be tempted to stick with traditional borders, incorporating Fly Stitch Brackets can add a unique flair to your embroidery projects.
Start by stitching fly stitches in alternating directions to form these brackets, adjusting spacing to touch or leave gaps as desired. For added texture, place French knots within the brackets.
Verify your fly stitches are evenly spaced and consistently sized for a polished look. Don’t hesitate to experiment with the length and angle of the fly stitches; this versatility lets you customize your border, making it perfect for any project you’re tackling.
Enjoy your creative journey!
Argyle-Style Herringbone Lines
To craft an eye-catching argyle-style border, start with an evenly spaced herringbone stitch that lays the foundation for your design.
Next, fill the spaces with two running stitches, seamlessly fitting them within the herringbone to elevate the texture.
Don’t shy away from experimenting with variations, like tied herringbone stitches, which can add a unique flair to your border.
Herringbone Stitch Basics
The argyle-style herringbone stitch offers a unique way to enhance your embroidery designs with its textured and eye-catching border.
Begin by creating a line of herringbone stitches, spaced evenly to form the base. For added fullness, fill the gaps between sections with two running stitches in each herringbone area.
Consider experimenting with variations like tied herringbone for a decorative touch. You can also adjust the width of your border by changing the size of the herringbone stitches, allowing for customization that elevates your artwork.
This stitch pattern truly complements various embroidery designs, making your projects stand out beautifully.
Running Stitch Fill
As you plunge into the Running Stitch Fill for your argyle-style herringbone lines, you’ll find that this technique adds depth and dimension to your border designs.
Start by establishing a base with herringbone stitch, then fill the gaps between sections using running stitches. Aim for two running stitches per herringbone section, ensuring balance and symmetry.
Consistent spacing is vital for a professional finish, so keep your alignment in check. Don’t hesitate to experiment with contrasting thread colors to make your argyle pattern pop.
These running stitches will beautifully complement the herringbone, creating an eye-catching border that serves your embroidery purpose.
Design Variations Options
Exploring design variations for your argyle-style herringbone lines opens up a world of creative possibilities.
You can experiment with stitch combinations by adjusting the size and spacing of herringbone and running stitches to create unique visual effects. Consider incorporating tied herringbone for added texture, or weave in decorative stitches for complexity.
Each adjustment enhances the border’s depth and intrigue, allowing your project to stand out. By customizing these elements, you can transform a simple border into a striking feature, enriching the overall aesthetic and serving your artistic vision beautifully.
Embrace these variations to elevate your embroidery designs!
Chain Dotted With Knots and Crosses
Start your chain-dotted border with a seamless line of chain stitching, ensuring each link is evenly spaced for consistency.
Once the foundation’s in place, embellish it with French knots and cross stitches to add depth and character.
You can even play with placement to create an asymmetrical design, turning your border into a unique statement piece.
Chain Stitch Foundation
When you want to create a visually striking border for your embroidery design, using a chain stitch foundation dotted with knots and crosses can elevate your work considerably.
Start by crafting a line of chain stitches, ensuring even spacing between each link for a uniform appearance. Next, position French knots above or below each chain link, adding texture while maintaining consistency for a balanced look.
Incorporate cross stitches between each knot to enhance your design’s visual interest. Feel free to experiment with the size and color of your stitches, creating a personalized border that beautifully complements your embroidery masterpiece.
Adding Decorative Knots
Building on the foundation of chain stitches, adding decorative knots can truly transform your border into a fascinating feature.
Start by positioning French knots above or below each chain link to introduce texture and visual interest. For an enhanced design, incorporate cross stitches between the knots, creating a cohesive look.
Experiment with placements—choose to cluster them on one side for uniqueness or distribute them evenly for balance. Throughout this process, maintain consistent thread tension to guarantee the integrity of your stitches and prevent puckering.
This delicate combination of chain, knots, and crosses will elevate your embroidery beautifully.
Filled Cretan Stitch
As you explore the world of embroidery, the filled cretan stitch stands out for its rich texture and intricate design potential.
To master this elegant technique, keep these key points in mind:
Master the filled cretan stitch by focusing on key techniques for a stunning and textured embroidery finish.
- Start with an open cretan stitch as your base, creating a textured foundation.
- Add ermine stitches in the open spaces, extending them beyond edges for fullness.
- Experiment with variations in stitch sizes and spacing for unique aesthetic effects.
The filled cretan stitch is perfect for crafting visually striking borders that elevate your embroidery projects, inviting creativity and serving as a beautiful gift for others.
Tips for Success
Mastering the filled cretan stitch sets a solid foundation for creating stunning borders, but success hinges on a few essential tips.
First, use non-divisible pearl cotton thread for smoother, consistent stitches to create an appealing look. Draw a guiding line on your fabric to keep your stitches aligned and uniform.
Pay close attention to even stitch placement; it’s vital for achieving a polished final product. Additionally, focus on mastering basic stitches like chain, running, and back stitch.
Practice these techniques repeatedly to enhance your skills and gain the confidence you need to serve others with your beautiful embroidery borders.
Heavy Chain Stitch
While the Heavy Chain Stitch may seem similar to its basic counterpart, it offers a distinctive, bold aesthetic that can elevate any border design.
Here’s how to master it:
- Start with small straight stitches at points A and B.
- Skip a space, bringing the thread up at point C, then place the needle under at point D.
- Bring the needle down through the fabric at point E, allowing “wings” to form for added texture.
Repeat until you reach your desired length, adjusting the wings for a uniform look.
The heavy chain stitch transforms your projects with its striking presence!
Interlaced Chain Stitch
The interlaced chain stitch takes the foundation of the basic chain stitch and elevates it with a striking interplay of colors and textures.
Start by stitching a row of basic chain stitches, then introduce a contrasting color. To execute the interlaced chain stitch, come up at one chain, skip the next, and weave under the following chain before pulling through.
This technique can be repeated on both sides, enhancing your border’s visual impact. Not only does this stitch add depth, but it introduces a delightful complexity, making it a perfect choice for creative borders that serve your embroidery’s purpose beautifully.






