
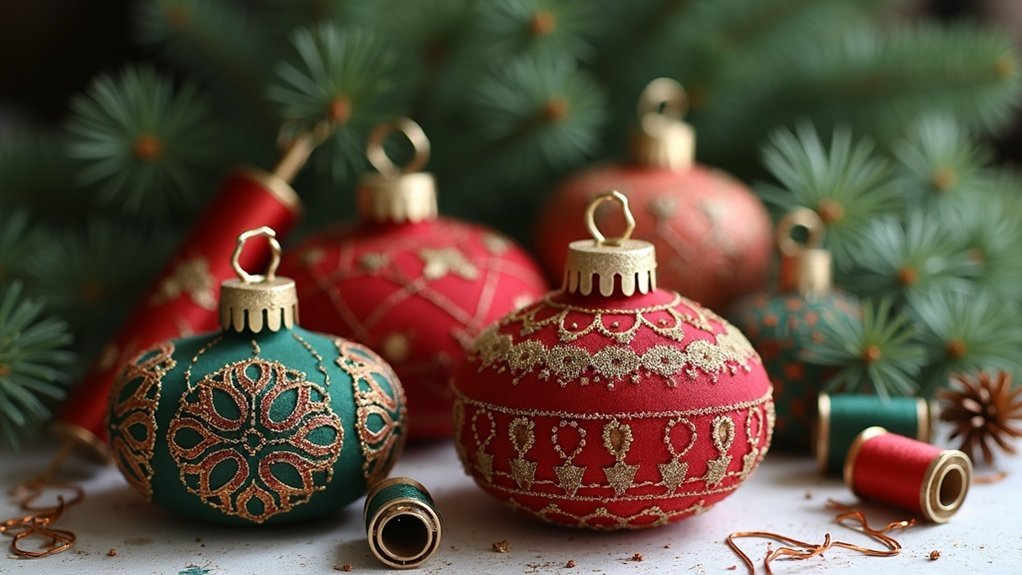
To make beautiful embroidered ornaments, start by gathering embroidery hoops, vibrant fabrics, and sturdy ribbon. Create a cutting template with a 1cm border and seam allowance. Assemble your ornament by securing the fabric in the hoop, trimming excess, and gluing it in place. Add a ribbon for hanging, and feel free to experiment with unique materials like lace or cutouts. There’s so much more to explore to personalize your ornaments beautifully!
Key Takeaways
- Choose vibrant fabrics, such as thrifted shirts, and prepare a cutting template with a 1cm border and seam allowance for your embroidery design.
- Secure the chosen fabric in an embroidery hoop, trimming excess fabric to about 1/2 inch around the ring for a neat finish.
- Apply a bead of hot glue to fold and secure the excess fabric around the hoop for stability and aesthetics.
- Attach a sturdy ribbon to the screw of the embroidery hoop for hanging your finished ornament.
- Personalize your ornaments by experimenting with various materials and creative embellishments, such as lace doilies or painted hoops.
What You’ll Need
Creating beautiful embroidery ornaments starts with gathering a few essential materials. You’ll need embroidery hoops to frame your festive designs, a fabric piece for the back, and a sturdy ribbon for hanging.
Choose vibrant fabrics, perhaps thrifted plaid shirts, to give your ornaments a unique touch. Don’t forget hot glue for secure assembly and Gutermann sew-all polyester thread for stitching.
A hand sewing needle is crucial, and if you prefer, an optional sewing machine can speed things up. Remember to cut your ribbon to double the height you want, plus seam allowance, ensuring your ornaments are ready for Christmas cheer!
Making Your Cutting Template
Once you’ve gathered all your materials, the next step is to make a cutting template for your ornament.
Decide on the size and shape based on your embroidery design, guaranteeing it complements the finished piece. Remember to allow for a 1cm visible fabric border around your embroidery and add a 1cm seam allowance to your dimensions.
Use a ruler to double check the cutting template against your actual embroidery size. If you’re looking for precision, consider downloading and printing a specific cutting template.
This careful preparation guarantees your ornament turns out beautifully, ready to bring joy to others.
Preparing and Assembling the Ornaments
To prepare and assemble your ornaments, start by transforming fabric pieces from old or thrifted shirts into beautiful shapes.
Open the embroidery hoop and place the solid ring beneath your chosen fabric. Position the top ring with the screw to secure the fabric tightly. For a polished look, layer blackout fabric behind the shirt fabric if needed.
Once you’ve tightened the screw, flip the hoop and trim any excess fabric, leaving about 1/2 inch around the ring.
Finally, apply a bead of glue to the back to secure the folded excess fabric and attach a ribbon for hanging your DIY embroidery creations.
Trimming and Finishing Touches
As you finalize your ornaments, trimming and adding finishing touches is essential for achieving a polished look.
First, tighten the screw of your embroidery hoop and flip it over. Trim any blackout fabric flush to the ring for a neat appearance, and cut a piece of shirt fabric with about 1/2-inch excess.
Make sure the fabric is secure by applying a bead of glue inside the hoop, then fold the excess over and press it into the glue.
Finally, feel free to cut a piece of ribbon for hanging, tying it securely to the screw for a charming detail.
Variations and Community Feedback
Completing your ornaments with those final touches opens the door to endless creative possibilities.
Community feedback reveals that experimenting with materials like lace doilies or thrifted plaid shirts can produce easy-to-make, textured designs. Many crafters love using family Clan tartan or cutouts from Christmas cards to personalize their creations, adding sentimental value.
Consider painting your embroidery hoops in vibrant colors for a fun twist, or opt for larger hoops to make a bold statement on your Christmas tree.
These variations not only enhance your ornaments but also foster a sense of community and shared creativity among fellow crafters.
Enjoying Your Handmade Ornaments
Handmade ornaments bring a unique charm to your holiday decor, turning your tree into a personal gallery of creativity and memories.
Display them prominently, showcasing the intricate embroidery designs that reflect your style and the personal touch each piece holds.
These unique keepsakes not only enhance your home but also tell stories of craftsmanship and joy.
Share your ornaments as gifts, spreading delight and connection among friends and family.
Regularly admire your creations, appreciating the effort that went into each stitch, and let their beauty serve as a soothing reminder during the busy holiday season.
Enjoy the magic of your handmade treasures!






