
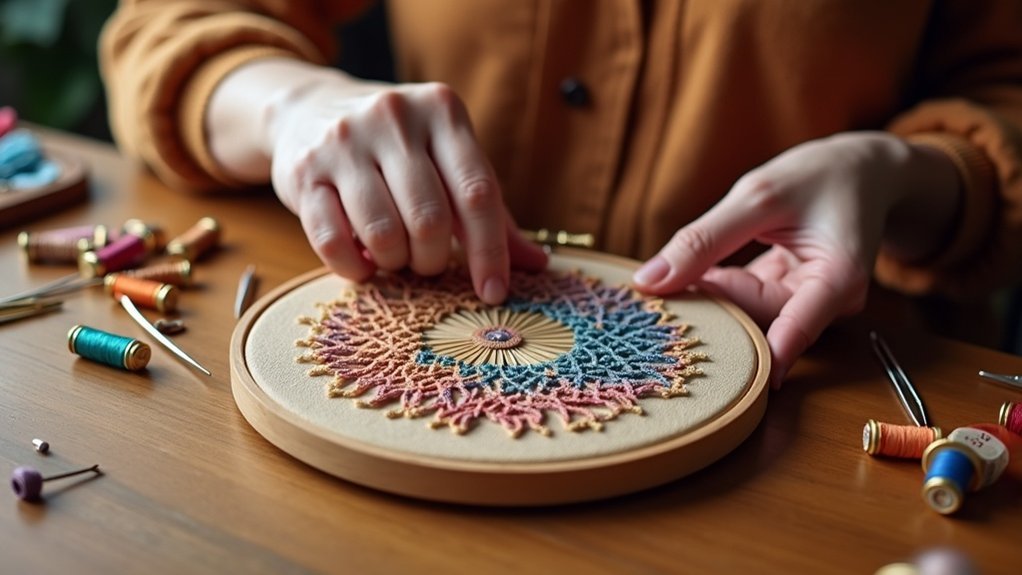
To keep your embroidery fabric taut in hoops, start by choosing the right size hoop—opt for one with 1.5 to 2 inches of extra fabric around your design. When tightening, loosen the top screw, place the fabric over the inner ring, and secure the outer ring while pulling the fabric drum-tight. Regularly check the tension; it should feel firm with no give. You can also use binding to enhance grip and add T-pins for extra stability. There’s more to guarantee your stitching shines!
Key Takeaways
- Choose the right size hoop with 1.5 to 2 inches of extra fabric for optimal tension and control.
- Ensure fabric feels drum-tight by smoothing and pulling it until it has no give when pressed.
- Use binding techniques with fabric strips or twill tape to increase grip and reduce slippage.
- Regularly check and adjust tension while stitching to maintain quality and prevent distortion.
- Utilize T-pins in rectangular hoops to secure stabilizer and enhance overall stability and tension.
Choosing the Right Size Hoop
When you’re diving into embroidery, choosing the right size hoop is essential for keeping your fabric taut and your design crisp. Aim for a hoop that offers 1.5 to 2 inches of extra fabric beyond your design.
Choosing the right size hoop is vital for taut fabric and crisp designs, aiming for 1.5 to 2 inches of extra fabric.
Circular embroidery hoops provide even grip and tension, making them ideal for consistent results. Verify the inner diameter matches your fabric closely to prevent slippage.
For small projects, consider 3 or 4-inch hoops for better control. Always inspect the hoop’s dimensions, especially with thicker fabrics, as larger hoops may be necessary to maintain proper tension.
Your choice can elevate your craft!
Techniques for Tightening the Hoop
After selecting the right size hoop, it’s time to focus on techniques for tightening it effectively.
Begin by loosening the top screw and placing your fabric over the inner ring, ensuring the grain is straight. Secure the outer ring and tighten the screw.
To tighten the embroidery hoop, smooth and pull the fabric taut until it feels drum-tight, producing a satisfying sound when tapped. Avoid excessive tension that distorts the grain; adjust as needed.
Consider using plastic no-slip hoops for better grip, or bind the inner hoop with fabric to keep fabric secure and prevent hoop burn.
Ideal Fabric Tension
To achieve ideal fabric tension, your embroidery hoop should feel drum-tight, with no give when pressed.
When you tap the fabric, listen for that satisfying drum-like sound—it’s a clear sign that you’re ready to stitch.
If you notice any distortion in the material, it’s essential to adjust the tension to keep your work smooth and even.
Achieving Drum-tightness Effect
Achieving a drum-tight effect in your embroidery fabric is essential for flawless stitching, as it sets the stage for precision and detail in your work.
Start by centering the fabric over the inner hoop, ensuring even tension distribution before securing the outer ring. As you tighten the hoop’s screw, gently press the fabric with your fingers to eliminate wrinkles, aiming for that ideal tautness.
A properly tensioned surface should feel tight with minimal give, while tapping it should produce a crisp, drum-like sound. Just be cautious—over-tightening can distort the fabric grain, compromising your stitching quality.
Signs of Proper Tension
A well-tensioned fabric is the backbone of successful embroidery, guaranteeing that your stitches lay perfectly and your design comes to life. You’ll know the tension’s just right when the fabric feels tight with minimal give when pressed.
The surface should be smooth and wrinkle-free; creases can disrupt the stitching process. When you tap the fabric, it should produce a satisfying drum-like sound, indicating ideal tautness.
However, be mindful not to over-tighten, as excessive tension can warp the fabric’s grain. Regularly check the tension throughout your stitching to maintain quality and guarantee your masterpiece shines.
Adjusting for Distortion Issues
While you’re embroidering, noticing any distortion in the fabric grain can signal that adjustments are necessary to maintain ideal tension.
First, press down gently; the fabric should feel tight with minimal give and produce a satisfying drum-like sound. If distortion occurs, loosen the outer ring and re-adjust the fabric around the inner ring, ensuring it lays smooth without wrinkles.
Remember, overly tight fabric compromises integrity; balance is key. Regularly check for tautness throughout your work, as movement can loosen tension.
Keeping your fabric taut not only enhances your results but also serves the art of embroidery beautifully.
Binding Your Embroidery Hoop
Binding your embroidery hoop is a game-changer for maintaining fabric tension and preventing slippage.
By wrapping strips of cotton fabric or twill tape around the inner ring, you enhance grip and guarantee your stitches stay precise.
Let’s explore the materials you can use and follow a straightforward process to achieve a perfectly bound hoop.
Benefits of Hoop Binding
When you wrap your embroidery hoop with long strips of cotton fabric or twill tape, you’re not just adding a decorative touch; you’re also enhancing its functionality.
Hoop binding increases friction, minimizing fabric slippage and ensuring your stitches remain precise. This technique is especially essential for smaller hoops, where a secure grip is important for achieving finished embroidery.
By using a hot glue gun, you can easily secure the fabric, providing added tension stability and protecting delicate materials from hoop burn.
Additionally, consider using felt for an even smoother, more polished appearance, elevating your embroidery projects to new heights.
Binding Materials to Use
Choosing the right binding materials can greatly impact the performance of your embroidery hoop. For the inner ring, long, narrow strips of white or beige cotton fabric or twill tape work wonders, providing excellent friction and padding.
A hot glue gun becomes essential here, securely attaching your fabric strips to the inner circumference. If you’re working with small hoops, opt for narrower strips to guarantee a snug fit.
You can also bind the outer ring with decorative fabric or ribbon, just make sure it’s not too smooth. Adding a layer of felt can further minimize slippage and protect your stitches beautifully.
Step-by-Step Binding Process
To create a perfectly taut embroidery hoop, you’ll want to master the binding process that sets the foundation for your stitching success.
Start by removing the inner ring from the outer ring, then apply a dab of hot glue along its inner circumference. Attach a long, narrow strip of fabric or twill tape at an angle, ensuring it adheres securely.
As you wrap the fabric around the inner ring, glue it at intervals to prevent slipping. Once fully wrapped, trim any excess and reassemble the hoop.
For added stability, place a piece of felt between the hoop and your embroidery.
Utilizing T-Pins for Stability
While maintaining tension in your embroidery project is vital for achieving high-quality results, utilizing T-pins can make this task considerably easier.
These two-inch pins effectively secure your stabilizer within rectangular hoops, preventing any loosening during stitching. Insert T-pins on top of the hoop, placing three on each edge for ideal support.
This technique is particularly beneficial for freestanding lace and in-the-hoop designs, where tightness is essential. Experienced embroiderers swear by T-pins, as they enhance the overall quality of your designs by preventing slippage and ensuring consistent tension, allowing you to serve your embroidery projects with precision and care.
Tips for Selecting Fabrics and Hoops
Selecting the right fabric and hoop is essential for achieving that perfect tension in your embroidery projects.
Choose natural fabrics like cotton or linen for better grip, avoiding slippery synthetics. Circular hoops distribute tension evenly, so skip oval or square options.
Make sure your hoop size allows for 1.5-2 inches of extra fabric around the inner ring, ensuring proper tension management. High-quality beechwood or plastic hoops with interlocking ridges will provide the stability you need.
If you’re working with thin fabrics, consider doubling the material for enhanced support.
With these tips, you’ll create beautiful embroidery pieces that serve your vision effectively.






