
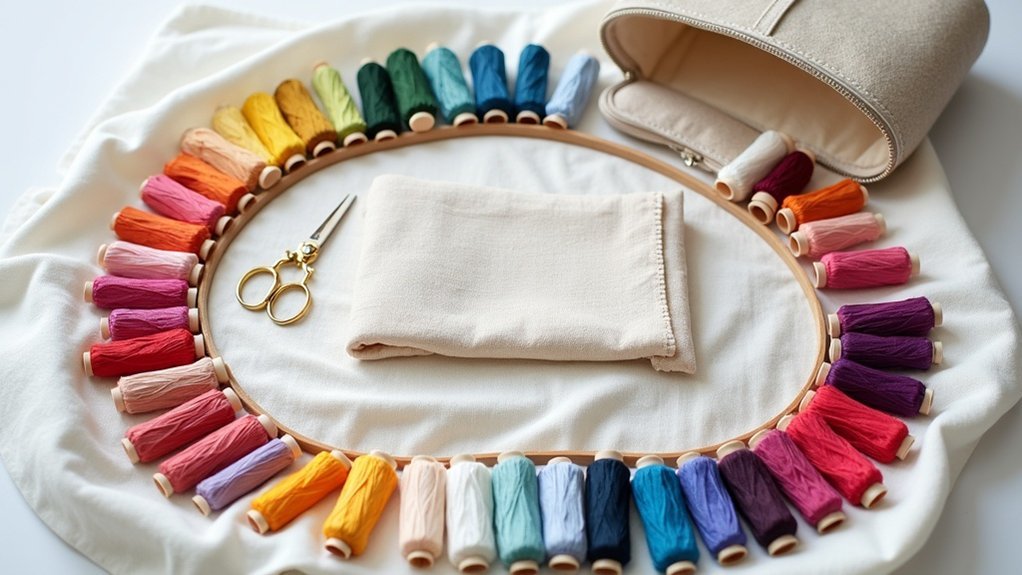
To pack embroidery for flights, start by making a detailed list of your essential supplies, including pre-cut fabrics and organized threads. Choose an all-in-one kit to keep everything compact, and use resealable bags to store smaller items. Secure your needles in a magnetic case to prevent loss. Keep your project simple for completion in short bursts. With these tips, you’re all set for stress-free stitching in the air, and there’s more to discover about efficient packing!
Key Takeaways
- Create a packing list organized by project, including essential items like fabric, floss, and tools to prevent forgetting anything important.
- Use resealable bags for threads and small tools to keep them organized and prevent tangling during travel.
- Pre-cut fabric pieces and wind thread onto bobbins for easy access and efficient packing.
- Choose lightweight, compact supplies and simple designs that can be completed quickly during flights.
- Respect airline regulations by packing tools securely and using quiet methods to minimize distractions for fellow passengers.
Make a List
Creating a packing list is essential for any embroidery enthusiast heading on a trip. It helps you remember crucial items like your trusty embroidery scissors, ensuring you’re fully equipped to create beautiful pieces.
Download an Embroidery Project Packing List to keep your materials organized. Break your list down by project, accounting for fabric, floss, and tools to prevent tangling and confusion.
Regularly update your list based on past experiences to enhance your efficiency. This thoughtful preparation not only reduces last-minute stress but also enriches your stitching experience, allowing you to focus on serving others through your art.
Prepare What You Can Before You Leave Home
Before you leave home, take a moment to pre-cut your fabric pieces to the perfect size, ensuring they fit neatly in your travel kit.
Organize your thread colors by winding them onto bobbins, so you can grab what you need easily while on the go.
Packing your essential tools in a compact bag will keep everything tidy and ready for your next creative moment.
Pre-Cut Fabric Pieces
Packing pre-cut fabric pieces for your embroidery projects can greatly enhance your travel experience. By preparing these pieces at home, you’ll save space and reduce setup time.
Here are three tips to make the most of your pre-cut fabric:
- Press and stretch the fabric in the hoop to guarantee it’s ready for immediate stitching.
- Transfer patterns onto your pre-cut fabric to lighten your packing load.
- Organize pre-cut fabric in separate bags or tins to keep everything tidy and prevent tangling.
With lightweight options, you can easily carry multiple projects while you organize my thread for seamless creativity on the go!
Organize Thread Colors
Organizing your thread colors can transform your embroidery experience during flights, making it smoother and more enjoyable. Start by pre-winding threads onto bobbins and labeling them for easy access. Use a small thread storage box to keep everything safe and organized. Consider a thread organizer with multiple compartments to separate color families effectively. Here’s a simple table to help you choose your colors:
| Color Family | Thread Brand | Bobbin Label |
|---|---|---|
| Reds | Brand A | R1 |
| Blues | Brand B | B1 |
| Greens | Brand C | G1 |
| Yellows | Brand D | Y1 |
This way, you’ll never struggle to find what you need!
Pack Essential Tools
When you’re gearing up for a flight, having the right tools at your fingertips can make all the difference in your embroidery experience.
Packing essential tools guarantees you’re ready to create on the go. Here are three must-haves:
- Travel Scissors: Keep a pair with blades under 4 inches to comply with TSA regulations.
- Pre-threaded Needles: Store them in a needlebook for quick access and efficiency.
- Compact Project: Choose a small hoop design for easy management.
Don’t forget to pack thread gloss and extra needles in a durable project bag to keep everything organized and secure during your flight!
Hold on to Those Needles
When you’re packing for your flight, keeping your needles secure is essential to avoid the stress of misplacing them.
Consider investing in a magnetic needle case or a felt needle book—both are fantastic for organizing your needles and keeping them easily accessible.
Always return your needles to their designated storage after each use, and you’ll travel with peace of mind.
Needle Security Solutions
Losing needles while traveling can turn a fun trip into a frustrating experience, so investing in effective needle security solutions is essential for any embroidery enthusiast.
Here are three must-have items to keep your needles safe:
- Magnetic Needle Minder: This handy tool securely holds needles in place, ensuring easy access and preventing losses.
- Felt Needle Book: Create a dedicated space to organize your needles and store thread scraps, minimizing the chance of misplacement.
- Sewing Kit with Compartments: Having multiple storage options means you’re prepared if one method fails during your travels, giving you peace of mind.
Magnetic Needle Cases
A magnetic needle case is an important companion for any embroidery enthusiast on the go.
These compact, lightweight cases securely hold your needles with strong magnets, preventing loss and potential injuries during travel. You’ll appreciate how easy it’s to organize your thread and quickly access the right needle size for each project.
By encouraging the habit of returning needles to their designated spot after use, magnetic needle cases help reduce anxiety about losing these crucial tools.
Investing in one not only streamlines your embroidery journey but also makes sure you’re always prepared to serve others with your creative skills.
Felt Needle Organization
Creating a felt needle book can revolutionize how you organize and secure your needles while traveling.
This handy tool makes needle organization a breeze, ensuring you never misplace your essentials.
Here are three ways to enhance your felt needle organization:
- Designate Sections: Create separate pockets for different needle sizes, making them easy to access.
- Use a Needle Minder: Attach a needle minder to keep track of needles while you stitch, especially in tight spaces.
- Return After Use: Always put needles back in their designated spots to avoid losing them during your journey.
Keep Everything in One Place
Packing your embroidery supplies efficiently can make all the difference during your travels. To keep everything in one place, gather all your essentials into an organized storage solution, like a quilted project bag or a zip-top plastic bag.
A small thread storage box fits perfectly in your backpack and helps you organize your thread without tangling. Use a needlebook with felt pages to protect your needles and thread scraps. Don’t forget a needleminder to keep your needles secure and within reach.
This way, you can focus on your creativity and serve others with your beautiful embroidery projects.
Choose an All-in-One Option
When you’re gearing up for a flight, choosing an all-in-one embroidery kit can make your journey far more enjoyable. These kits streamline packing, keeping everything you need in one place.
Here are three reasons to evaluate an all-in-one kit:
- Compact Storage: The included storage tin helps you organize your thread, needles, and tools, making access a breeze.
- Immediate Engagement: Pre-assembled with themes and stories, you can dive right into creative stitching.
- Maximize Stitching Time: With limited space, these kits enhance your travel experience by providing a relaxing, mindful outlet while you fly.
Project Flexibility
Embracing project flexibility can transform your embroidery experience while traveling, allowing for spontaneous creativity as inspiration strikes. Keeping a transfer pen handy lets you adjust your patterns effortlessly, ensuring your project remains dynamic. Exploring various transfer methods enhances your flexibility, adapting to different preferences.
| Transfer Method | Advantages | Ideal For |
|---|---|---|
| Transfer Pen | Quick adjustments | On-the-go creativity |
| Iron-on Transfers | Permanent designs | Precise patterns |
| Water-soluble Paper | Easy wash-off | Temporary designs |
| Freehand Drawing | Unique, personal touch | Custom creations |
Stay open to adjusting your thread choices and designs!
Tool and Material Management
To guarantee a smooth embroidery experience while traveling, managing your tools and materials is essential.
Ensuring a seamless embroidery journey requires effective organization of your tools and materials.
Here are three tips to help you stay organized:
- Use a binder pencil holder with multiple pockets to keep your embroidery tools, like scissors and needles, easily accessible.
- Opt for smaller hoops, such as 3-inch ones, to maximize portability and convenience in tight spaces.
- Keep shorter lengths of thread to minimize tangling and help you organize my thread effectively, ensuring a tidy workspace.
Enhancing Flight Experience
Packing your embroidery supplies thoughtfully not only keeps you organized but also sets the stage for an enjoyable flight experience. Engaging in a compact stitching project, like a small hoop or pre-cut fabric, helps you manage space effectively.
Plus, using thread gloss enhances your experience by preventing fraying and ensuring smooth needle threading, even in cramped airplane conditions.
Remember to be considerate of your surroundings; avoid disruptions to fellow passengers as you stitch. Planning short breaks to stretch and care for your hands can prevent discomfort, making your flight both productive and enjoyable while you create something beautiful.






