
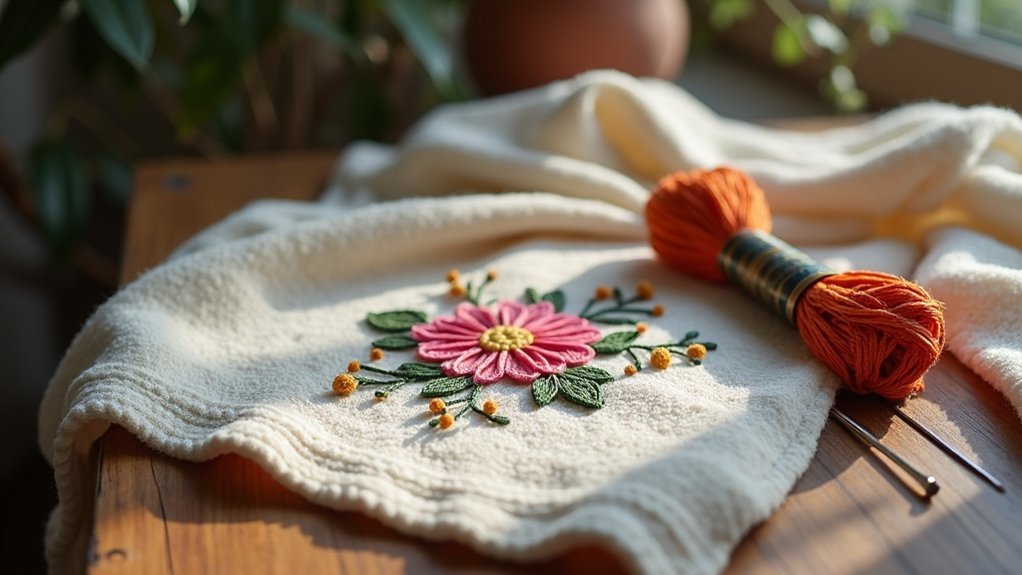
To embroider on terry cloth towels, start by pre-washing and ironing the fabric to guarantee a smooth surface. Choose bold, clear designs that suit terry cloth’s texture. Use a medium-weight tear-away stabilizer to maintain stitch stability and keep your towel taut with an embroidery hoop. Test designs on scraps to perfect settings. After stitching, trim jump stitches, remove stabilizers, and soak to clean up. Curious about more tips and tricks? There’s plenty to uncover!
Key Takeaways
- Pre-wash and iron terry cloth towels to remove residues and ensure a flat surface for accurate embroidery placement.
- Use a medium-weight tear-away stabilizer to support the stitches and prevent fabric distortion during embroidery.
- Select bold, simple designs that stand out against the textured surface of terry cloth for better visibility.
- Test designs on scrap terry cloth to ensure clarity and stability before stitching on the final towel.
- After stitching, carefully remove stabilizers and wash towels in cold water to maintain the quality of the embroidery.
Understanding Towel Fabric and Types
When you’re diving into the world of towel embroidery, understanding the fabric types is vital to achieving stunning results.
Terry cloth items, known for their looped design and absorbency, are a popular choice for embroidering on terry cloth. Typically made from cotton, these towels provide a soft texture, although blends with linen or polyester can enhance durability.
Terry cloth, with its looped design, is ideal for embroidery, offering softness and enhanced durability when blended with other materials.
Keep in mind, simpler embroidery designs work best on terry cloth to maintain clarity, while cotton towels offer a smoother surface for intricate patterns.
Choosing the right towel fabric is essential for aligning your embroidery vision with the material’s capabilities, ensuring beautiful outcomes.
Necessary Tools and Materials
To commence your towel embroidery journey, gathering the right tools and materials is essential for success. You’ll need an embroidery machine for precise designs, along with stabilizers—medium-weight tear-away for simple patterns and water-soluble for the top—to maintain stitch quality. An embroidery hoop will keep your towel taut, preventing misalignment during stitching. Don’t forget high-quality threads; polyester, rayon, or cotton can elevate your design. Finally, marking tools like water-soluble markers or tailor’s chalk will help you position your embroidery accurately. Here’s a quick overview:
| Tool/Material | Purpose |
|---|---|
| Embroidery Machine | Creates intricate designs |
| Stabilizers | Prevents fabric distortion |
| Embroidery Hoop | Keeps towel steady |
| Marking Tools | Positions design accurately |
Preparing for Embroidering on Towels
Before diving into the delight of embroidering on towels, it’s essential to prepare your materials properly. Start by pre-washing and drying the towels to eliminate residues and prevent shrinkage.
Next, iron the towel to create a smooth, flat surface—this guarantees accurate design placement. Use tailor’s chalk or water-soluble markers to mark where you want your embroidery to go, guiding your stitching perfectly.
Finally, gather all necessary tools, including stabilizers, scissors, and thread. Choosing designs that complement the terry cloth’s texture will also enhance the final result, making your embroidered towels truly special for those you serve.
How to Embroider Towels
When you’re ready to embroider towels, start by selecting designs that complement the texture and absorbency of terry cloth.
Preparing the towel is essential—confirm it’s pre-washed and flat, and use the right stabilizers to support your stitches.
Then, choose your stitching techniques wisely to guarantee your artwork stands out beautifully against the plush fabric.
Selecting Appropriate Designs
Selecting the right designs for embroidering on towels can make all the difference in achieving a polished look.
When working with terry cloth, choose bold, clear embroidery designs that won’t get lost in the fabric’s high nap. Opt for designs with fewer intricate details, as thin lines might fade into the loops.
Keep the stitch count under 23,000 to maintain stability and prevent distortion. Utilize the Nap Control feature in your embroidery software, creating a smooth base layer that enhances your design.
Always test your chosen design on a scrap piece of terry cloth to guarantee it translates beautifully.
Preparing the Towel
With your designs chosen, it’s time to prepare the towel for embroidery to confirm your artwork shines. Follow these steps to guarantee success:
- Pre-wash and dry the terry cloth to remove any residues and prevent shrinkage affecting your embroidery placement.
- Iron the towel for a flat, smooth surface, enhancing design visibility.
- Mark the desired embroidery placement using tailor’s chalk or water-soluble markers for precise alignment.
- Choose an appropriate stabilizer: use tear-away for simple designs and cut-away for intricate ones.
These preparations will set the stage for beautiful, professional-looking embroidery that delights those you serve.
Stitching Techniques to Use
While embroidering on towels can seem intimidating, using the right stitching techniques can transform your project into a stunning piece of art. For terry cloth, opt for the floating method to avoid fabric distortion. Employ an adhesive-backed tear-away stabilizer for thickness, and a water-soluble topper to keep stitches smooth. Proper digitization and testing on scrap material guarantee clarity and stability for intricate designs.
Here’s a quick reference table for your stitching techniques:
| Technique | Purpose | Tips |
|---|---|---|
| Floating Method | Prevents distortion | Use for thick fabrics |
| Adhesive Tear-Away | Stabilizes during stitching | Perfect for terry cloth |
| Water-Soluble Topper | Maintains smooth stitch appearance | Ideal for nap control |
| Test on Scrap Material | Fine-tunes tension and stabilizer | Essential for best results |
Step-by-Step Embroidery Process
To kick off the embroidery process, you’ll want to make sure your design is perfectly aligned on the towel; a little time spent on placement now will save you headaches later.
Once your machine starts stitching, keep a close eye on the progress and be ready to swap threads for those vibrant multi-colored patterns.
After the last stitch, it’s all about cleanup—trimming excess stabilizer and rinsing the towel will give you that polished, professional finish you’re aiming for.
Design Placement Guidelines
Getting the design placement just right is essential for a polished embroidery project on towels. Follow these guidelines to guarantee your design on a terry towel looks fabulous:
- Draw horizontal and vertical center lines on the stabilizer to find the center point.
- For bath towels, place the monogram about 8 inches from the bottom; for hand towels, position it 5 inches up.
- Keep at least 1 inch from decorative borders to avoid interference with the embroidery.
- Hoop the stabilizer and secure it with pins, placing the Water-Soluble Topper smooth side up to prevent bunching.
Post-Stitch Cleanup Steps
Once you’ve finished stitching your design, the real work begins with the post-stitch cleanup steps that guarantee your towel looks its best.
Start by carefully removing your towel from the hoop, ensuring you don’t damage the fabric. Next, trim all your jump stitches with a nipper for a clean finish.
Peel away the water-soluble topper from the front and remove as much tear-away stabilizer from the back as you can. To dissolve any remaining water-soluble material, spritz both sides of the towel with water.
For a final touch, soak the towel briefly and check for leftover threads or stabilizer pieces.
Challenges of Embroidering on Terry Cloth Towels
Embroidering on terry cloth towels presents unique challenges, particularly due to the high nap of the fabric.
To achieve a successful embroidered design, keep these factors in mind:
- Clarity: Choose fonts carefully; thin letters may disappear into the fabric.
- Placement: Guarantee proper positioning, as the texture can shift during stitching.
- Stabilizers: Use appropriate stabilizers to prevent distortion and maintain quality.
- Digitizing: Focus on well-digitized designs with suitable stitch density to enhance the final look.
Navigating these challenges helps you create beautiful, functional towels that serve others with style and care.
Finishing Touches and Maintenance
After successfully maneuvering the challenges of embroidering on terry cloth towels, it’s time to focus on the finishing touches and maintenance that will elevate your project.
Carefully remove the towel from the embroidery hoop to prevent distortion, then trim any excess stabilizer around your design for a polished look.
Take a moment to inspect the embroidery for any flaws or loose threads, addressing them to guarantee ideal appearance.
Finally, gently steam or press the towel to smooth wrinkles without damaging your work.
Remember to allow the embroidered towel to set for at least 24 hours before washing for best results.






