
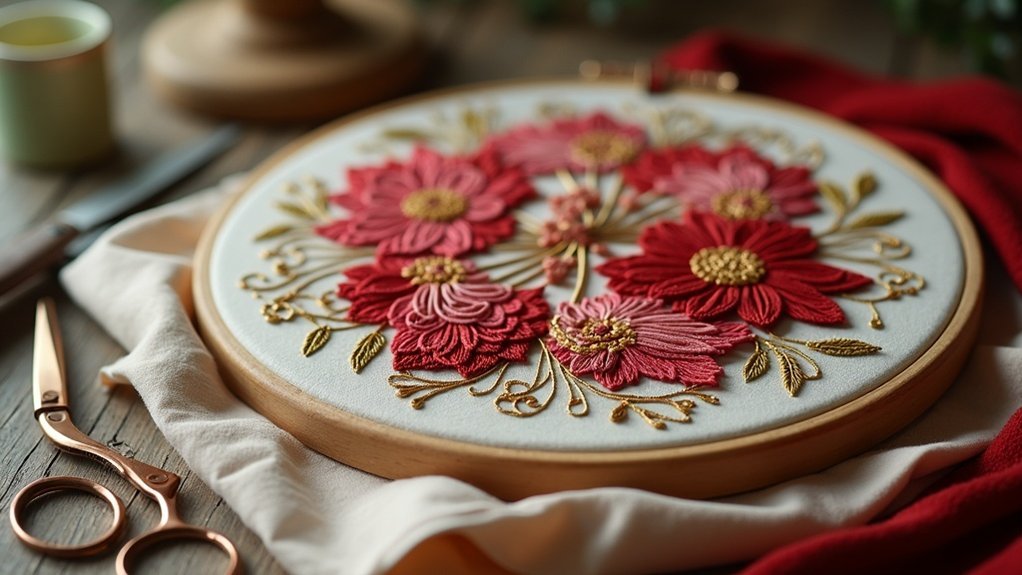
To add a backing to your hoop embroidery, gather felt, strong thread, and suitable fabric. Trace and cut a felt circle that’ll cover the hoop’s back, securing it with a blanket stitch. Loosen the outer hoop. Center your embroidery in the inner ring, then reattach the outer ring securely. Cut a backing fabric slightly larger than the hoop, adhere it with fabric glue, and press down. This secures the backing, adding a polished look to your piece. You’ll discover more tips on enhancing your embroidery’s durability and aesthetics.
Key Takeaways
- Select and cut a felt circle that fits the inner hoop, tracing around it for accuracy.
- Loosen the outer ring, place the embroidered fabric in the inner ring, and reattach securely.
- Measure and cut a backing fabric slightly larger than the hoop for proper coverage.
- Apply fabric adhesive around the edges of the embroidered fabric, then press the backing fabric into place.
- Inspect the edges for secure attachment, and consider customizing with decorative stitches for added flair.
Materials Needed for Backing Your Embroidery Hoop
To back your embroidery hoop effectively, you’ll need five essential materials.
First, a piece of felt large enough to cover the entire hoop guarantees a snug fit within the inner ring.
Next, select strong thread, like extra strong hand quilting thread or doubled regular sewing thread, for secure backing attachment.
A suitable needle is vital; it should glide smoothly through the felt without damaging it.
Fabric scissors will help you trim the felt to the appropriate size, creating a clean edge around the hoop.
Finally, use a pencil or marking tool to trace the hoop’s outline on the felt for precise cutting.
Preparing the Felt for the Backing
Preparing the felt for the backing involves a few straightforward steps that guarantee a precise fit. Start by selecting a piece of felt large enough to cover the entire back of the embroidery hoop. Use a pencil to trace around the inner hoop, creating a guideline. Carefully cut out the felt circle just inside the line for a snug fit. Position the felt circle over the gathered fabric at the back of the embroidery, ensuring alignment for a clean finish. Finally, use a blanket stitch to secure the felt in place, smoothly holding the gathered fabric.
| Step | Action |
|---|---|
| 1 | Select felt and trace the hoop |
| 2 | Cut the felt circle |
| 3 | Secure with blanket stitch |
Positioning Your Embroidery in the Hoop
To position your embroidery correctly, first center the design within the inner hoop and guarantee it’s taut to prevent puckering.
Consider the fabric overhang; trim it to about one inch (2.5 cm) around the hoop for easy gathering and securing.
Adjust the positioning if the design isn’t perfectly centered on the fabric before you finalize the setup.
Centering the Design
Centering your design in the hoop is essential for achieving a polished embroidery result. Start by ensuring your fabric is large enough, with at least one inch (2.5 cm) overhang around the hoop’s inner ring. Position the design at the center of the fabric and adjust by loosening the screw to shift the fabric as needed. Use a measuring tape to confirm equal distance from the edges of the fabric to the design. Once centered, tighten the screw securely to maintain the fabric’s position.
| Measurement Tool | Distance to Design | Action |
|---|---|---|
| Ruler | 1 inch | Check Distance |
| Ruler | 1 inch | Adjust Fabric |
| Ruler | 1 inch | Confirm Center |
| Ruler | 1 inch | Tighten Screw |
| Ruler | 1 inch | Final Check |
Fabric Overhang Considerations
While positioning your embroidery in the hoop, it’s crucial to guarantee that the fabric overhang measures at least one inch (2.5 cm) around the entire perimeter. This guarantees easy gathering and finishing for a neat back.
Consider these key points:
- Center your design within the hoop, but adjust for fabric size variations.
- If using thinner fabric, add an extra layer to the back for stability.
- Trim excess fabric evenly to prevent uneven gathers.
- Monitor the evenness of the overhang to achieve a smooth, professional finish.
These steps help create a polished look for your embroidery project.
Gathering the Fabric for a Neat Finish
Gathering the fabric evenly is essential for achieving a neat finish on the back of your embroidery hoop.
Start by using a strong thread to create a running stitch around the fabric, then pull it tightly to form smooth gathers.
As you work, regularly adjust the fabric with your needle to guarantee a polished look before attaching the felt backing.
Importance of Even Gathers
Achieving even gathers is essential for creating a polished and professional finish on the back of your embroidery hoop project.
Uneven gathers can lead to bulkiness and distort the fabric’s appearance. To guarantee your gathers are even:
- Use a strong thread and consistent running stitch for durability.
- Smooth out gathers as you stitch to prevent puckering.
- Regularly pull the gathering thread, adjusting for uniformity.
- Step back before securing to assess and adjust the evenness of the gathers.
Techniques for Gathering Fabric
A neat finish hinges on effective techniques for gathering fabric, which is essential for guaranteeing a polished look in your hoop embroidery project.
Start by using a strong thread to create a running stitch about ½ inch from the edge, leaving a long tail to pull tight. As you gather, pull the thread gradually to avoid puckering and achieve even gathers. This will guarantee a smooth finish when attaching the backing.
Once you’ve gathered the fabric, secure the thread with a knot to prevent loosening before attaching the felt or backing material. This meticulous process enhances your project’s overall appearance.
Tools for Smooth Finish
When selecting tools for a smooth finish in hoop embroidery, it’s crucial to prioritize durability and precision.
To guarantee a neat and professional appearance, gather the fabric effectively with these tools:
- Extra strong hand quilting thread – Provides durability for gathering.
- Embroidery needle – Suitable for the running stitch around the fabric’s edge.
- Felt circles – To cover raw edges for a polished look.
- Scissors – For cleanly trimming excess fabric.
Using a running stitch around the edge, pull the thread for even gathers, creating a smooth layer of fabric that enhances your embroidery project.
Securing the Felt Circle to the Back
To create a polished finish on your embroidery project, position the felt circle over the gathered fabric at the back of the embroidery hoop.
Use a blanket stitch, starting from the wrong side of the felt, and catch the gathered fabric with each stitch. Guarantee your stitching is smooth and evenly spaced for a neat appearance.
To achieve a polished look, utilize a blanket stitch, ensuring your stitches are smooth and evenly spaced.
When you run out of thread, cast off properly and start a new thread securely to avoid any loose ends.
After completing the stitching, trim any excess thread to maintain a tidy finish, guaranteeing your project looks professional and ready to serve.
Customizing Your Backing for a Polished Look
Customizing the backing of your hoop embroidery not only enhances its aesthetic appeal but also reflects your unique style.
Consider these methods for backing that showcase your hard work:
- Use a coordinating or contrasting piece of felt to elevate your design.
- Personalize with a logo stamp or signature, marking your craftsmanship.
- Experiment with various colors and textures for a dynamic look.
- Secure the backing with decorative stitches, like blanket or whip stitches, adding detail.
Tips for a Flawless Finish on Your Embroidery Hoop
Adding a polished backing to your hoop embroidery sets the stage for achieving a flawless finish. Start by using a gathering stitch around the fabric before attaching it to the backing material, ensuring a smooth, taut look without wrinkles.
Carefully trim excess fabric, leaving enough overhang for gathering while keeping edges even for a tidy appearance. When securing the backing, choose a whip stitch for a neat and durable attachment, perfect for display.
Finally, enhance your project’s visual appeal by experimenting with decorative elements, like logo stamps or contrasting threads, to personalize your hoop art for those you wish to serve.






