
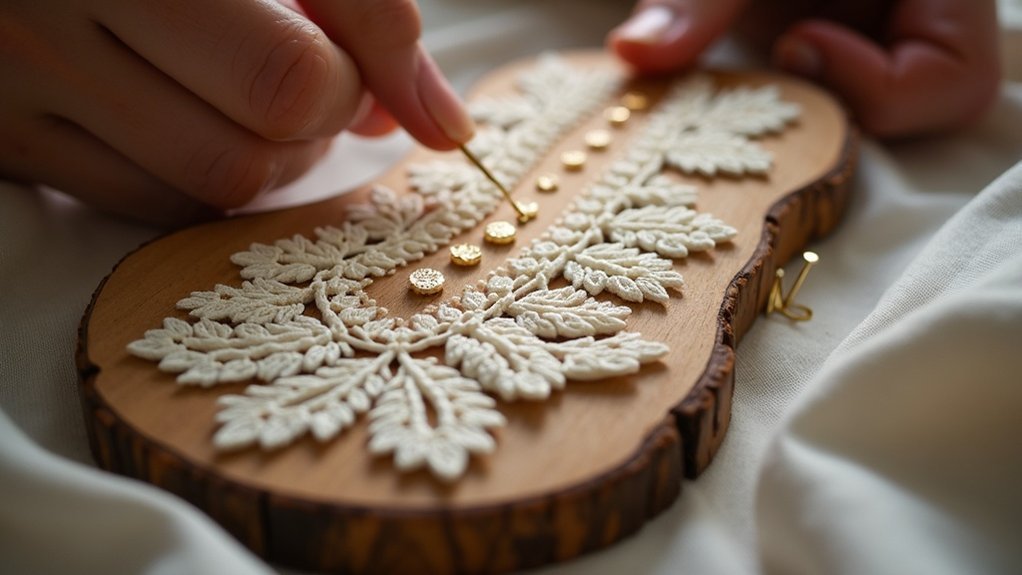
To lace your embroidery on a board for framing, start by cutting a firm card and attaching lightweight wadding for cushioning. Mark center lines for alignment, then thread a strong cotton string through your needle. Securely lace the embroidery from the center outwards, keeping tension and ensuring sharp corners. Trim excess fabric for a clean look, and finalize by snugly fitting your piece within a frame. There are more detailed techniques waiting to enhance your framing skills.
Key Takeaways
- Prepare a firm card backing by measuring, cutting, and attaching lightweight wadding for cushioning the embroidery design.
- Mark center lines on the card to ensure proper alignment of the embroidered piece during lacing.
- Use a strong thread to lace from the center outward, securing each side to maintain tension and shape.
- Verify that the embroidery is centered and taut, tightening every second line for a crisp, flat finish.
- Finalize by trimming excess fabric and ensuring a snug fit in the frame to prevent movement.
Materials Needed for Lacing Embroidery
When you’re ready to lace your embroidery, having the right materials on hand is essential for achieving a professional finish.
Start with a firm card, ideally 2mm foamcore, for a stable backing. Lay down lightweight wadding or felt to cushion your design, ensuring it pops. Use a strong thread, like perle 8, to keep the fabric taut and secure during lacing.
A craft knife paired with a metal ruler will help you cut the card to size accurately. Optionally, a ready-made frame backing board can serve as a template, guiding you toward that stunning finished piece you envision.
Preparing the Card and Padding
To prepare the card and padding for your embroidery, first measure and rule the finished size onto your firm card, guaranteeing the corners are square for a precise fit.
Next, use glue to attach lightweight wadding or felt to the card, trimming any excess material for a neat padding layer.
Use glue to secure lightweight wadding or felt to the card, then trim any excess for a tidy finish.
After covering the card, mark the center lines to help align the embroidery correctly.
- Place the embroidered piece wrong side up on the padded surface.
- Align the padded card with the center lines of the embroidery.
- This guarantees everything is centered before you begin lacing.
Lacing Process
As you commence on the lacing process, begin by threading a strong #12 DMC cotton string into your needle, ensuring you cut a generous length to facilitate uninterrupted lacing.
Fold the excess white cotton fabric over the padded card, maintaining a straight grain. Start lacing from the center of the embroidered piece to one side, securing the thread after each side to keep the tension.
Tighten every second line, mimicking the way you’d lace a shoe, ensuring corners remain sharp and flat.
Repeat on the opposite edges to end the lacing, checking for neatness and centered positioning throughout.
Finalizing the Lacing
Once you’ve completed the initial lacing, it’s essential to verify everything is perfectly centered and taut before moving on to finalize the process.
To achieve a polished finish, focus on these key steps:
- Tighten every second line like shoelaces for a secure hold.
- Use a ruler to maintain neat edges and verify sharp corners.
- Trim any excess fabric at the edge of the fabric for a clean look.
As you finalize the lacing, pull the thread firmly, verifying all corners are flat.
This meticulous attention to detail will enhance the overall presentation of your beautifully laced embroidery.
Final Assembly and Framing Techniques
While assembling and framing your laced embroidery, it’s essential to assure a snug fit within the frame to prevent any unwanted movement or distortion.
To achieve this, make sure you cut foam board to fit inside the back, providing stability. Adjust the mat size if necessary to eliminate gaps.
Use damp stretching techniques—quite easy—to avoid puckering, allowing the layer of fabric to relax.
Once everything’s in position, cover the embroidery with muslin or tissue paper for protection against dust.
Finally, opt for acid-free materials to guarantee longevity.
Thank you so much for preserving your beautiful work!






