
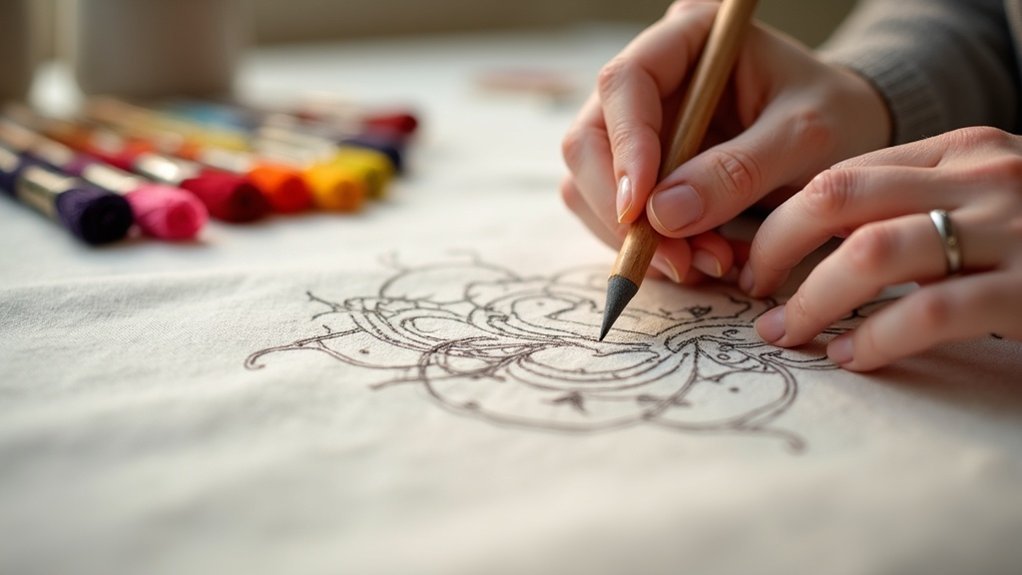
To transfer patterns for crewel embroidery, start by choosing the right method based on your fabric’s weight and color. Use lightweight yellowish-brown tissue paper for lighter fabrics, and secure it with magnets. Trace your design with a fine-tipped pen, baste it lightly, then stitch around the outline to anchor it. For darker fabrics, try the prick and pounce method for better visibility. There’s more to explore about tools and techniques to perfect your stitching technique.
Key Takeaways
- Choose the right transfer method based on fabric weight: tissue paper for light fabrics, carbon paper for heavier ones.
- Use lightweight, yellowish-brown tissue paper for clear visibility and easy removal after stitching.
- Secure tissue paper to the fabric with magnets or pins to prevent distortion during embroidery.
- Outline the design with small running stitches to anchor it properly and avoid knots.
- For dark fabrics, utilize the prick and pounce method or medical supply paper for better design visibility.
Selecting the Right Transfer Method
When you’re ready to transfer your crewel embroidery patterns, choosing the right method can make all the difference in ensuring a clean and precise design.
Consider the fabric’s weight and texture: lighter fabrics benefit from tissue paper or tracing, while heavier ones may need carbon transfer techniques. If you opt for tissue paper, select a high-grade option for easy removal without tearing your stitches.
Secure your backing fabric tightly in a frame to prevent distortion while you trace the design. For dark fabrics, use the prick and pounce method or white chalk powder to enhance visibility and accuracy in your embroidery design.
Supplies Needed for Transfer
After selecting the right transfer method, gathering the necessary supplies is the next step to secure a smooth and effective process. You’ll need lightweight, yellowish-brown tissue paper, a fine-tipped pen for tracing, and quality threads like DMC stranded cotton or CoatsClarks polyester. A sharp needle, such as a crewel or sharps needle, guarantees you can stitch through without damage. Optional tools like a magnetic needleminder and tweezers can make handling easier. Here’s a quick overview:
| Supply | Purpose |
|---|---|
| Tissue Paper | Transfer the design |
| Fine-Tipped Pen | Trace patterns |
| Sharp Needle | Stitch without damage |
| Embroidery Floss | Seamless stitching |
Steps for Using the Tissue Paper Method
To successfully use the tissue paper method for your crewel embroidery, start by carefully tracing your chosen design onto lightweight, yellowish-brown tissue paper with a fine-tipped pen.
Secure the tissue paper onto your embroidery frame using magnets or pins, and consider lightly basting it to the fabric for extra stability.
Next, outline the design with small running stitches, making sure your thread is anchored to prevent knots.
Once your embroidery is complete, gently pull the tissue paper back, using the eye-end of a needle to split it for easy removal.
For stubborn bits, tweezers guarantee a clean finish to your beautiful design.
Other Design Transfer Techniques
Now that you’ve mastered the tissue paper method, let’s explore a few other effective design transfer techniques.
The carbon paper method offers precise transfers with minimal fuss, while iron-on transfers can permanently affix your design with just a warm iron.
For those working on darker fabrics, the prick and pounce method provides an innovative way to guarantee your design pops beautifully.
Carbon Paper Method
The carbon paper method stands out as a reliable technique for transferring intricate designs onto fabric, making it a favorite among embroidery enthusiasts.
Here’s how to guarantee a smooth design transfer:
- Place carbon paper graphite side down on your fabric.
- Secure tape the fabric to a firm surface to prevent movement.
- Use a ballpoint pen to press into the design, checking results by lifting the paper for clear visibility.
This method’s versatility across various fabric types makes it essential for every project.
You’ll love how easily your embroidery comes to life with clear, accurate designs!
Iron-On Transfers
While many methods exist for transferring designs to fabric, iron-on transfers offer a clean and straightforward approach that simplifies the process.
Start by using thick tracing paper and an iron-on transfer pen to draw your design in reverse. Set your iron to a warm temperature—too hot can damage your fabric.
Before applying the design on your fabric, test it on a test piece of fabric to verify the right temperature and duration. Once you’ve achieved proper alignment, press the iron down firmly.
Prick and Pounce
If you’re looking for an alternative to iron-on transfers, the prick and pounce method offers a compelling solution for transferring designs onto fabric. Here’s how to make the most of this technique:
- Precision Matters: Prick the design onto thicker tracing paper carefully to create even holes.
- Choose the Right Powder: Use grey powder for light fabrics; it avoids harsh contrasts.
- Secure Your Fabric: Firmly fasten your fabric to prevent any movement during the transfer.
After applying the powder, finalize your design with a permanent pen to guarantee clarity throughout your embroidery project.
Enjoy creating!
Tips for Successful Stitching
Success in crewel embroidery hinges on your approach to transferring patterns and stitching. Use lightweight, yellowish-brown tissue paper for visibility; it’s easy to remove, minimizing distortion. Secure it with magnets or pins, and outline your design with small running stitches, anchoring properly to avoid knots.
Explore various techniques like couching stitches for smooth outlines, while managing thread tension to keep your work neat. For dark fabrics, opt for medical supply paper or blue wash-away ink to enhance visibility.
After stitching, gently pull away the tissue using a needle’s eye and tweezers for stubborn remnants, preserving your beautiful stitches.
Finalizing Your Embroidery Design
As you complete your embroidery, the final steps are essential for showcasing your craftsmanship. Follow these key actions to guarantee a polished finish:
- Carefully cut and remove tacking stitches securing the tissue paper to protect your design.
- Gently pull the paper away, using the eye-end of a needle to split it for easier removal.
- Use a permanent pen to join any visible design dots for clarity, ensuring they match your intended pattern.
Before displaying your masterpiece, dust off any leftover powder, maintaining the integrity of the embroidery that reflects your dedication and skill.






