
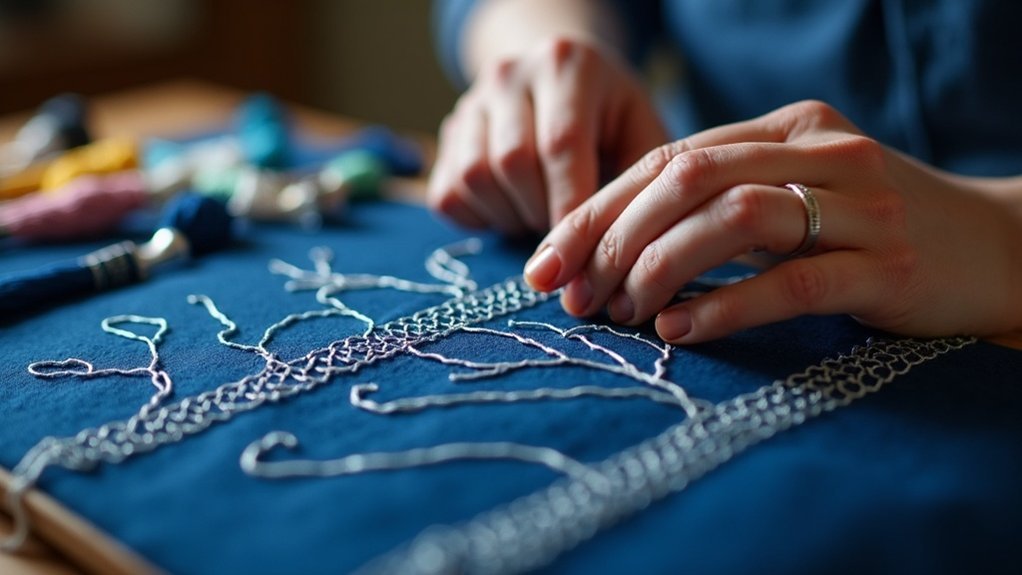
To start Sashiko embroidery, gather heavy-weight cotton thread, Sashiko needles, and dark blue fabric. Use a water erasable pencil to mark your pattern on the fabric or try a pre-printed kit. Aim for even, spaced stitches 1-1.5 cm long, and load multiple threads on your needle for efficiency. Once finished, wash out any markings and press the fabric to enhance your design. With creativity, you’ll discover the beauty of Sashiko patterns and techniques waiting for you!
Key Takeaways
- Gather essential materials such as Sashiko needles, heavy-weight cotton thread, and suitable fabric like dark blue cotton or linen.
- Transfer your chosen pattern to the fabric using white transfer paper or a water erasable pencil for precision.
- Practice consistent stitch lengths of 1-1.5 cm, ensuring even spacing with a Sashiko thimble for comfort.
- Secure your threads neatly at the back by weaving through existing stitches to maintain a clean finish.
- Inspect and wash out any transfer marks after stitching, then press the finished piece to enhance its design.
Materials Needed for Sashiko Stitching
When diving into the world of Sashiko stitching, you’ll need a few essential materials to get started. First, grab some Sashiko needles; their varying lengths cater to different designs.
Next, opt for heavy-weight cotton Sashiko thread, ideally thickness 6, to create bold stitches. Choose dark blue fabric for Sashiko, like evenweave cotton or linen, for that classic look.
An embroidery hoop helps keep your fabric taut, while a thimble protects your fingers during stitching. Don’t forget a water erasable pencil for marking your patterns, and consider a sashiko kit with pre-printed fabric for a smooth start!
Transferring Patterns to Fabric
With your materials in hand, it’s time to bring your Sashiko designs to life by transferring patterns onto your fabric.
Start by using white transfer paper specifically designed for dark fabrics to outline your design. For larger projects, apply fusible interfacing with the glue side facing the fabric to keep your pattern secure.
To outline your design, use white transfer paper for dark fabrics and fusible interfacing for larger projects.
Practice your tracing techniques on scrap fabric before moving on to the main piece, using a water erasable pencil or fabric marker to achieve precision.
Once you’ve completed your stitching, simply wash out any markings for a clean finish, showcasing your beautiful Sashiko work!
Stitching Techniques and Tips
As you immerse yourself in the world of Sashiko embroidery, mastering your stitching techniques will elevate your creations to new heights. Aim for even stitches, about 1-1.5 cm long, with longer top stitches for a polished look.
A Sashiko thimble is your best friend; it helps push the needle through layers comfortably. When changing direction, adjust your needle exit point to avoid puckering.
To streamline your process, load several stitches onto the needle before pulling through. Finally, secure threads at the back by weaving them through existing stitches, keeping your fabric neat and honoring the embroidery culture you cherish.
Finishing Your Sashiko Project
Although you’ve dedicated time and effort to stitching your Sashiko masterpiece, the finishing touches are equally important and can elevate your project to a professionally polished piece.
Inspect your stitches for consistency and make adjustments if needed. Once satisfied, wash out any transfer marks using cold water to guarantee your fabric looks pristine.
Ensure your stitches are consistent, make necessary adjustments, and wash out transfer marks for a pristine finish.
Next, press your finished piece from the wrong side, flattening the fabric while enhancing your design without distorting your stitches.
Finally, consider framing or creatively displaying your project, showcasing your skills and craftsmanship, and inviting others to enjoy the beautiful patterns you’ve created.
Exploring Sashiko Patterns and Designs
Finishing your Sashiko project beautifully sets the stage for exploring the rich world of patterns and designs that define this art form.
Sashiko patterns often feature stunning geometric designs inspired by nature and traditional Japanese motifs, each with unique meanings. Start with simple grids, waves, or florals to practice fundamental stitching techniques while crafting visually appealing designs.
Use water erasable pencils to mark your fabric, providing clear guidelines for your work. Don’t forget, you can customize patterns to reflect your creativity, drawing inspiration from books or online repositories that showcase a variety of styles, from classic to contemporary.






