
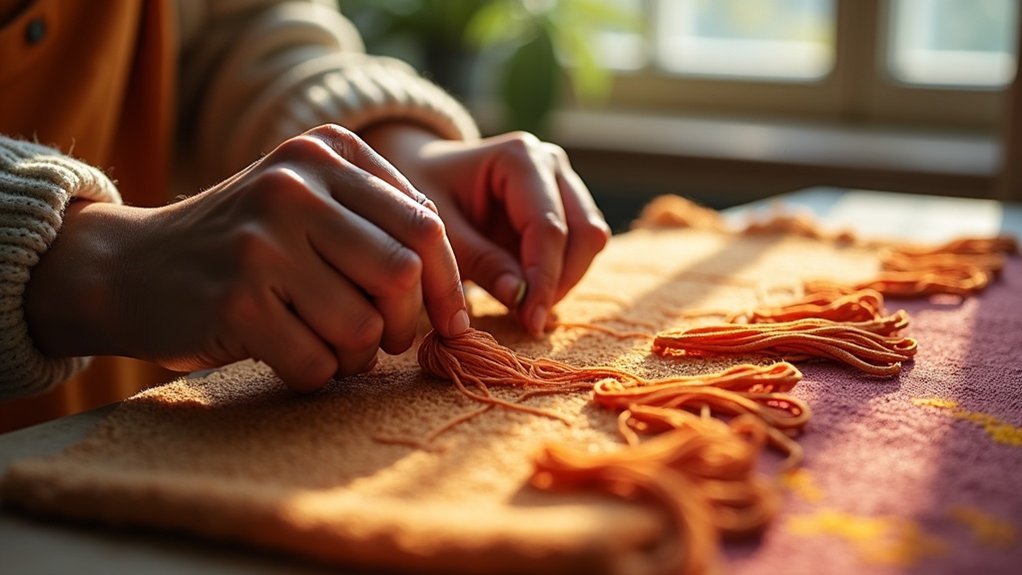
To punch needle embroidery on monk’s cloth, start by washing and ironing your cloth for a smooth surface. Secure it tightly in a grip-type hoop, and use a punch needle to create loops. Maintain consistent stitch spacing and experiment with color combinations for depth. Once finished, trim the excess cloth, ensuring neat edges. Display your work in an embroidery hoop or stitch it onto backing fabric. There’s plenty more to explore in this exciting technique!
Key Takeaways
- Prepare monk’s cloth by washing, drying, and ironing before securing it in a grip-type embroidery hoop for tautness.
- Insert the punch needle until it reaches the black ridge and hold it like a pencil for ease of use.
- Maintain consistent stitch spacing and mix straight and looped stitches for a polished and textured look.
- Experiment with different yarn colors and textures, using straight stitches for outlines before filling in with loops.
- Trim excess cloth neatly, and consider displaying the finished piece in an embroidery hoop or stitching it onto backing fabric.
Preparing Your Monk’s Cloth
Before you immerse yourself in your punch needle embroidery project, it’s essential to properly prepare your monk’s cloth to guarantee a smooth stitching experience.
Start by washing and drying your cloth to remove any sizing, making certain it’s clean. Next, iron it without steam to smooth out wrinkles that could interfere with your work.
Wash and dry your monk’s cloth to eliminate sizing, then iron it without steam to ensure a smooth surface for your embroidery.
Use a grip-type embroidery hoop to secure the cloth tightly, eliminating slack for easier punching. Confirm your design is clearly visible, guiding your stitches.
If necessary, trace the design with a disappearing ink marker, providing a clear outline for your first-time adventure in punch needle embroidery.
Setting Up Your Punch Needle
To set up your punch needle, start by securing your monk’s cloth in a grip-type embroidery hoop, guaranteeing it’s taut throughout the stitching process. Tighten the hoop to eliminate slack, which helps maintain consistent loop integrity as you punch. Insert the punch needle into the cloth until it reaches the black ridge, positioning it correctly for stitching. Hold the punch needle like a pencil for ease of movement, gliding the tip along the cloth. Use a wire tool to simplify yarn insertion, making your punch needle embroidery project smoother.
| Step | Action | Purpose |
|---|---|---|
| Secure the cloth | Use a grip-type hoop | Keeps fabric taut |
| Tighten the hoop | Eliminate slack | Maintains loop consistency |
| Insert the needle | Push to black ridge | Guarantees proper positioning |
| Hold like a pencil | Control movement | Allows for smooth stitching |
| Use a wire tool | Thread yarn easily | Simplifies starting process |
Stitching Techniques for Success
To achieve stunning results in your punch needle embroidery, focus on maintaining consistent stitch spacing and explore color-changing techniques for a vibrant design.
Mixing straight and looped stitches can add depth and texture, so don’t hesitate to adjust your needle depth and yarn tension. If a stitch doesn’t meet your standards, simply pull it out and re-punch to guarantee a polished finish.
Consistent Stitch Spacing
Achieving consistent stitch spacing is essential for creating a polished punch needle embroidery piece. To do this, keep your punch needle at a uniform depth and maintain even distances between each stitch.
Securing the monk’s cloth tightly in your hoop prevents it from shifting, allowing for more consistent spacing as you work. Before diving into your final design, practice on a scrap piece of cloth to find your rhythm for those straight stitches.
Adjust the punch needle’s loop size based on your yarn thickness, and don’t forget to flip your work occasionally to check for uniformity in your loops.
Color Changing Techniques
Maintaining consistent stitch spacing lays the groundwork for effective color changes in punch needle embroidery.
To switch colors, cut your yarn and pull the new color through the needle, ensuring you keep tension and loop size uniform. When outlining, tuck starting ends on the back to keep your front side neat.
Practicing color shifts on a scrap piece helps refine your technique before tackling your main project. Consider mixing loops and straight stitches to add depth as you change colors.
Loop and Straight Variations
While experimenting with loop and straight variations, you can greatly enhance the texture and visual appeal of your punch needle embroidery.
Mix and match loop and straight stitches to create enchanting designs. Use an adjustable punch needle to vary loop sizes—larger loops add texture, while smaller loops offer a smooth finish.
Maintain uniform depth and a rhythmic movement for consistent spacing. Change yarn colors frequently for outlines or intricate patterns; just cut and re-thread the needle.
Remember, the back will show straight stitches, so plan your design to highlight those textured loops beautifully on the front.
Enjoy the creative process!
Mixing Colors and Textures
Mixing colors and textures in punch needle embroidery can elevate your project, adding depth and personality to your design. Experiment with various yarn colors, ensuring they complement each other for a cohesive look.
When changing colors, cut the yarn and position the new color’s starting end based on your aesthetic preference. Use straight stitches to outline your design before filling in larger areas with little loops, giving clarity to your work.
Combining thicker and thinner yarns creates dynamic contrasts, while consistent stitch spacing maintains harmony throughout. Embrace the joy of mixing colors to enhance your embroidery and delight those you serve.
Completing Your Embroidery Project
Once you’ve stitched all the areas of your design on monk’s cloth, it’s time to complete your punch needle embroidery project.
Start by trimming the excess cloth, leaving a small margin to prevent fraying. As you go around the edges, verify each cut is neat for a polished look.
You’ll notice that one stitch can alter the overall texture, enhancing your design’s depth.
After finishing, consider placing your piece in an embroidery hoop or using it functionally as a pillow or rug.
Finally, share your masterpiece with others, inspiring them to explore their own creative journey in the craft community!
Displaying Your Finished Work
After you’ve put in the effort to complete your punch needle project, it’s time to think about how to display your beautiful work.
Start by trimming the excess monk’s cloth around your design, leaving a small border for finishing. For a charming look, consider using a decorative embroidery hoop, ensuring the fabric is taut.
Trim the excess monk’s cloth, leaving a small border, and display your creation in a decorative embroidery hoop for a charming touch.
If you want a more permanent display, stitch your piece onto backing fabric, transforming it into a rug or pillow cover. You can also frame your artwork under glass for protection and elegance.
Don’t forget to add a hanging mechanism for easy wall display!






