
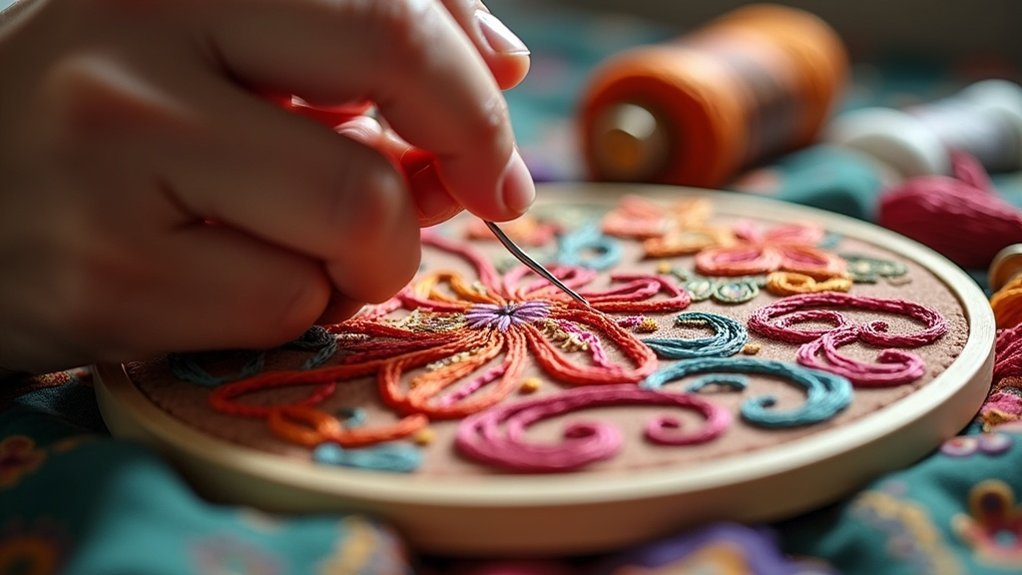
To create a Pekinese stitch, start by outlining your design with evenly spaced back stitches. Next, bring your new thread up at the beginning of the back stitch line. Slide your needle under each back stitch to form loops, adjusting their size by modifying the tension. Maintain consistent tension for even loops and textured effects. This stitch is great for decorative outlines and borders. You’ll discover more tips and techniques to enhance your embroidery as you go on.
Key Takeaways
- Begin by marking your fabric and securing it in an embroidery hoop to keep it taut during stitching.
- Start with a line of evenly spaced back stitches as the foundation for your Pekinese stitch.
- Create loops by sliding a new thread under each back stitch, ensuring consistent tension for even loops.
- Adjust the size of the loops by varying back stitch lengths and maintaining loose tension on the thread.
- Practice on scrap fabric to master the technique and troubleshoot common issues like uneven tension and puckering.
Overview of Pekinese Stitch
The Pekinese stitch, which you might also know as the Chinese stitch, serves as an excellent technique for outlining patterns in embroidery, offering a unique texture that enhances linear designs.
To begin, you’ll work a line of back stitch, securing your foundation. Next, take a second thread and loop it under the back stitches, creating a textured effect.
This stitch shines when done with silk thread on silk fabric but can adapt to various materials. For best results, maintain consistent tension to guarantee the loops form evenly, resulting in beautiful flower-like shapes or elegant borders in your embroidery projects.
Materials Needed
Gathering the right materials is essential for successfully executing the Pekinese stitch. You’ll need embroidery thread in contrasting colors—perle cotton works well for the loops, while wool is ideal for the backstitch.
Select a suitable tapestry needle that can handle the thickness of your chosen threads. Choose a fabric, like silk for traditional designs or cotton for everyday projects, as your base.
An embroidery hoop can help keep your fabric taut, ensuring even stitches. Finally, keep a pair of sharp scissors handy for trimming excess thread, which helps maintain a clean and professional-looking workspace.
Step-by-Step Instructions
Start by stitching a line of back stitches along your chosen fabric, ensuring each stitch is evenly spaced for a neat and uniform appearance.
Bring a new thread up at the starting point of your back stitch line. Slide the needle under the second back stitch from above without pulling the fabric, then form a loop by bringing the needle back down under the first back stitch from below at the same point.
Continue weaving the new thread under each back stitch, creating loops with even tension. Adjust loop sizes by varying back stitch lengths and thread tension for your desired effect.
Tips for Success
Achieving success with the Pekinese stitch requires careful attention to detail and technique. Start by maintaining a loose tension on your loops to preserve their shape. Practice the back stitch thoroughly; it’s essential for clean lines. Use a blunt-point needle to weave under back stitches easily, avoiding fabric snags. Experiment with various thread types and colors to elevate your designs. Adjust the lengths of your back stitches and loops for customized effects.
| Tip | Detail |
|---|---|
| Tension | Keep loops loose for shape retention |
| Needle Choice | Use a blunt-point needle for ease |
| Thread Variations | Try contrasting colors for visual appeal |
| Back Stitch Practice | Clean lines are essential |
| Length Customization | Vary lengths for unique textures |
Common Uses and Applications
You’ll find that Pekinese stitch is perfect for outlining patterns and creating decorative borders in your embroidery projects.
This stitch excels at adding texture and dimension, enhancing the overall visual appeal of your designs.
Additionally, it can be combined with other stitches to enrich your work, making it a versatile choice for various styles.
Outlining and Borders
Pekinese stitch serves as a powerful technique for creating outlines and borders in embroidery, offering both definition and aesthetic appeal to your designs.
This stitch enhances visual interest and can be tailored for various applications.
Here are three common uses for Pekinese stitch in outlining and borders:
- Linear Outlines: Perfect for defining shapes with crisp, straight edges.
- Curvilinear Designs: Ideal for stitching around intricate patterns, adding fluidity and elegance.
- Decorative Borders: Transform simple lines into eye-catching borders, enhancing the overall composition of your embroidery project.
Incorporate Pekinese stitch to elevate your embroidery work effectively!
Decorative Elements and Textures
Embroidery enthusiasts often seek ways to enhance their designs with unique decorative elements and textures, and Pekinese stitch is an excellent choice for achieving this.
You can use Pekinese stitch to create intricate outlines and borders, enriching your embroidery projects. Additionally, adapt it for filling areas and adding shading, showcasing its versatility.
In traditional Chinese embroidery, the Pekinese stitch brings detail to motifs. Combine it with techniques like back stitch or whipped back stitch to form dynamic textures.
Experiment with various thread types, such as silk or wool, to achieve different appearances and elevate your composite stitch designs.
Variations and Adjustments
You can enhance your Pekinese stitch by adjusting the length of your stitches and the placement of loops.
Experiment with longer stitches for larger loops that create a bolder look, or position your loops along the back stitch line for a more subtle effect.
Additionally, using a blunt-point needle will help you navigate the fabric easily while preventing any damage during the stitching process.
Loop Placement Options
While creating Pekinese stitch, adjusting the placement of loops can greatly influence the overall design. Here are some loop placement options to ponder:
- Central Positioning: Position loops centrally along the line of back stitches for a balanced look.
- Free-Hanging Loops: Allow loops to hang freely for a more varied and dynamic appearance.
- Contour Following: Confirm loops follow curves to maintain the stitch’s integrity and aesthetic appeal.
Experimenting with these loop placements can enhance visual impact, especially when using contrasting thread colors.
These adjustments can help you serve others with stunning embroidery creations.
Stitch Length Variability
Adjusting stitch length in Pekinese stitch directly influences the overall design and texture of your embroidery. You can create varying sizes of loops by modifying the length of your back stitches. Shorter back stitches yield tighter loops, while longer ones produce bolder, more pronounced loops. Experimenting with these lengths enhances stitch length variability, allowing for more creativity.
| Stitch Length | Loop Size |
|---|---|
| Short | Smaller, Tighter Loops |
| Medium | Balanced Loops |
| Long | Larger, Pronounced Loops |
Positioning loops centrally or letting them hang can further enhance your design’s aesthetic.
Needle Type Considerations
Choosing the right needle type is essential for executing the Pekinese stitch effectively, especially after considering how stitch length impacts your design.
Here are some key considerations:
- Needle Type: Use a blunt-point needle, like a tapestry needle, to avoid damaging fabric while sliding under back stitches.
- Needle Size: Match your needle size to the thread used; larger needles for thicker threads, smaller for fine threads.
- Needle Length: Opt for longer needles for larger projects and shorter ones for intricate details.
Experimenting with various needle types can enhance your stitch’s loop sizes and textures, elevating your embroidery work’s overall aesthetic.
Community Engagement and Sharing
How can you enhance your embroidery skills and connect with others? Engage with the embroidery community by sharing your completed Pekinese stitch projects.
Post them in forums or social media groups, sparking discussions that inspire collaboration. Provide feedback on video tutorials to help creators refine their content, fostering a culture of continuous learning.
Initiate conversations about your personal experiences with the stitch, sharing tips and challenges. Contribute your unique insights to community blogs, enriching available resources for budding embroiderers.






