
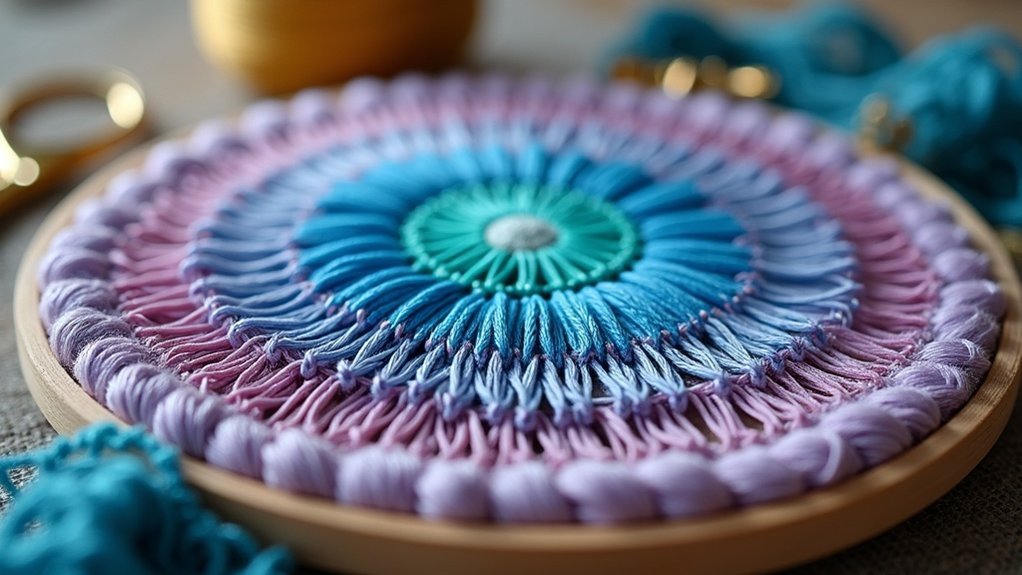
To blend colors in embroidery, start by choosing two shades of the same hue. Use a beechwood hoop to keep your fabric taut. Create a satin stitch base with all six strands of floss, dividing shapes into sections. Apply the lighter shade on the darker side, gradually adding more toward the center, and vice versa. Layer straight stitches for smooth shifts, aiming for three layers in each area. You can explore more techniques to elevate your designs even further.
Key Takeaways
- Select two shades of the same hue for effective color blending in your embroidery projects.
- Start with the darkest color as a base to create depth before layering lighter shades.
- Apply closely packed satin stitches, ensuring maximum density for a smooth transition between colors.
- Use three layers of stitches in each area, incorporating medium and light tones for enhanced blending.
- Experiment with unique color combinations and additional shades for inspiring and visually stunning results.
Understanding Color Theory for Embroidery
Understanding color theory is essential for mastering embroidery, as it allows you to create visually stunning designs that resonate with depth and harmony.
Begin by exploring primary hues like red, blue, and yellow, blending them to form secondary hues. For effective color blending, use three shades—light, medium, and dark—of the same color to achieve smooth shifts.
Incorporating shading and blending techniques enhances your designs, while contrasting colors can add intrigue. For instance, combining light pink with deeper hues can create striking effects.
Don’t hesitate to experiment; unique combinations often yield breathtaking results that serve to inspire others.
Essential Supplies for Blending Techniques
To achieve beautiful color blends in your embroidery, having the right supplies on hand is key. For effective blending colors, select two shades of the same hue, like DMC 3778 and DMC 951.
A beechwood embroidery hoop is highly recommended to keep your fabric taut, ensuring even satin stitch application. Don’t forget a green heat-erasable transfer pen for precise outlines on your fabric.
Basic supplies include embroidery floss, a needle, and durable linen fabric. Always use all six strands of floss for your satin stitched base, creating a solid foundation that supports your blending techniques beautifully.
Step-by-Step Guide to Creating a Satin Stitch Base
Creating a solid satin stitch base is crucial for achieving beautiful color blends in your embroidery projects. Start by using all six strands of embroidery floss to guarantee even coverage.
A solid satin stitch base ensures stunning color blends in your embroidery, so use all six strands for even coverage.
Divide your shape into two sections, applying one color on the left and the other on the right. Make sure the satin stitches are closely packed for maximum stitch density, forming a smooth foundation.
After establishing this base, use one strand of the lighter shade for straight stitches on the darker side, gradually adding more toward the center.
Repeat with the darker shade on the lighter section for that perfect blend effect.
Effective Blending Techniques for Smooth Transitions
While you might think blending colors in embroidery is straightforward, mastering smooth shifts requires a blend of technique and artistry.
Begin with the darkest color as your base, then layer straight stitches using medium and light tones to create depth. Employ blending techniques by following the direction of your original satin stitching, ensuring each area receives three layers for full coverage.
Don’t hesitate to experiment with two to four shades of the same hue; this can yield unique results. Monitor your progress with periodic photos, allowing you to evaluate and fine-tune your blending for stunning, seamless transformations.
Exploring Additional Resources and Kits for Beginners
As you refine your blending techniques, exploring beginner-friendly embroidery kits can greatly enhance your skills.
These kits, featuring themes like flowers and seasonal designs, come with all necessary supplies—high-quality embroidery floss, a needle, and fabric—so you can start immediately.
Many kits include video tutorials that provide visual guidance on blending and shading, making it easier to grasp those essential techniques.
Don’t hesitate to investigate additional resources offered within these kits; they inspire creativity and experimentation with various color combinations.
Embrace the gentle blending techniques highlighted, and watch your satin-stitched projects come to life with dimension!






